Setup a Stripe Account
So far we’ve created a basic CRUD (create, read, update, and delete) API. We are going to make a small addition to this by adding an endpoint that works with a 3rd party API. This section is also going to illustrate how to work with environment variables and how to accept credit card payments using Stripe.
A common extension of the notes app (that we’ve noticed) is to add a billing API that works with Stripe. In the case of our notes app we are going to allow our users to pay a fee for storing a certain number of notes. The flow is going to look something like this:
-
The user is going to select the number of notes they want to store and puts in their credit card information.
-
We are going to generate a one time token by calling the Stripe SDK on the frontend to verify that the credit card info is valid.
-
We will then call an API passing in the number of notes and the generated token.
-
The API will take the number of notes, figure out how much to charge (based on our pricing plan), and call the Stripe API to charge our user.
We aren’t going to do much else in the way of storing this info in our database. We’ll leave that as an exercise for the reader.
Sign up for Stripe
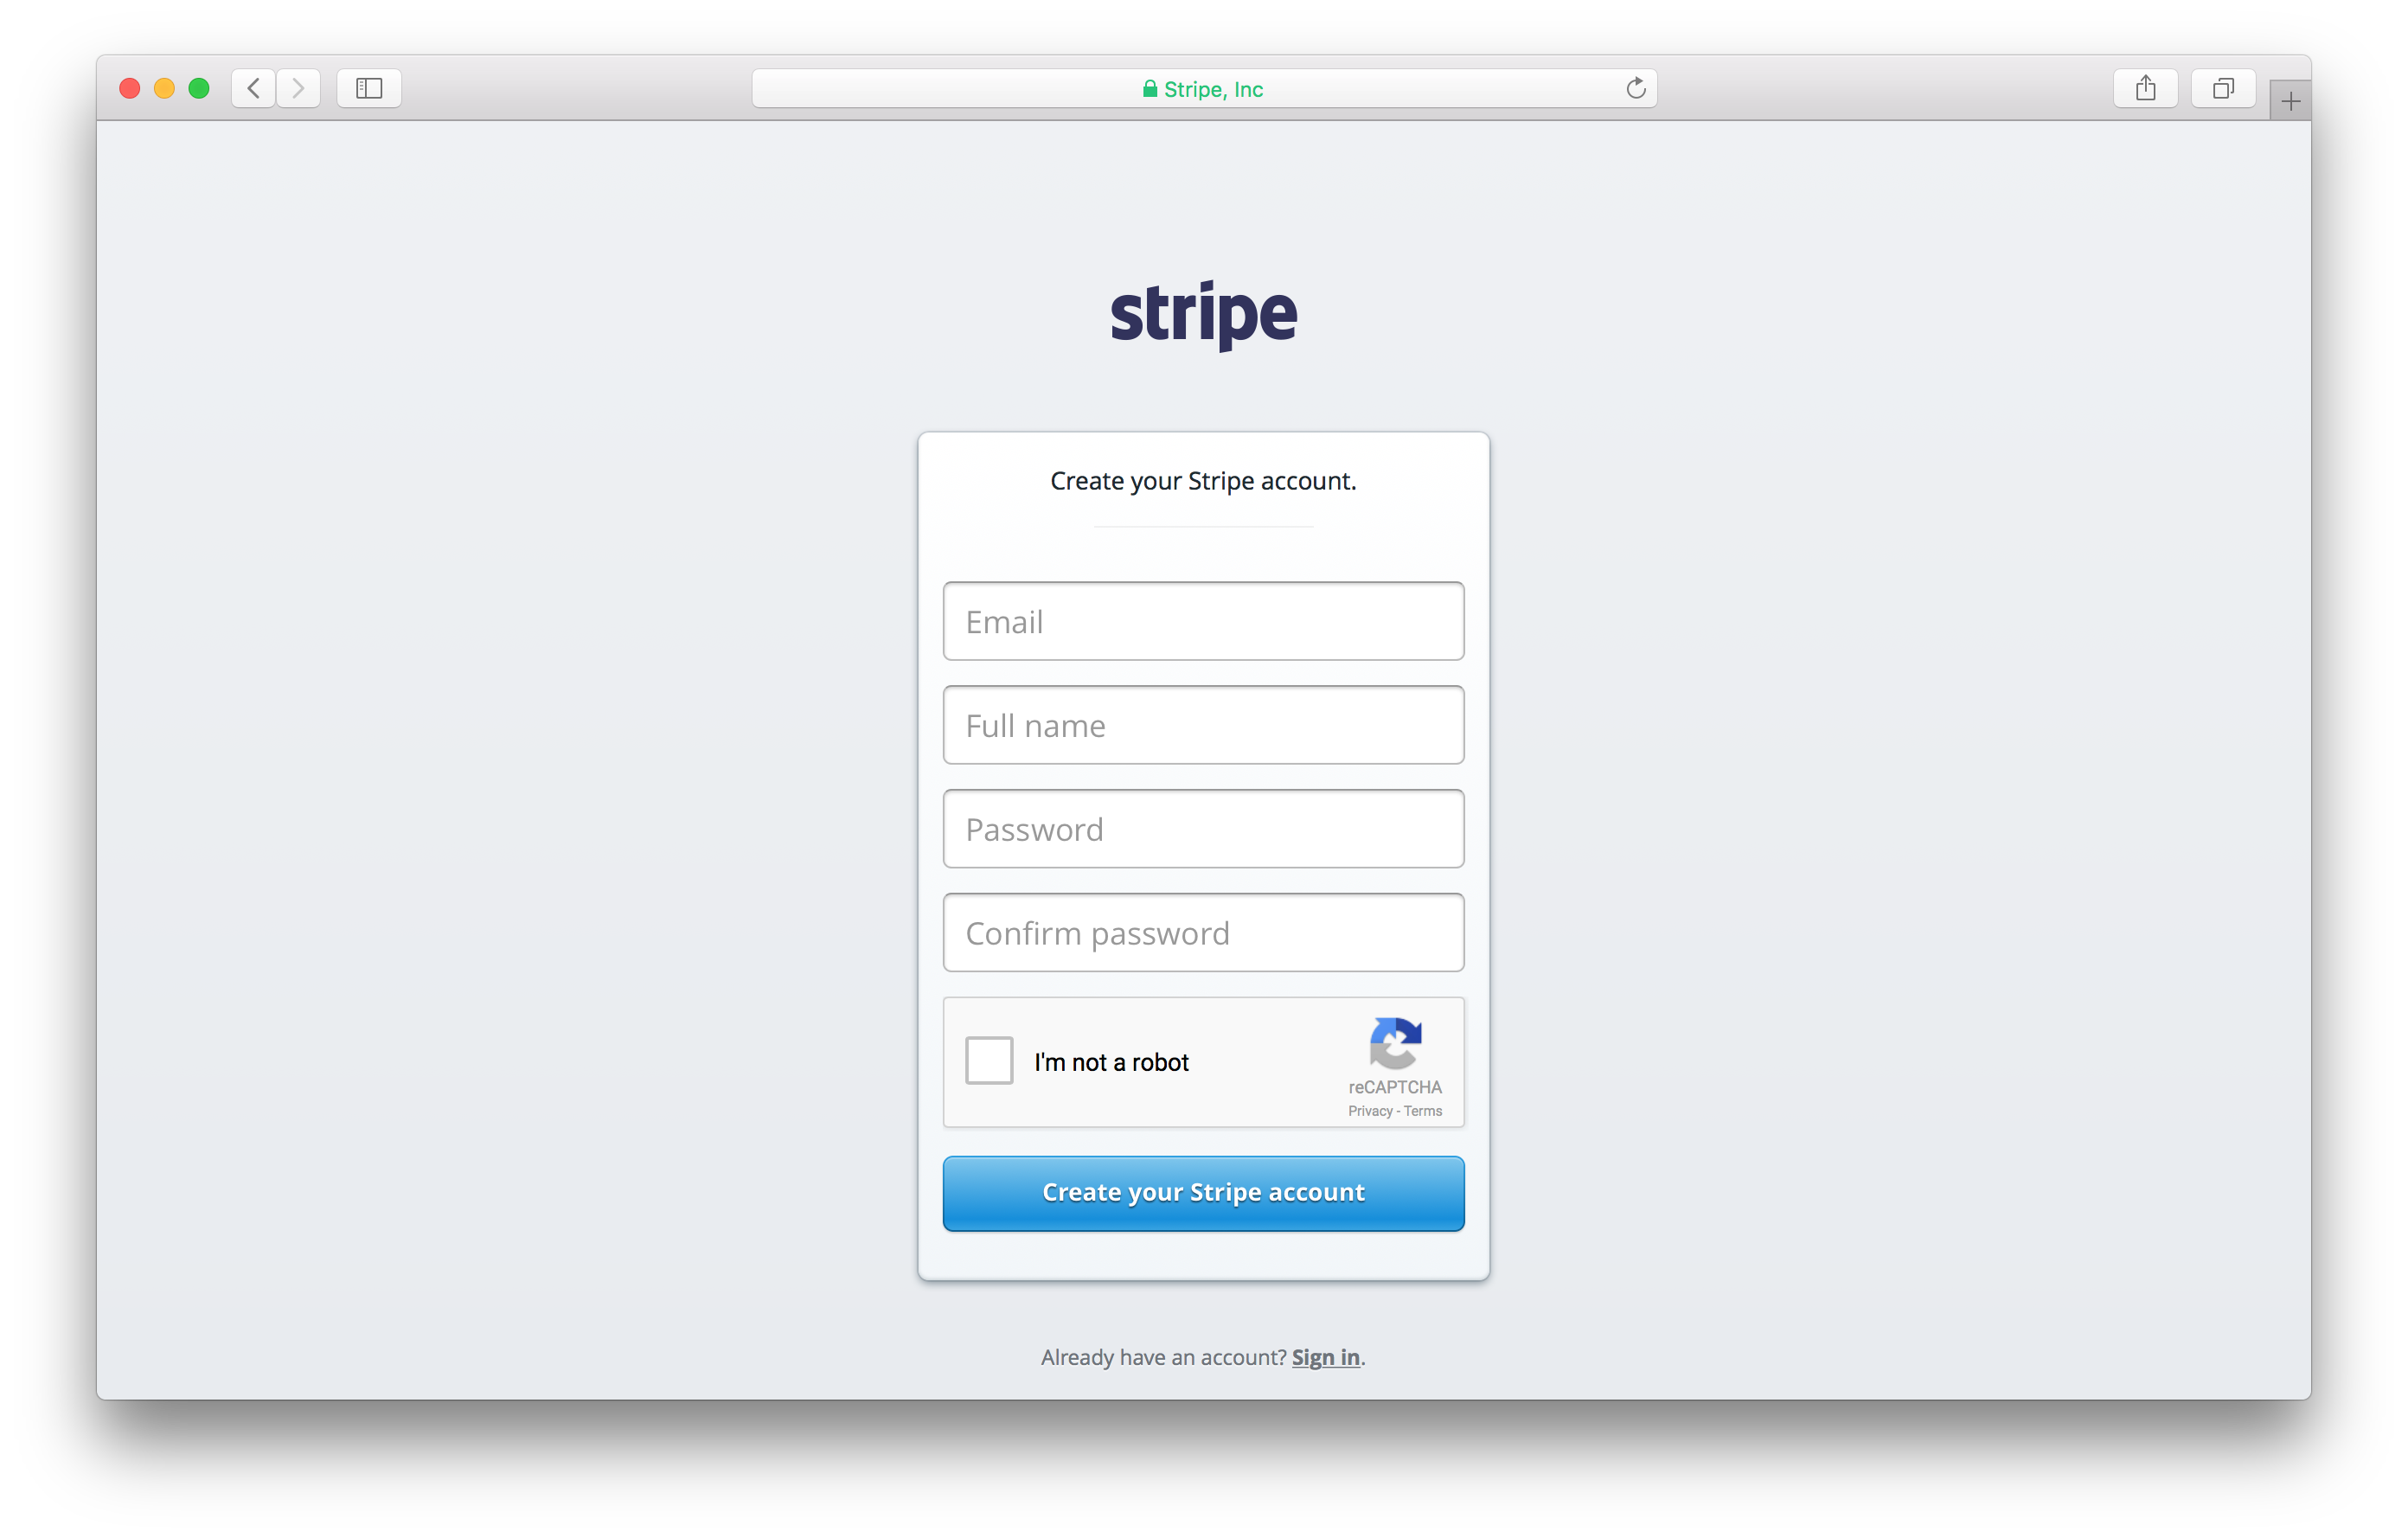
Let’s start by creating a free Stripe account. Head over to Stripe and register for an account.

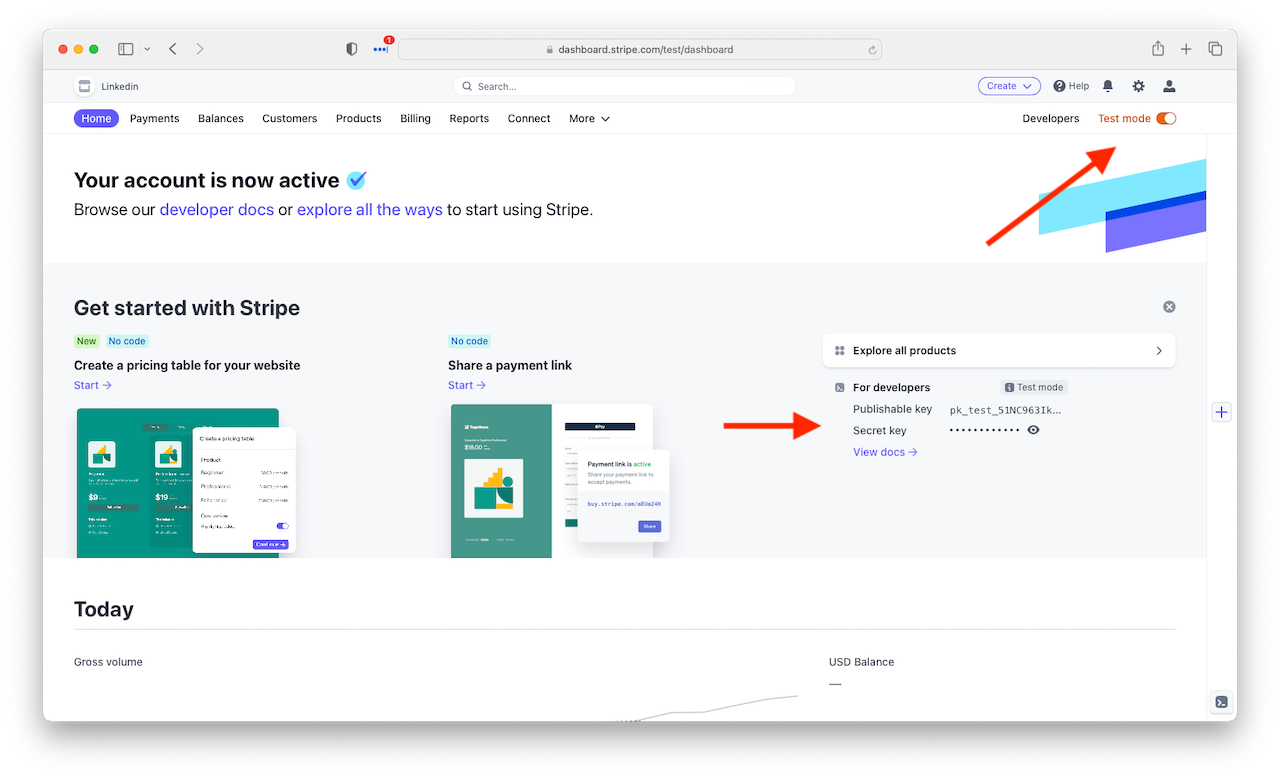
Once signed in with a confirmed account, you will be able to use the developer tools.

The first thing to do is switch to test mode. This is important because we don’t want to charge our credit card every time we test our app.
The second thing to note is that Stripe has automatically generated a test and live Publishable key and a test and live Secret key. The Publishable key is what we are going to use in our frontend client with the Stripe SDK. And the Secret key is what we are going to use in our API when asking Stripe to charge our user. As denoted, the Publishable key is public while the Secret key needs to stay private.
Make a note of both the Publishable test key and the Secret test key. We are going to be using these later.
Next, let’s use this in our SST app.
For help and discussion
Comments on this chapter