


Setting up the SST Console
We are going to set up the SST Console to auto-deploy our app and manage our environments.
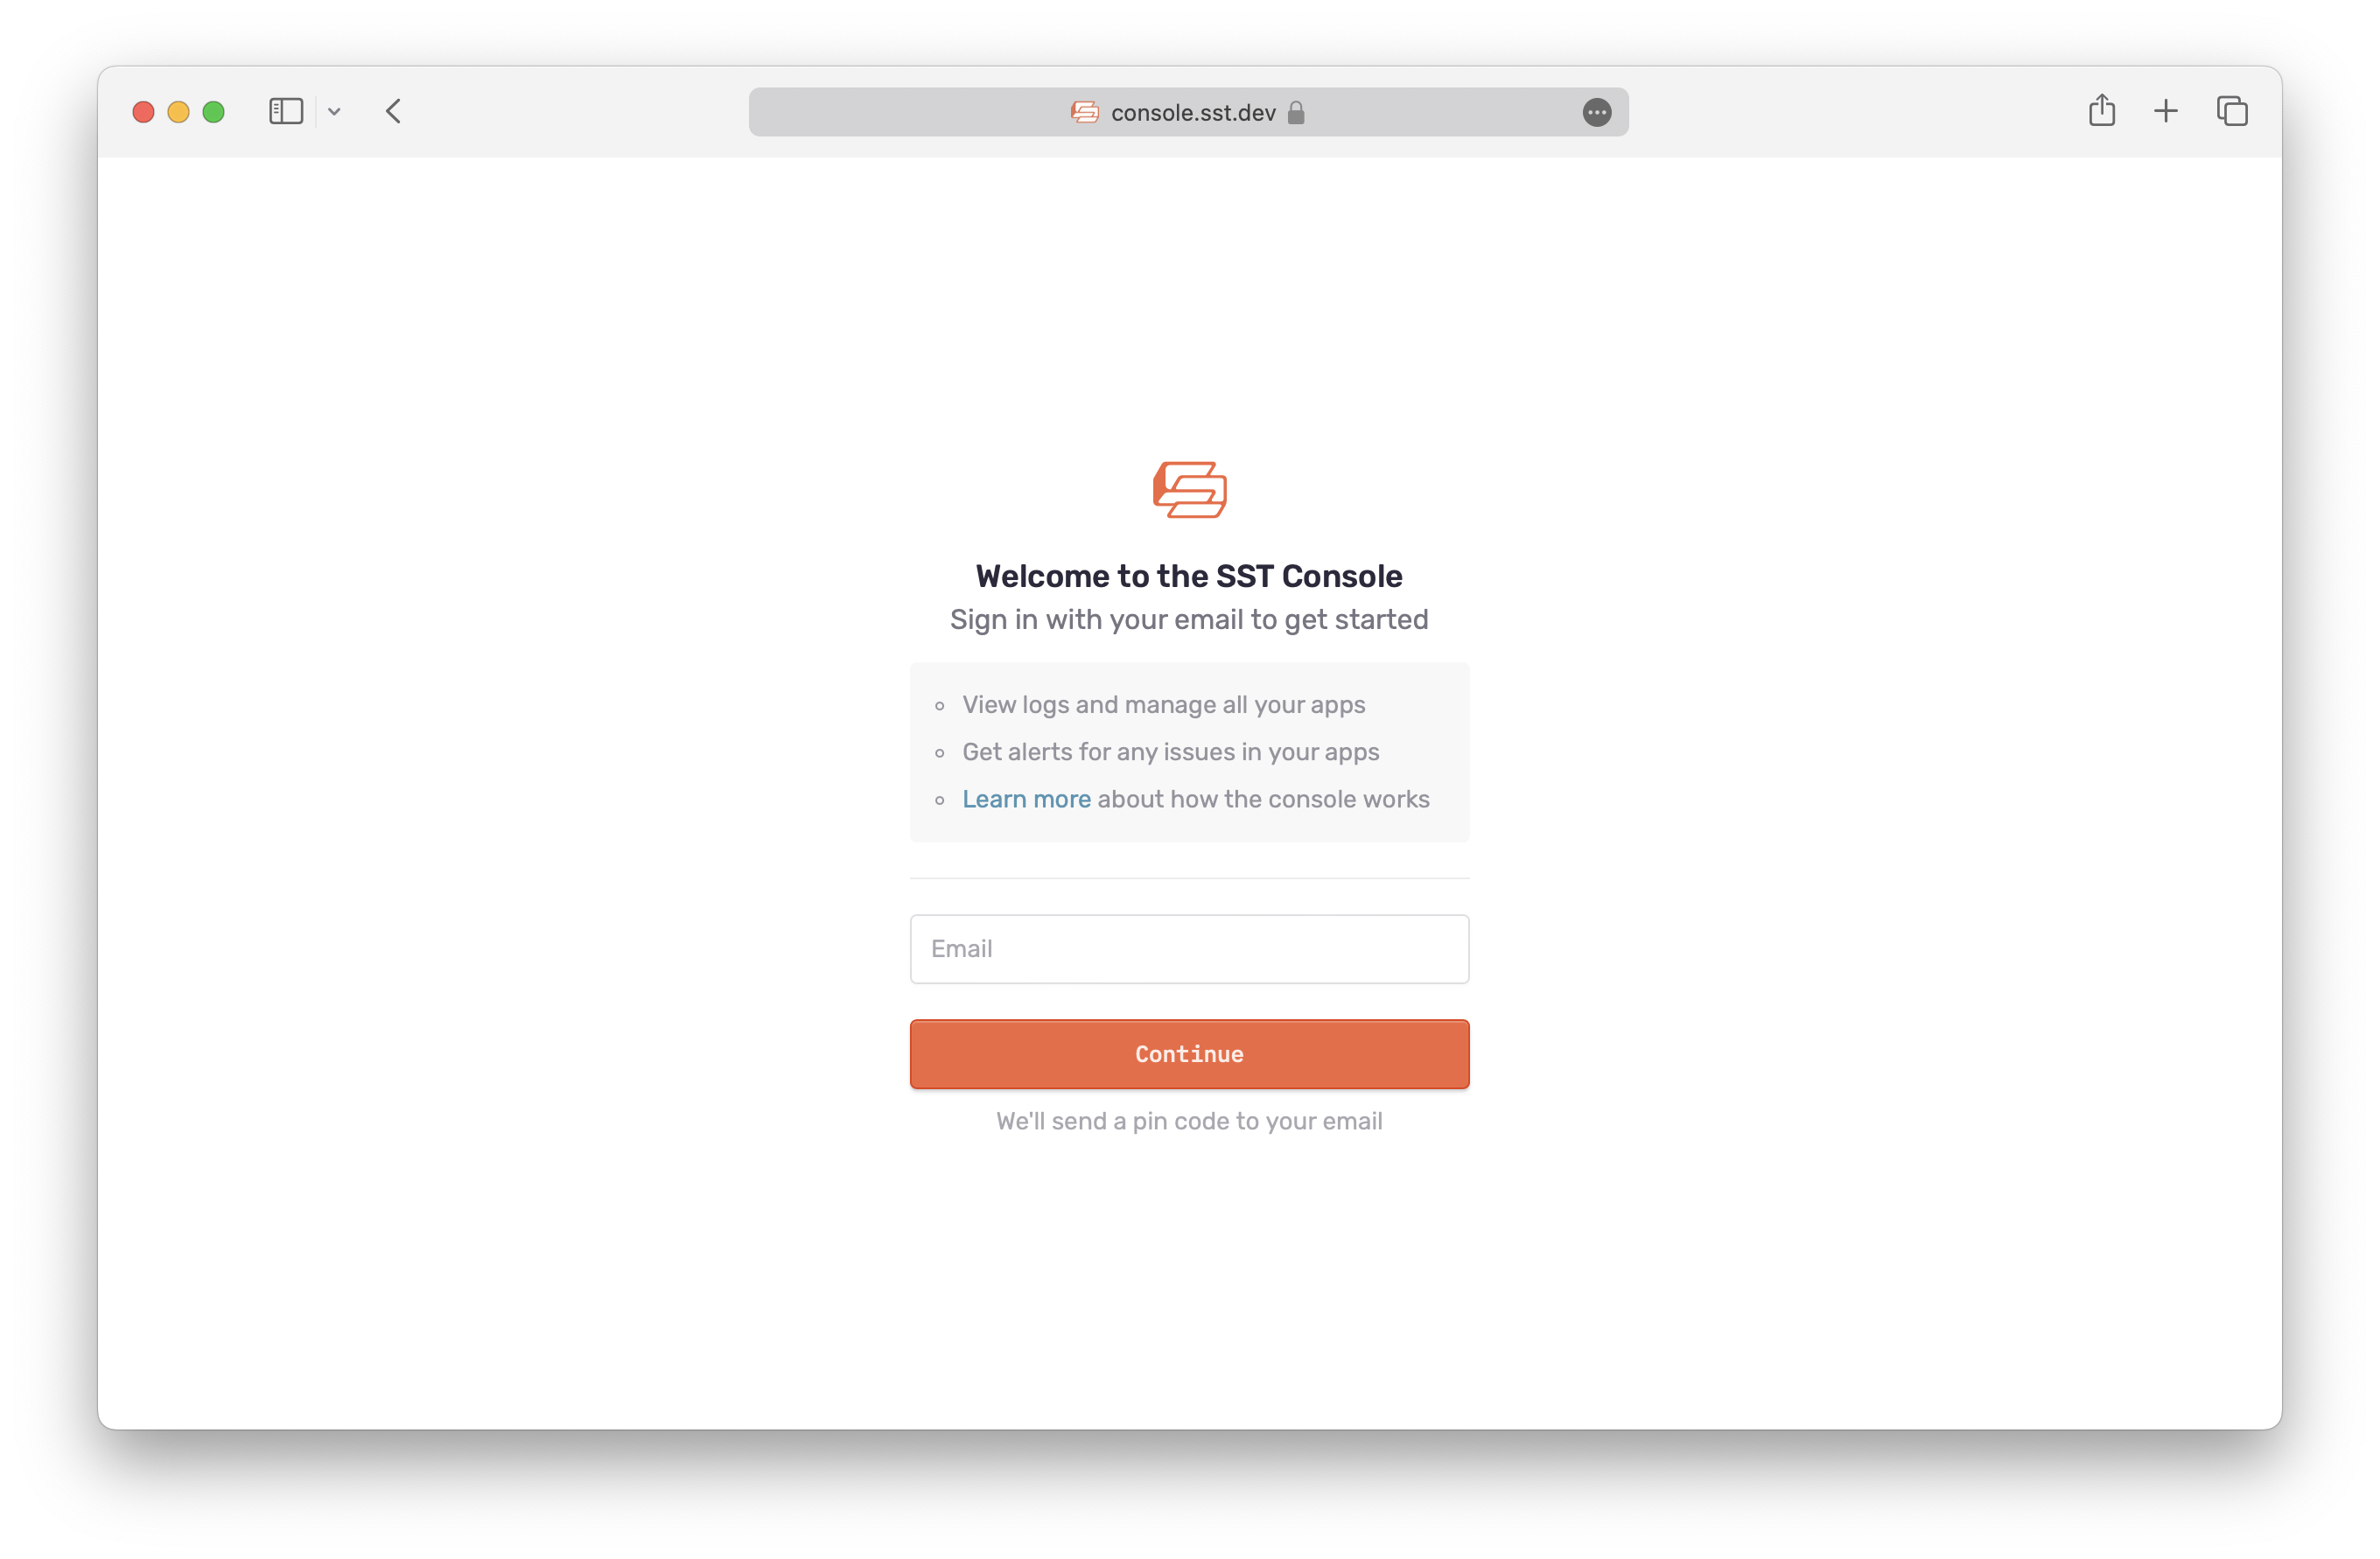
Start by signing up for a free account here.
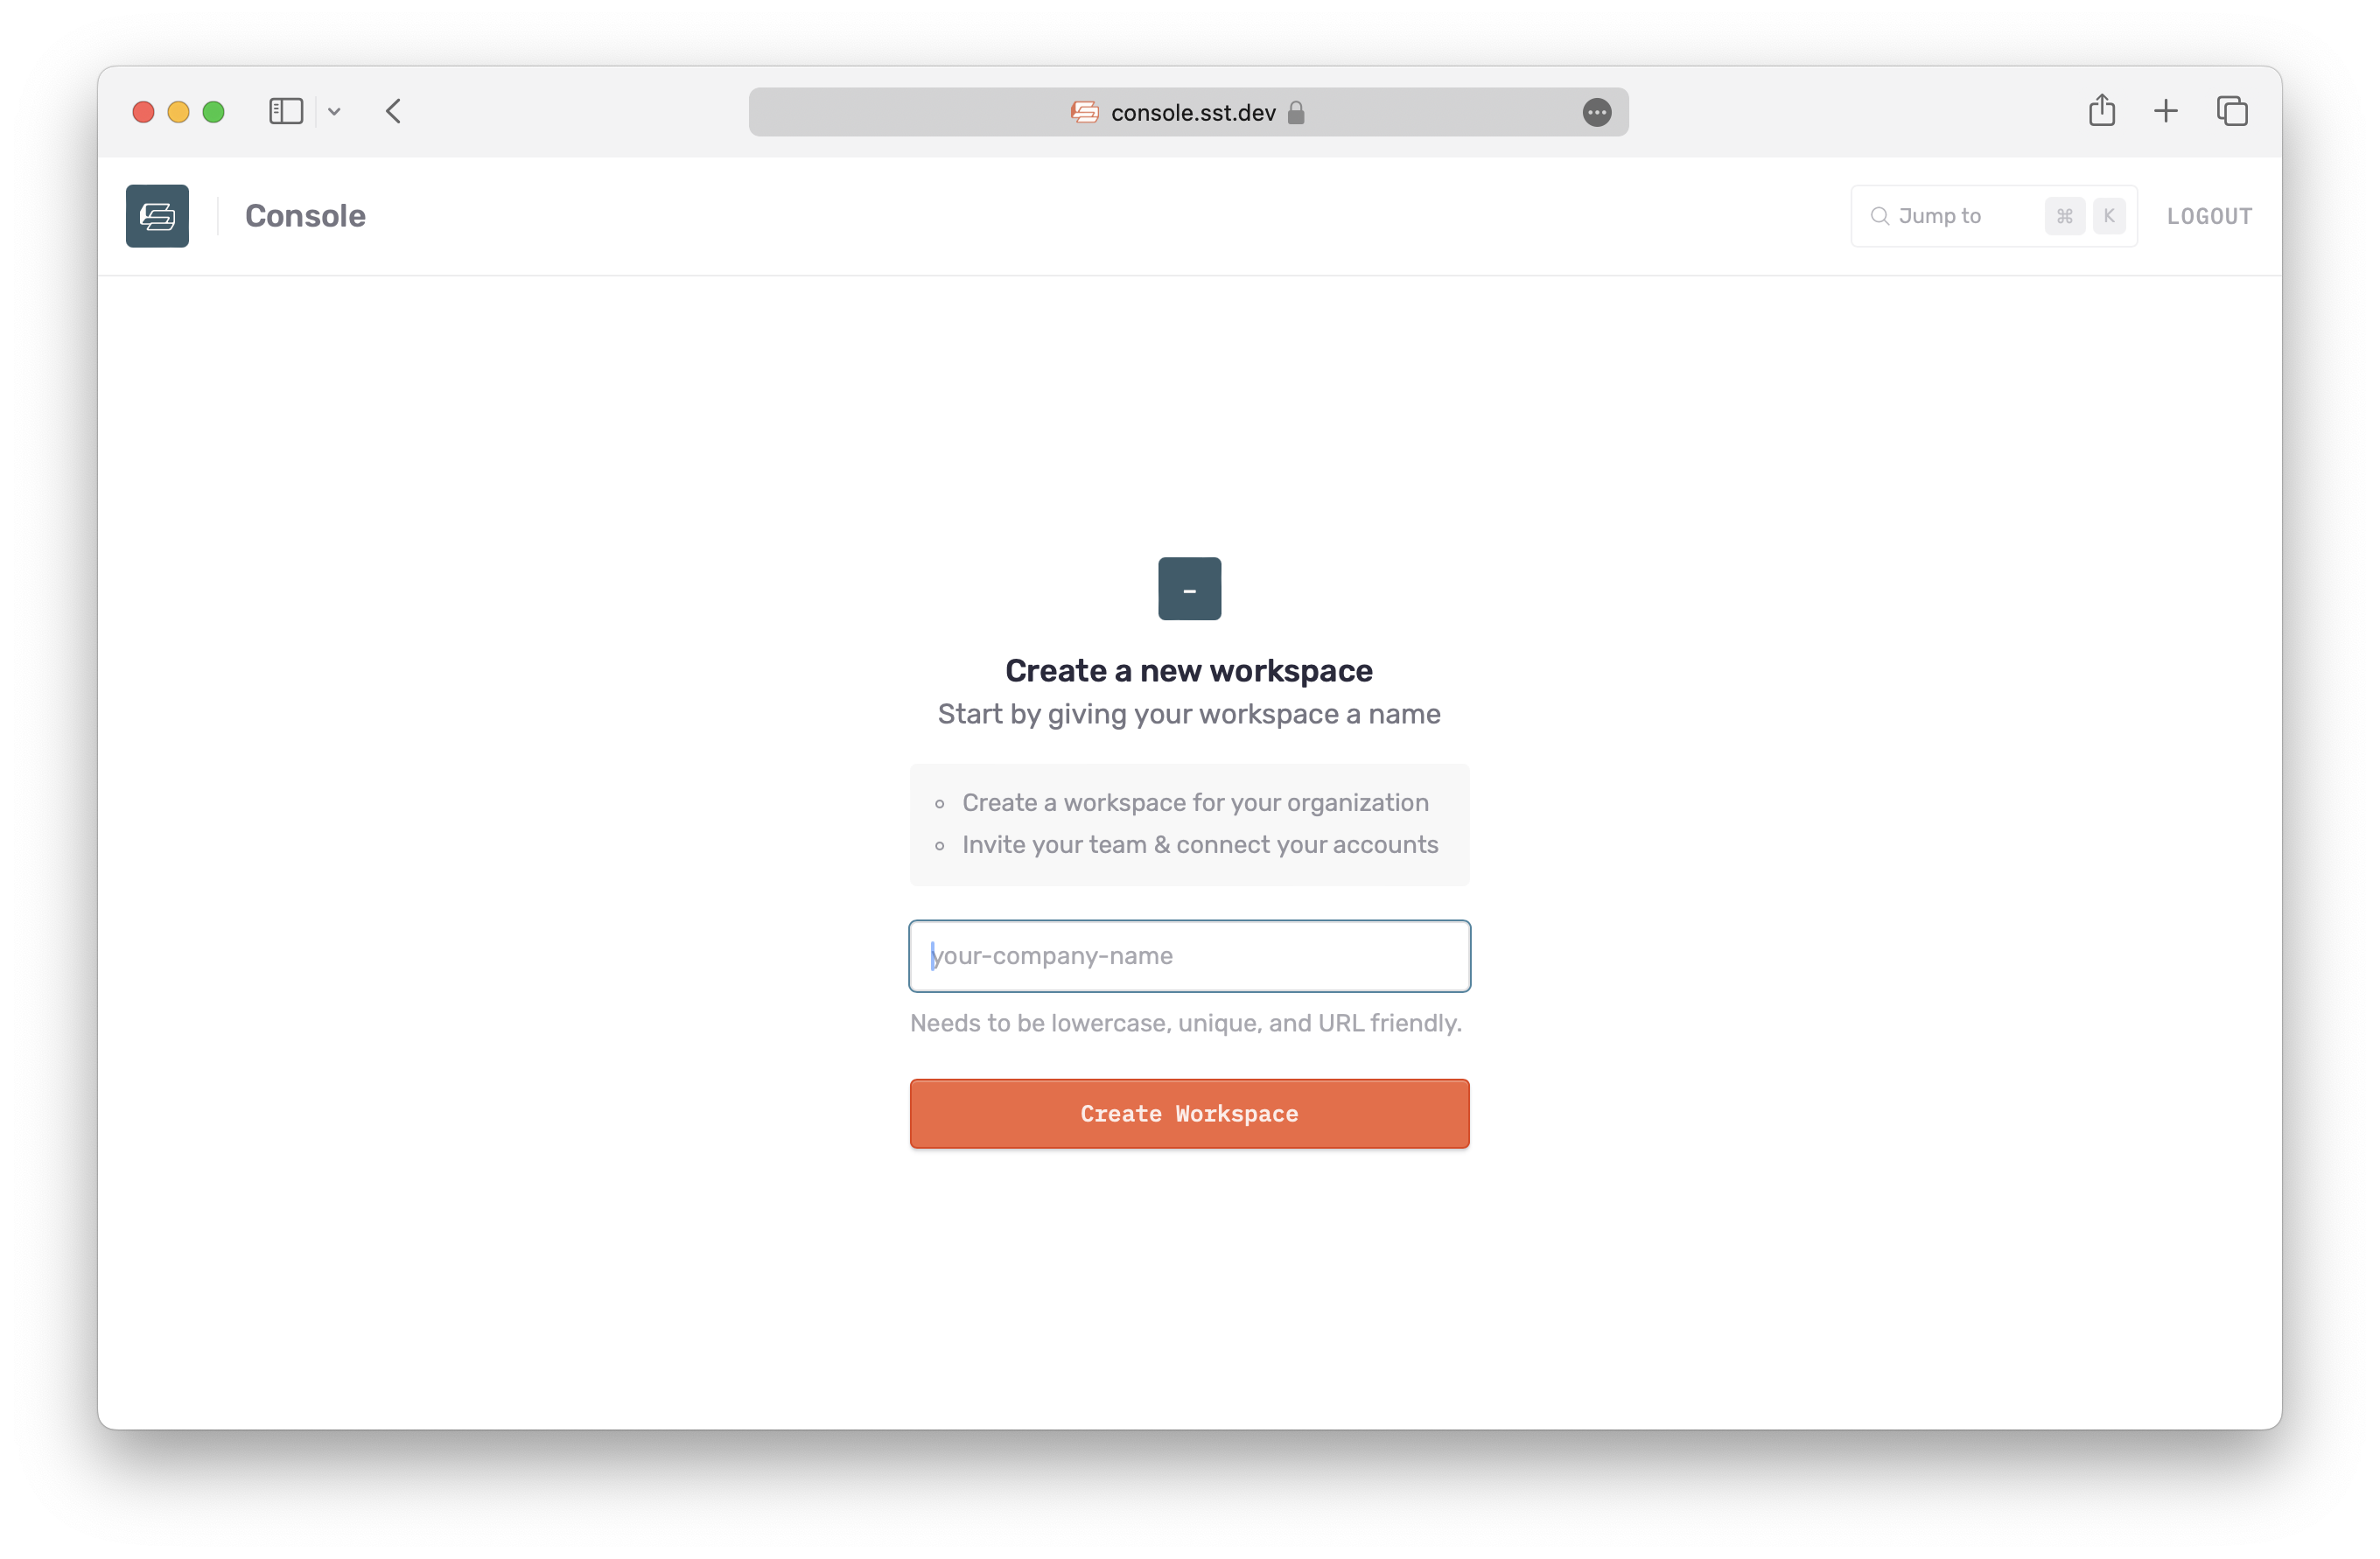
Let’s create your workspace.
Next, connect your AWS account.
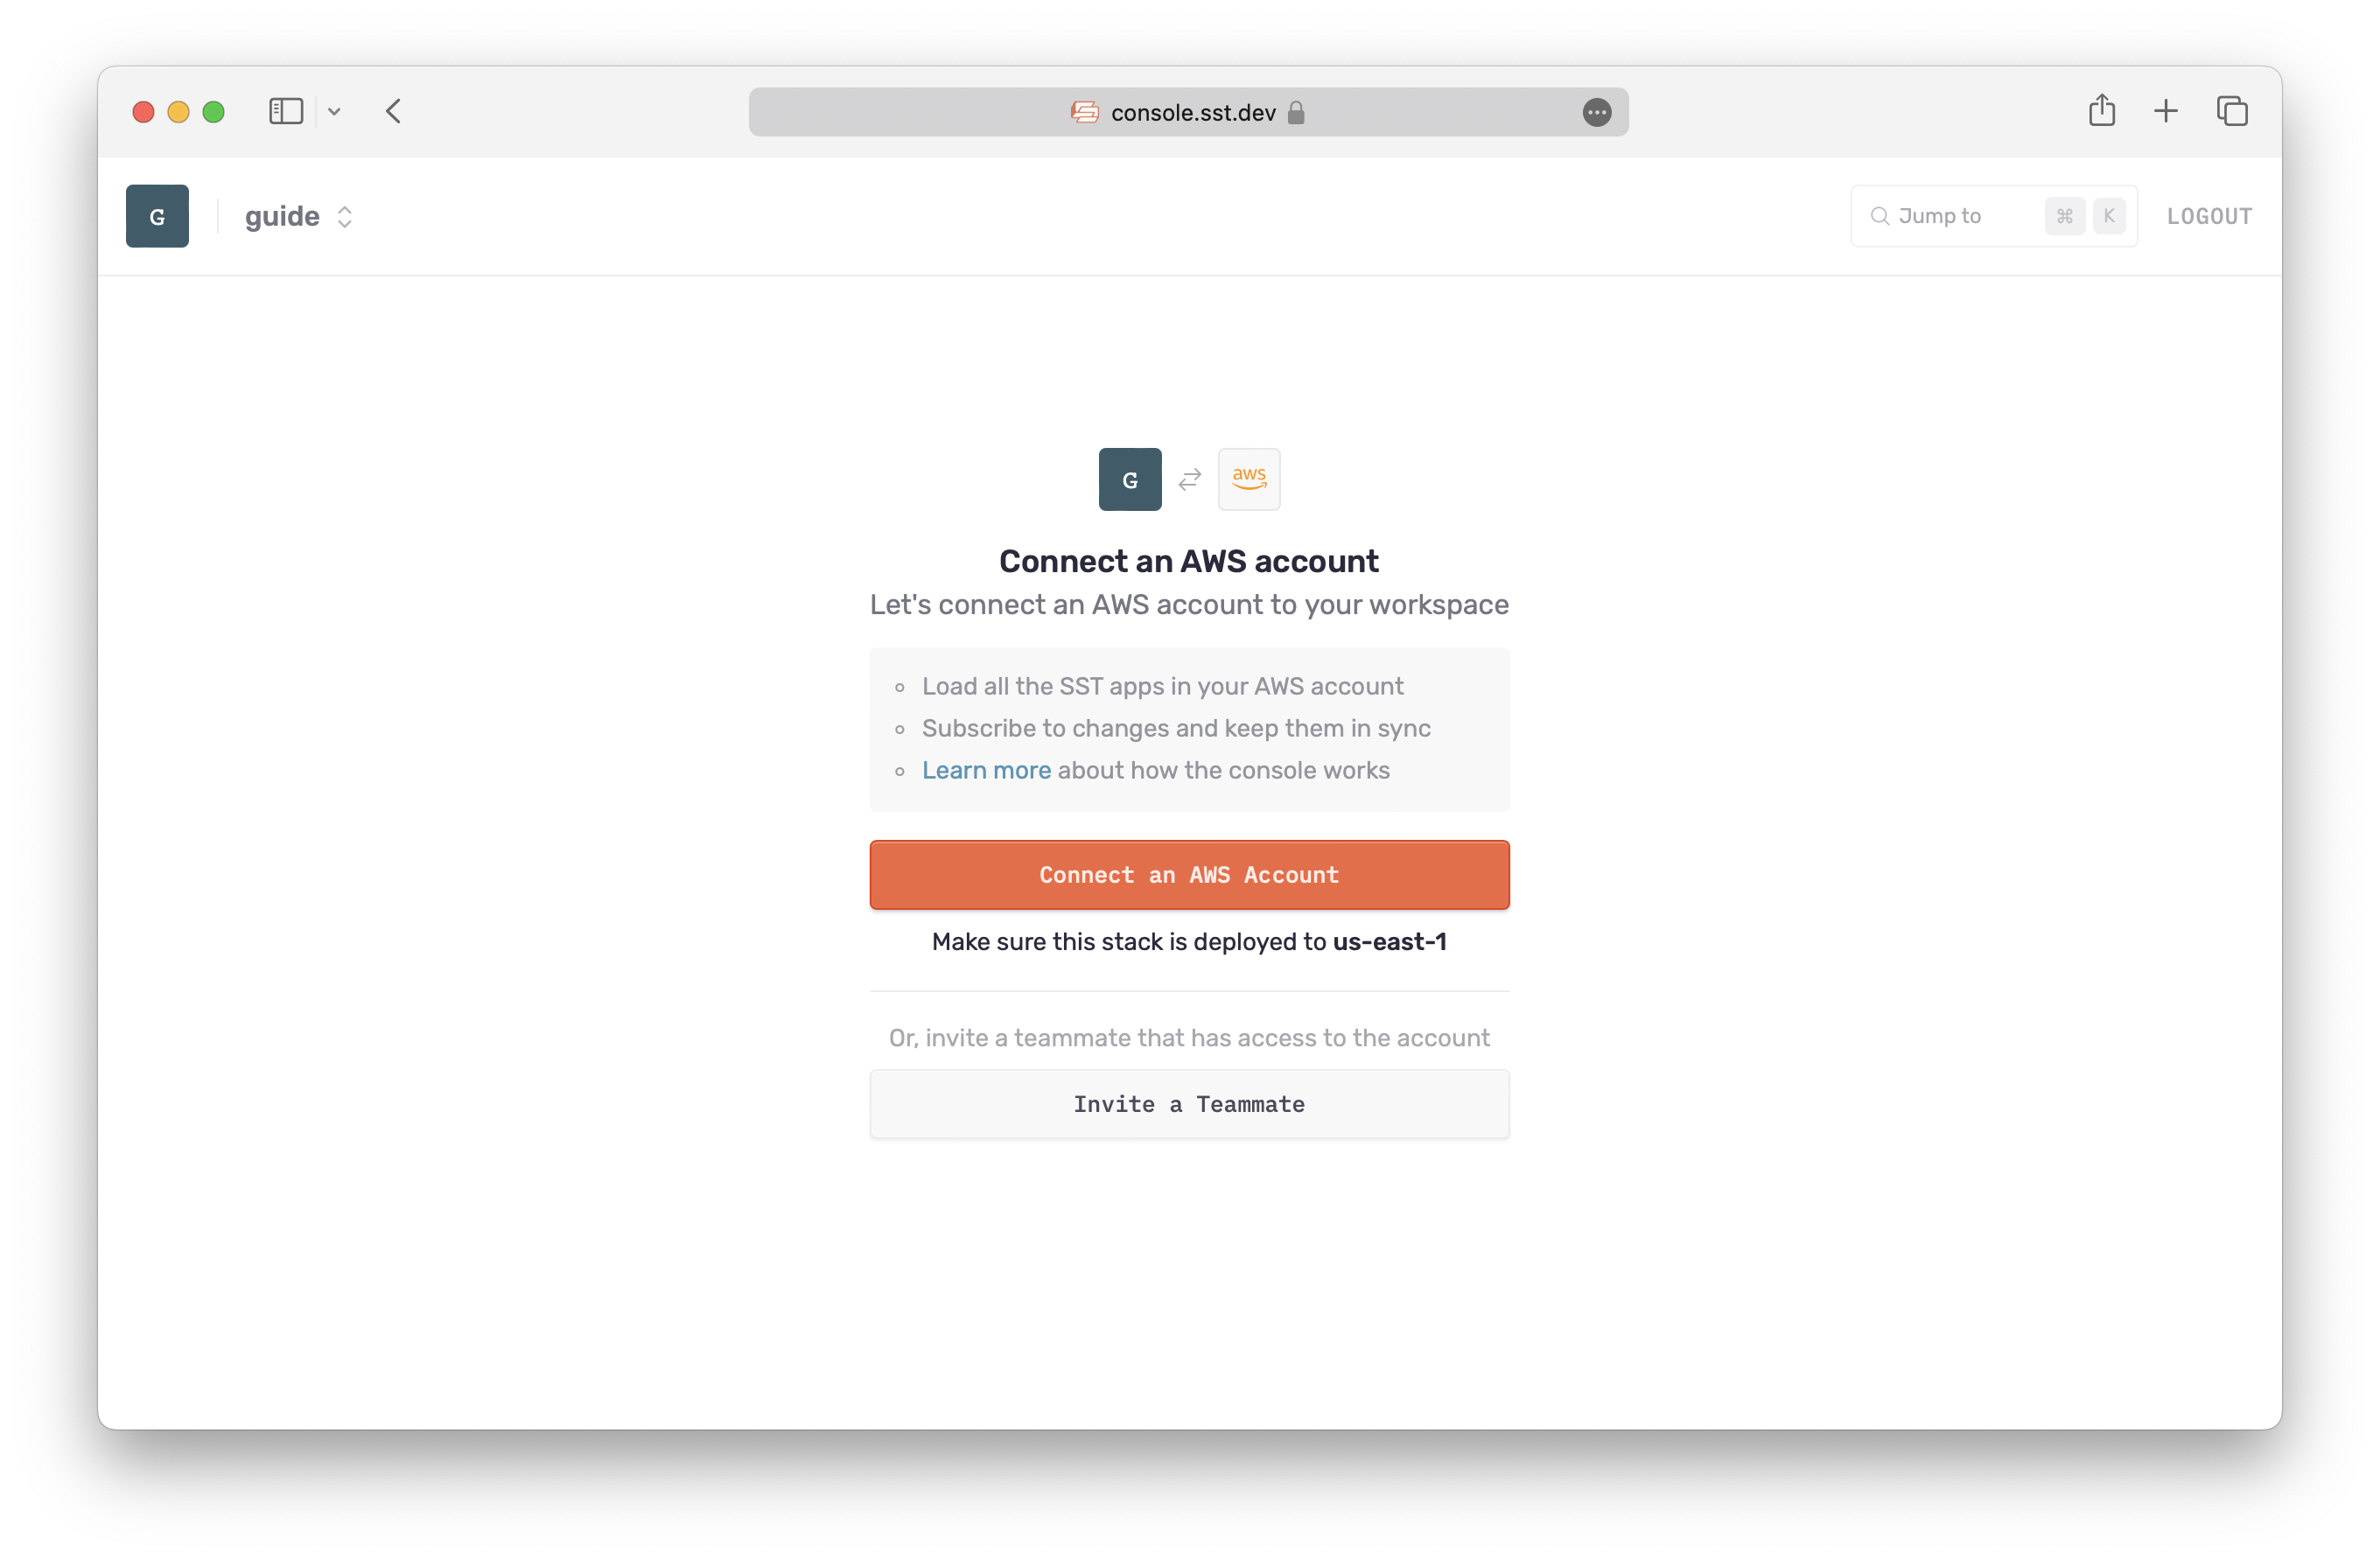
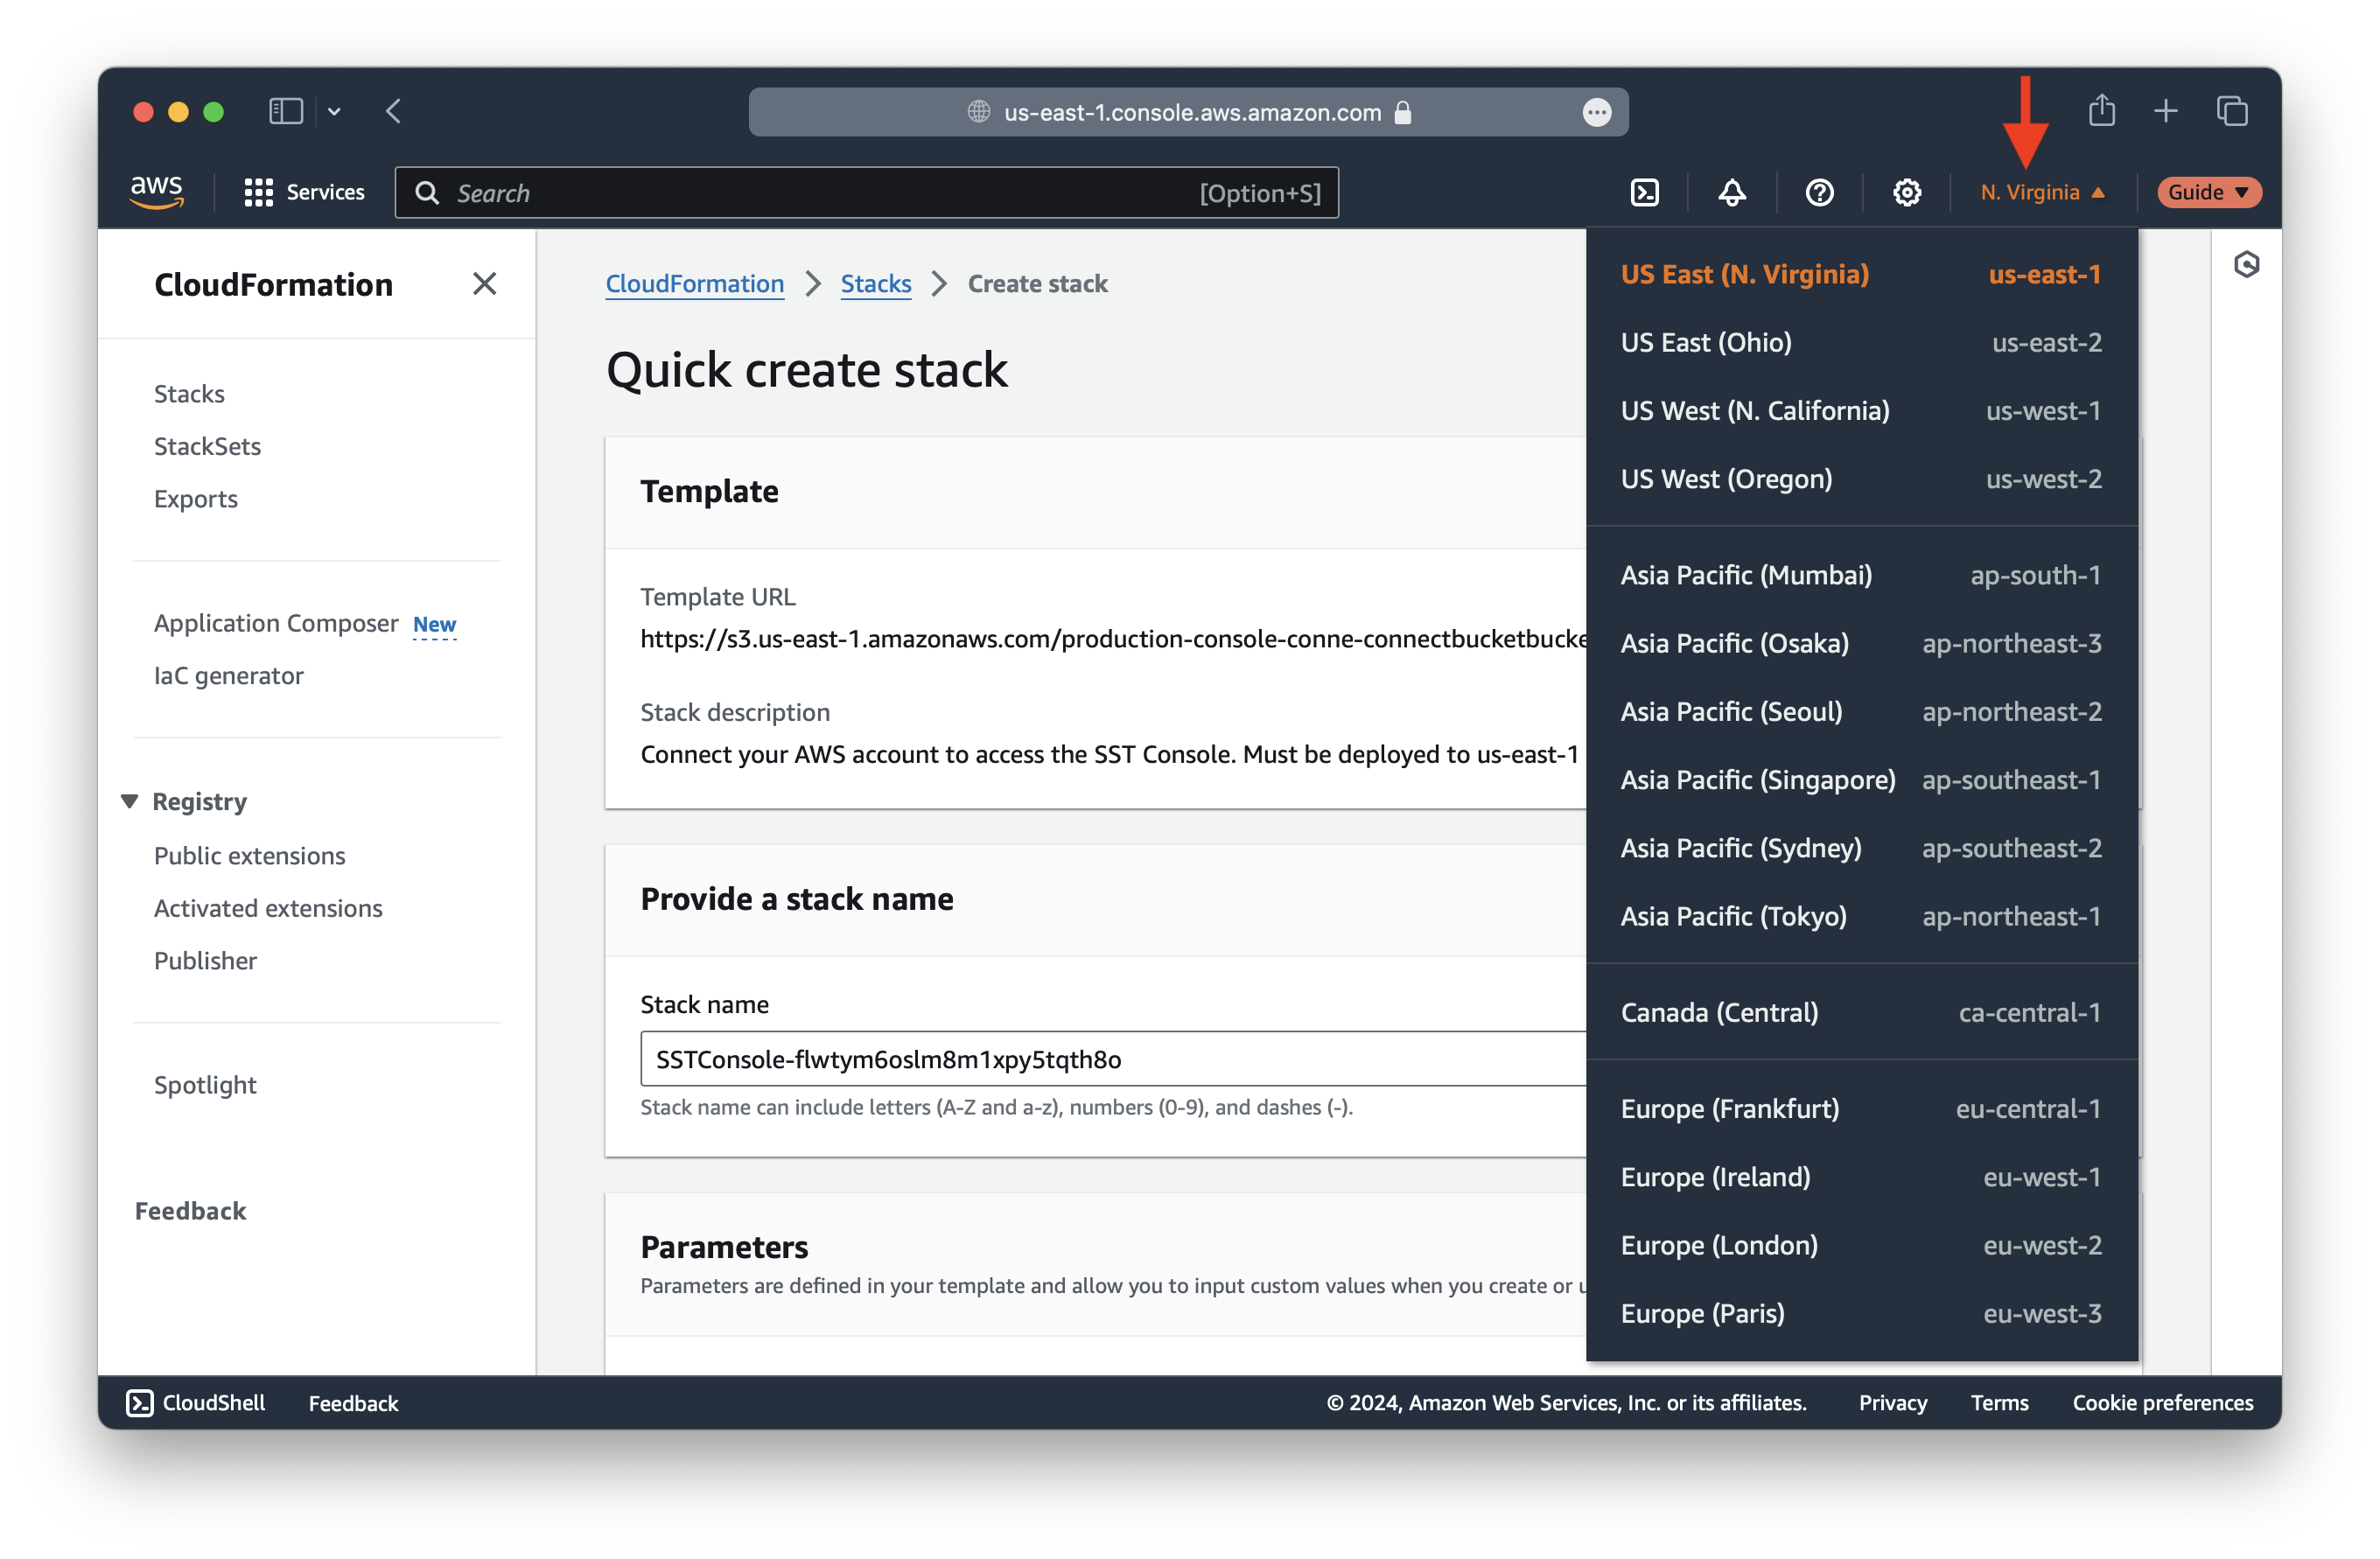
This will send you to the AWS Console and ask you to create a CloudFormation stack.
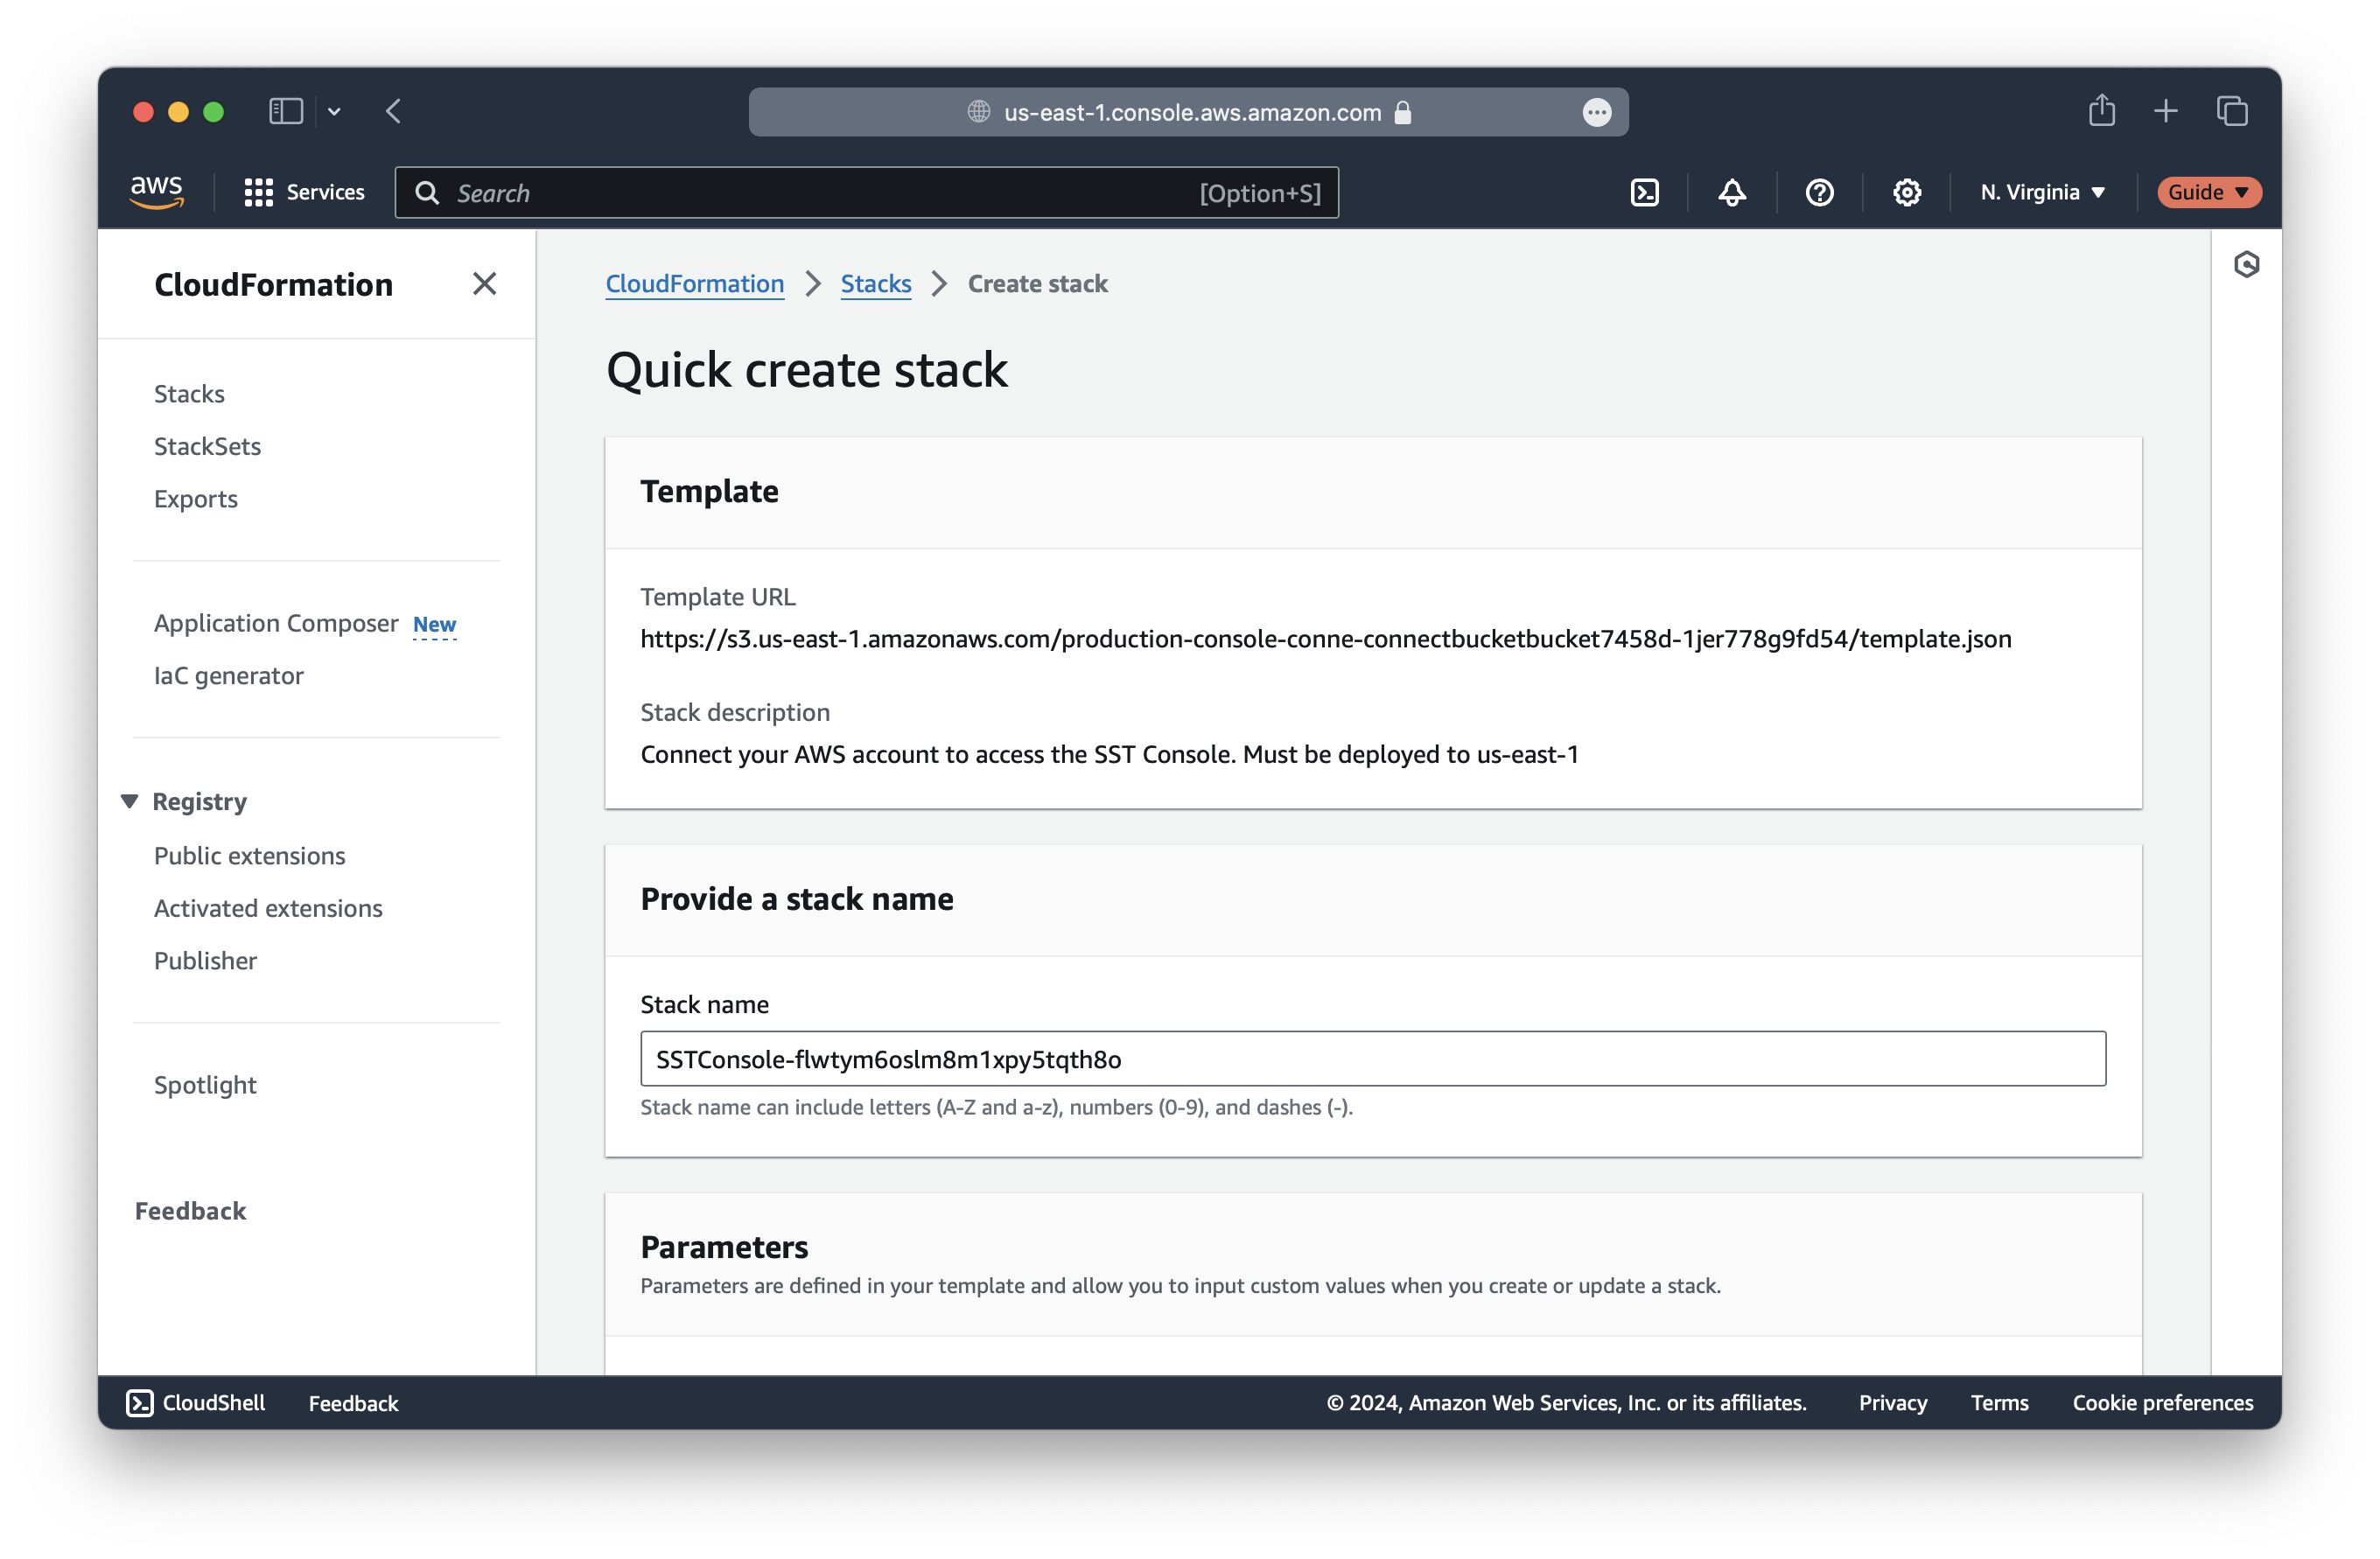
This stack needs to be in us-east-1. So make sure you use the dropdown at the top right to check that you are in the right region.
Scroll down, confirm the checkbox at the bottom and click Create stack.
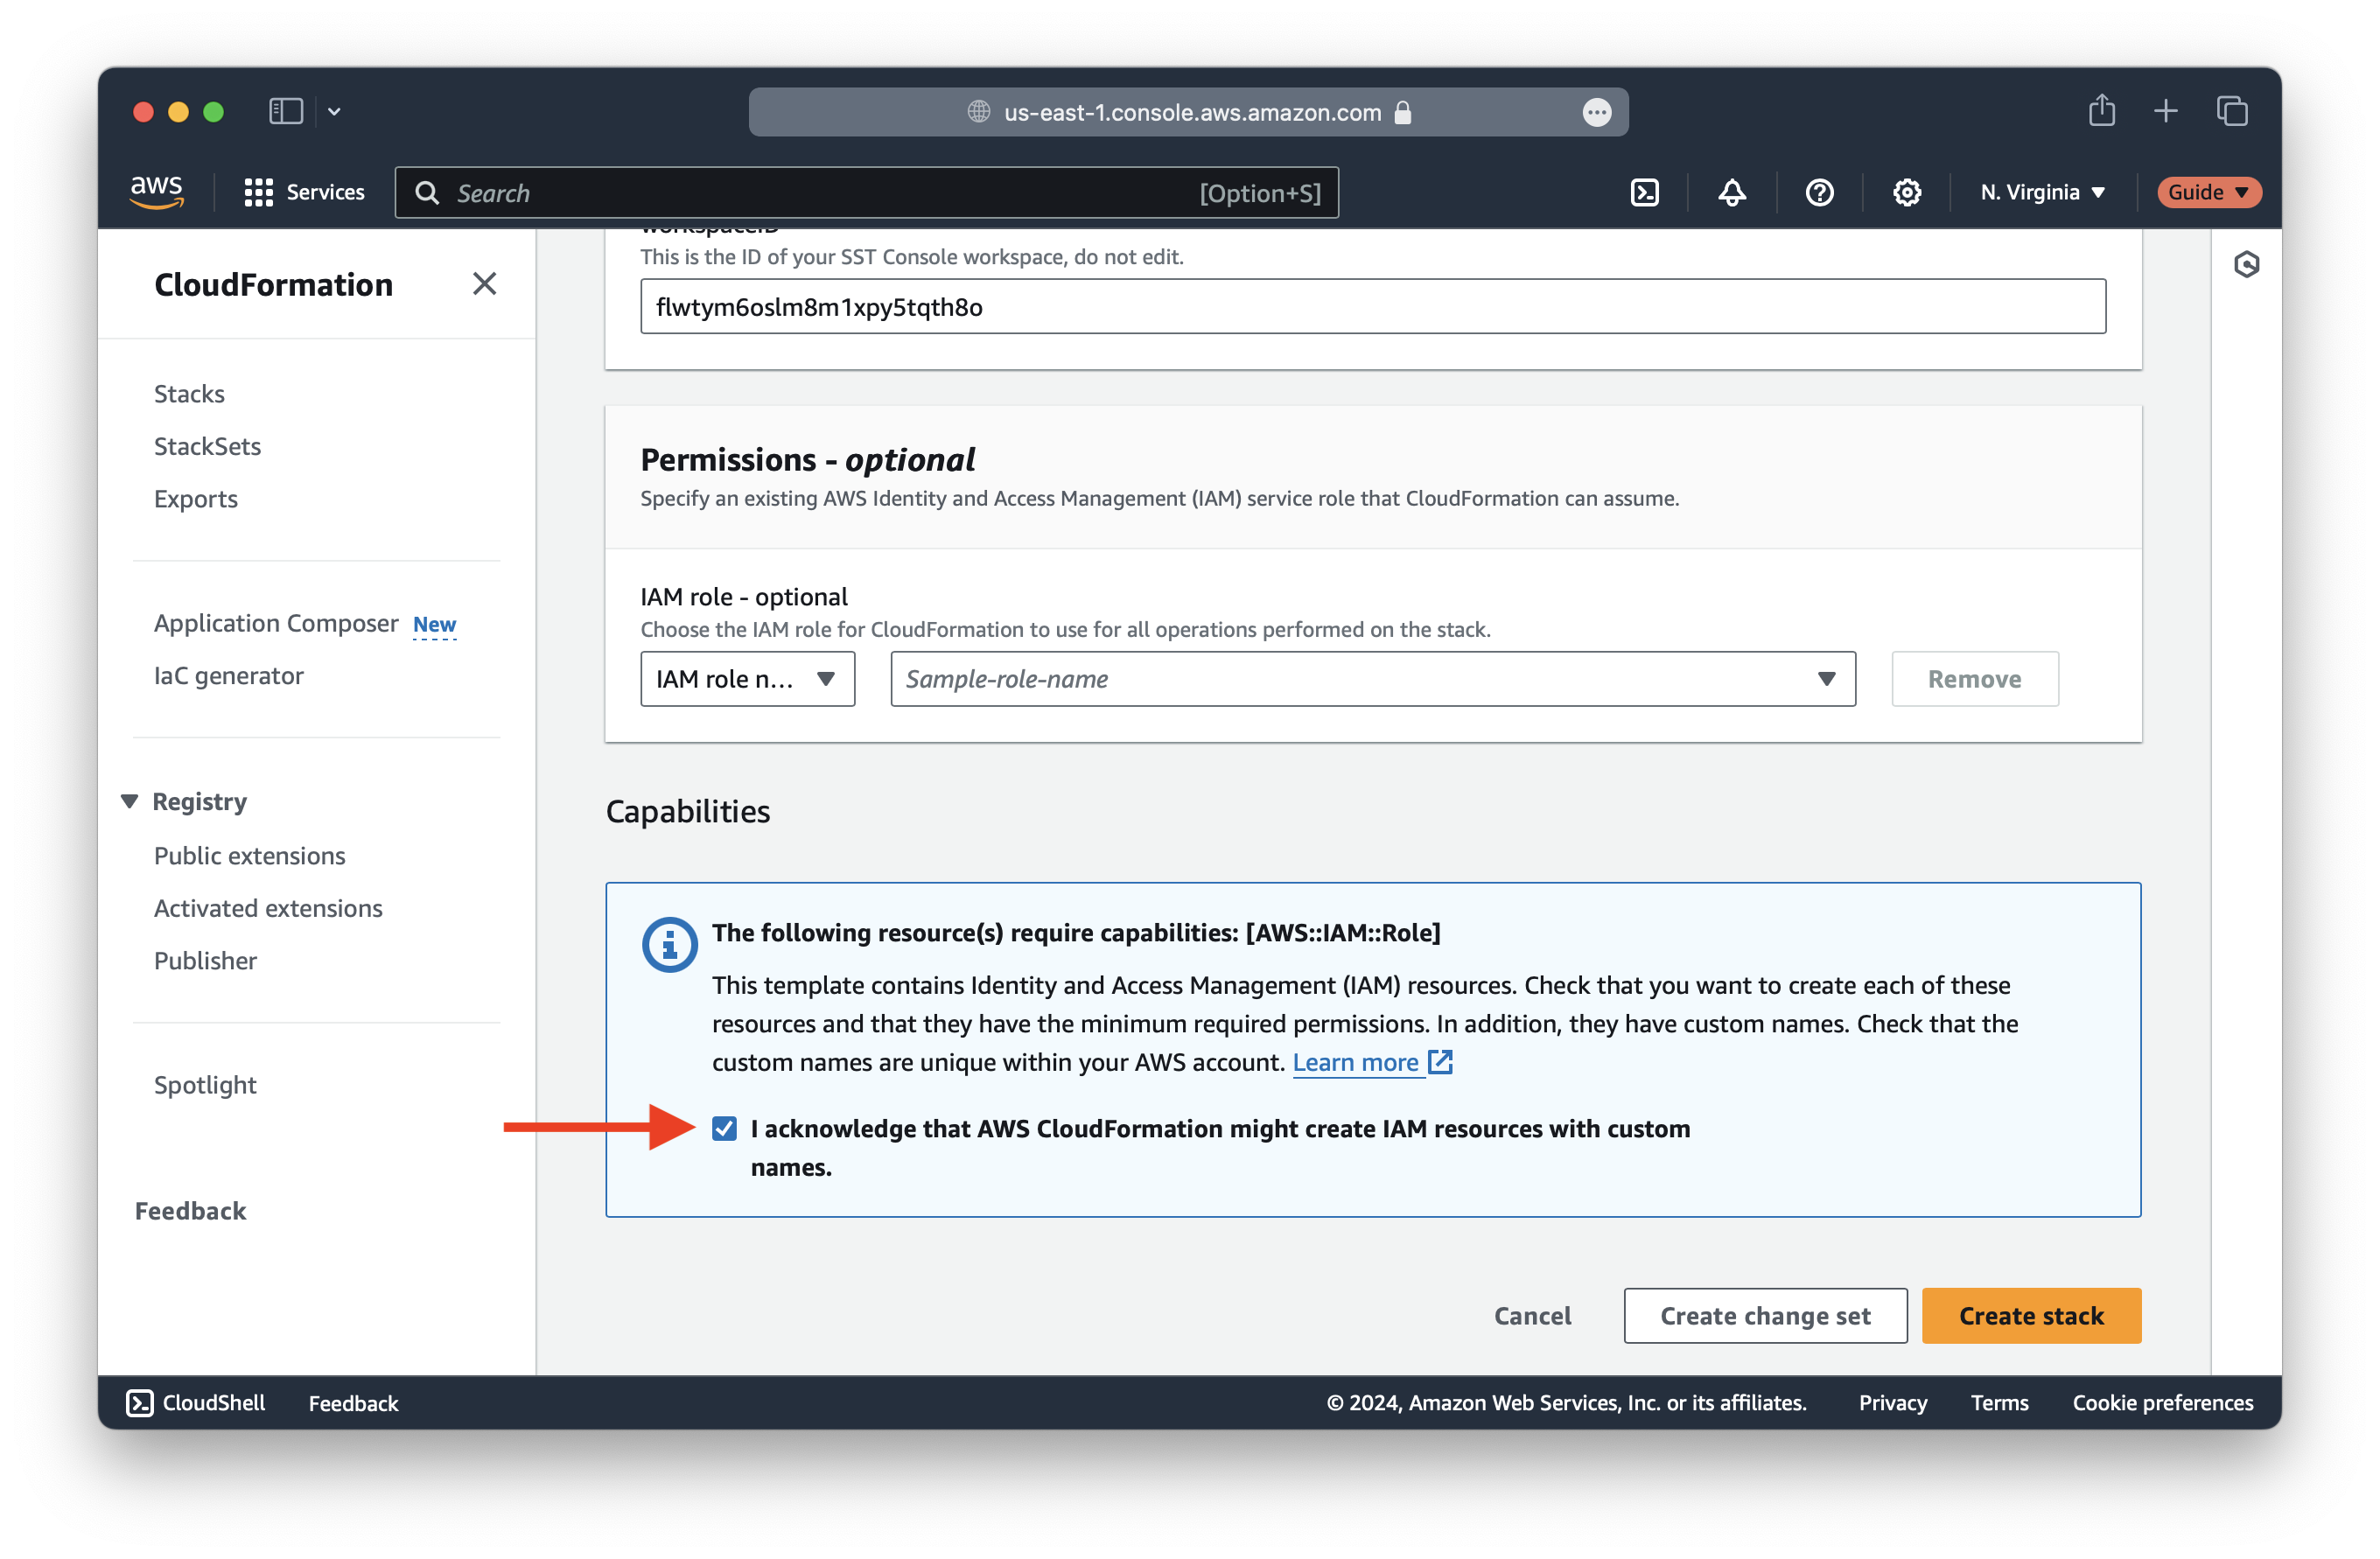
It will take a couple of minutes to create the stack.
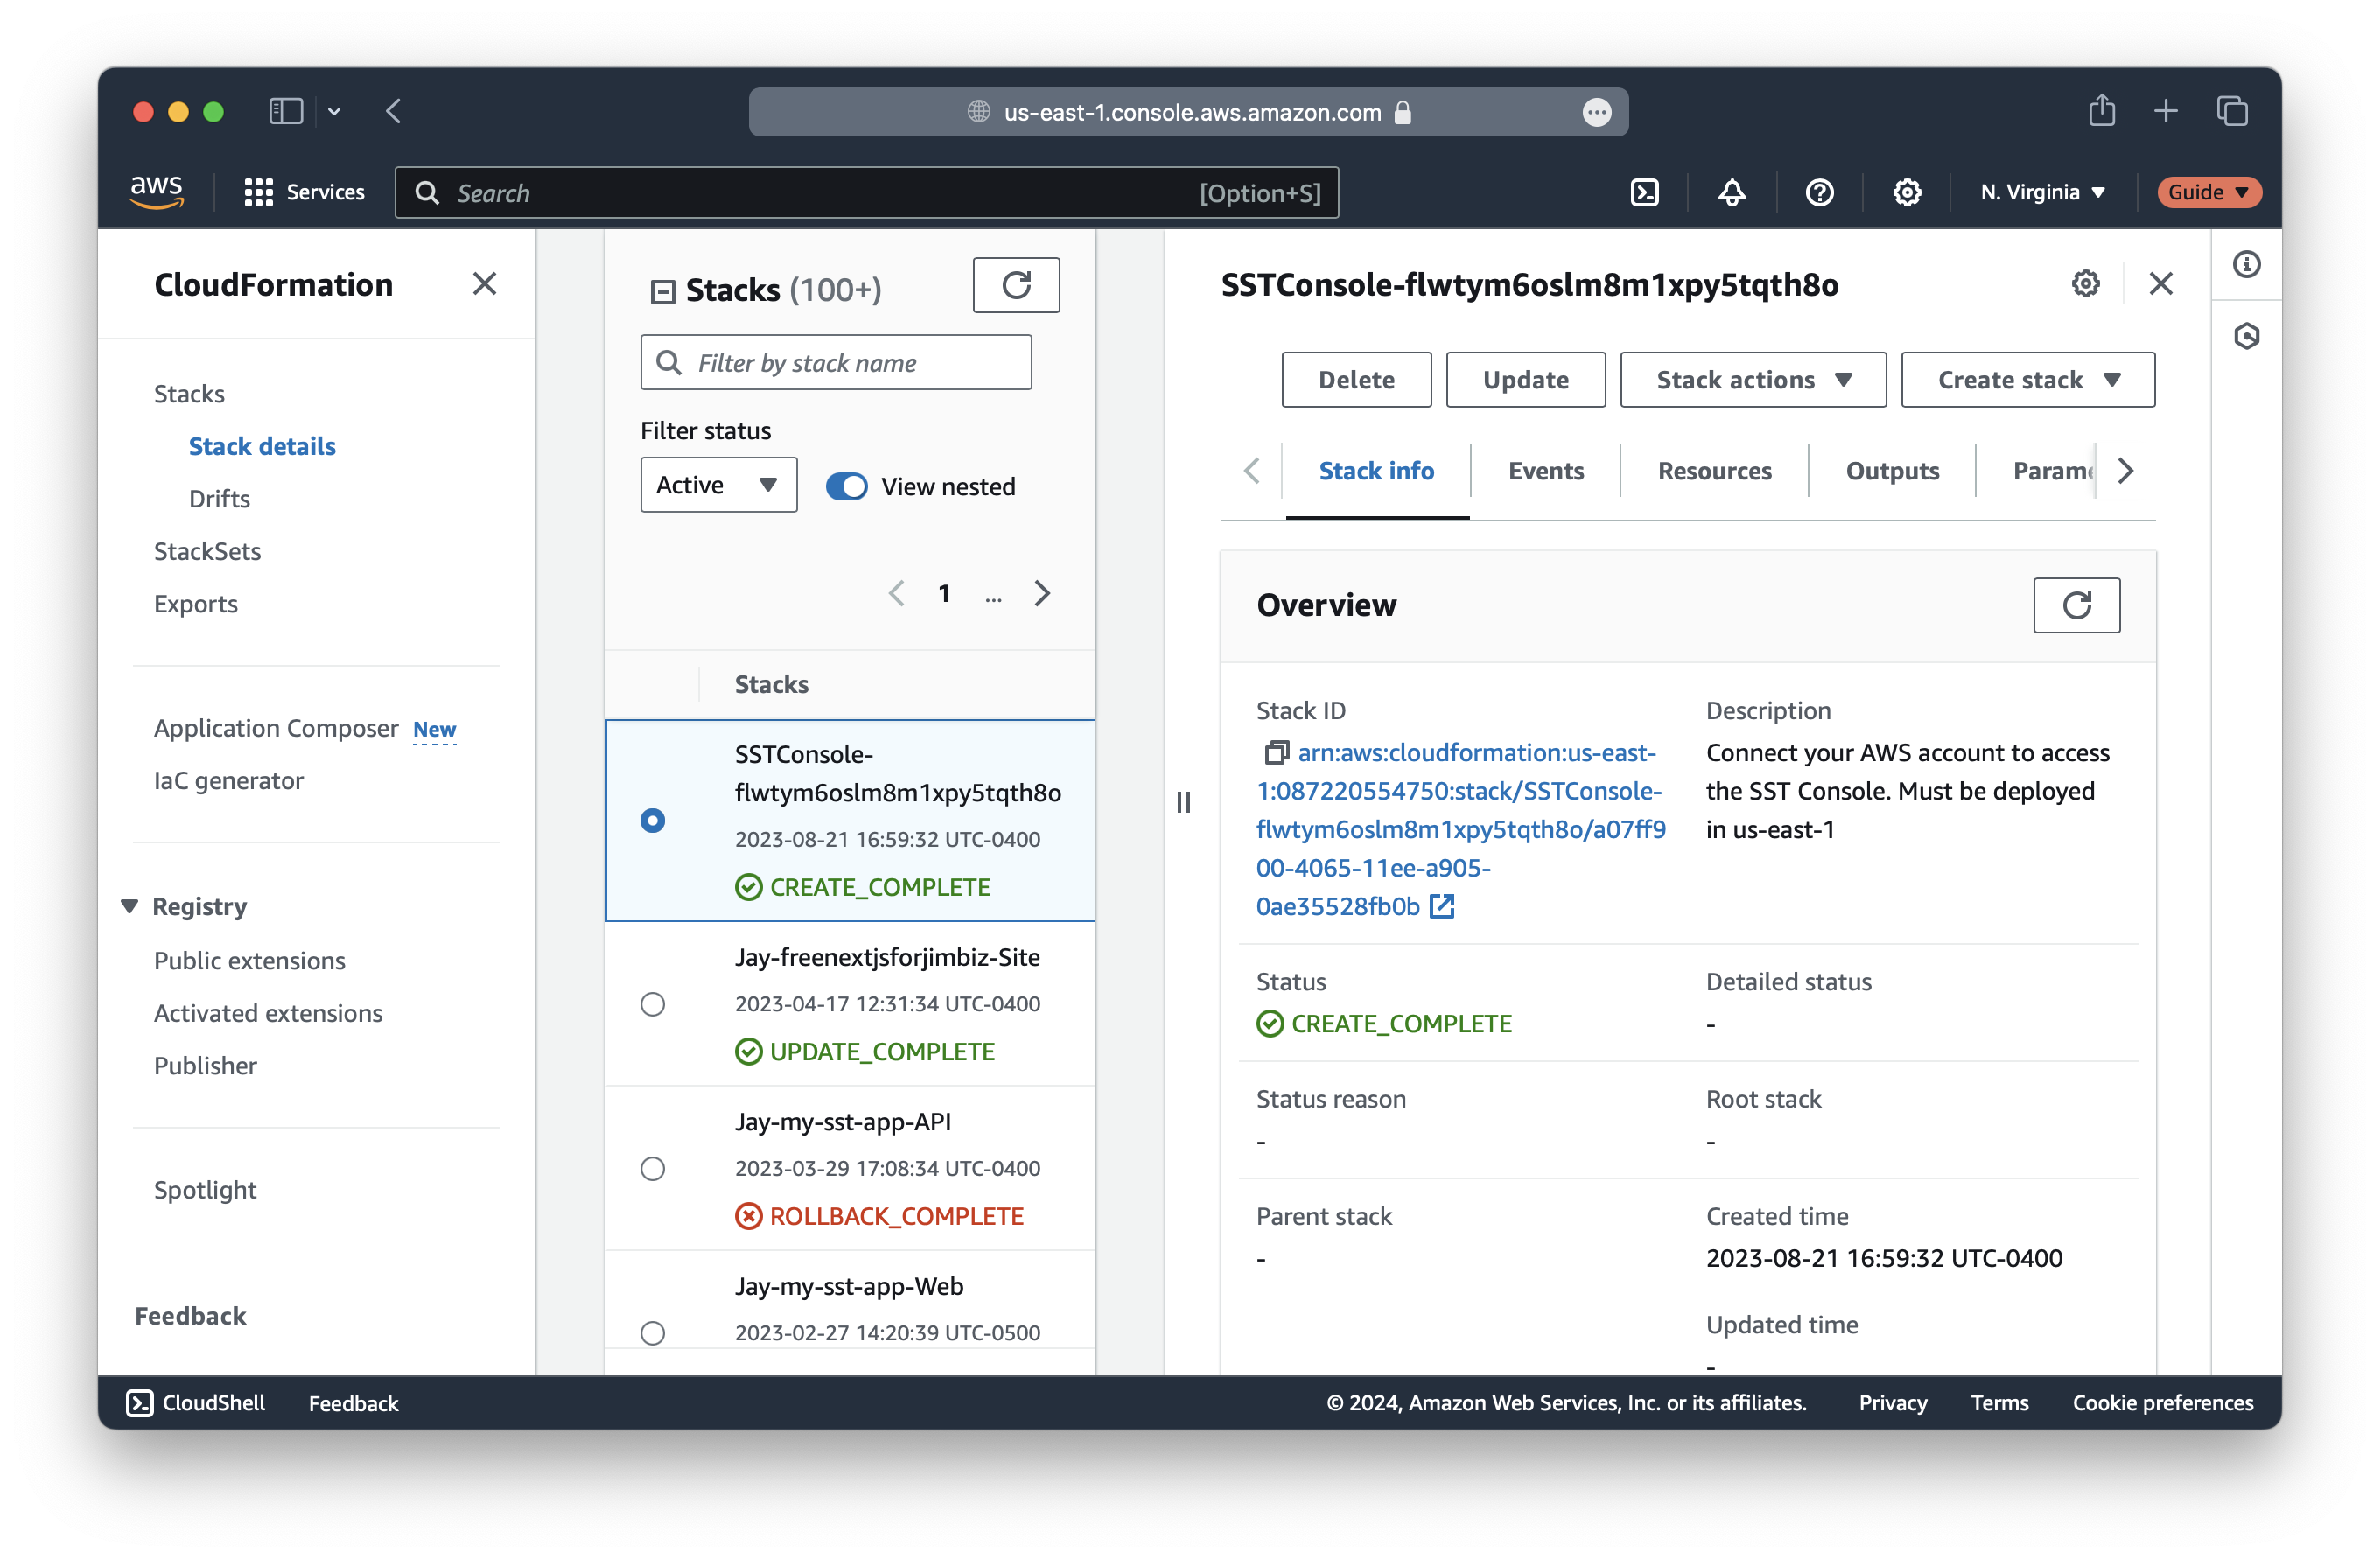
Once complete, head back to the SST Console. It’ll take a minute to scan your AWS account for your SST apps.
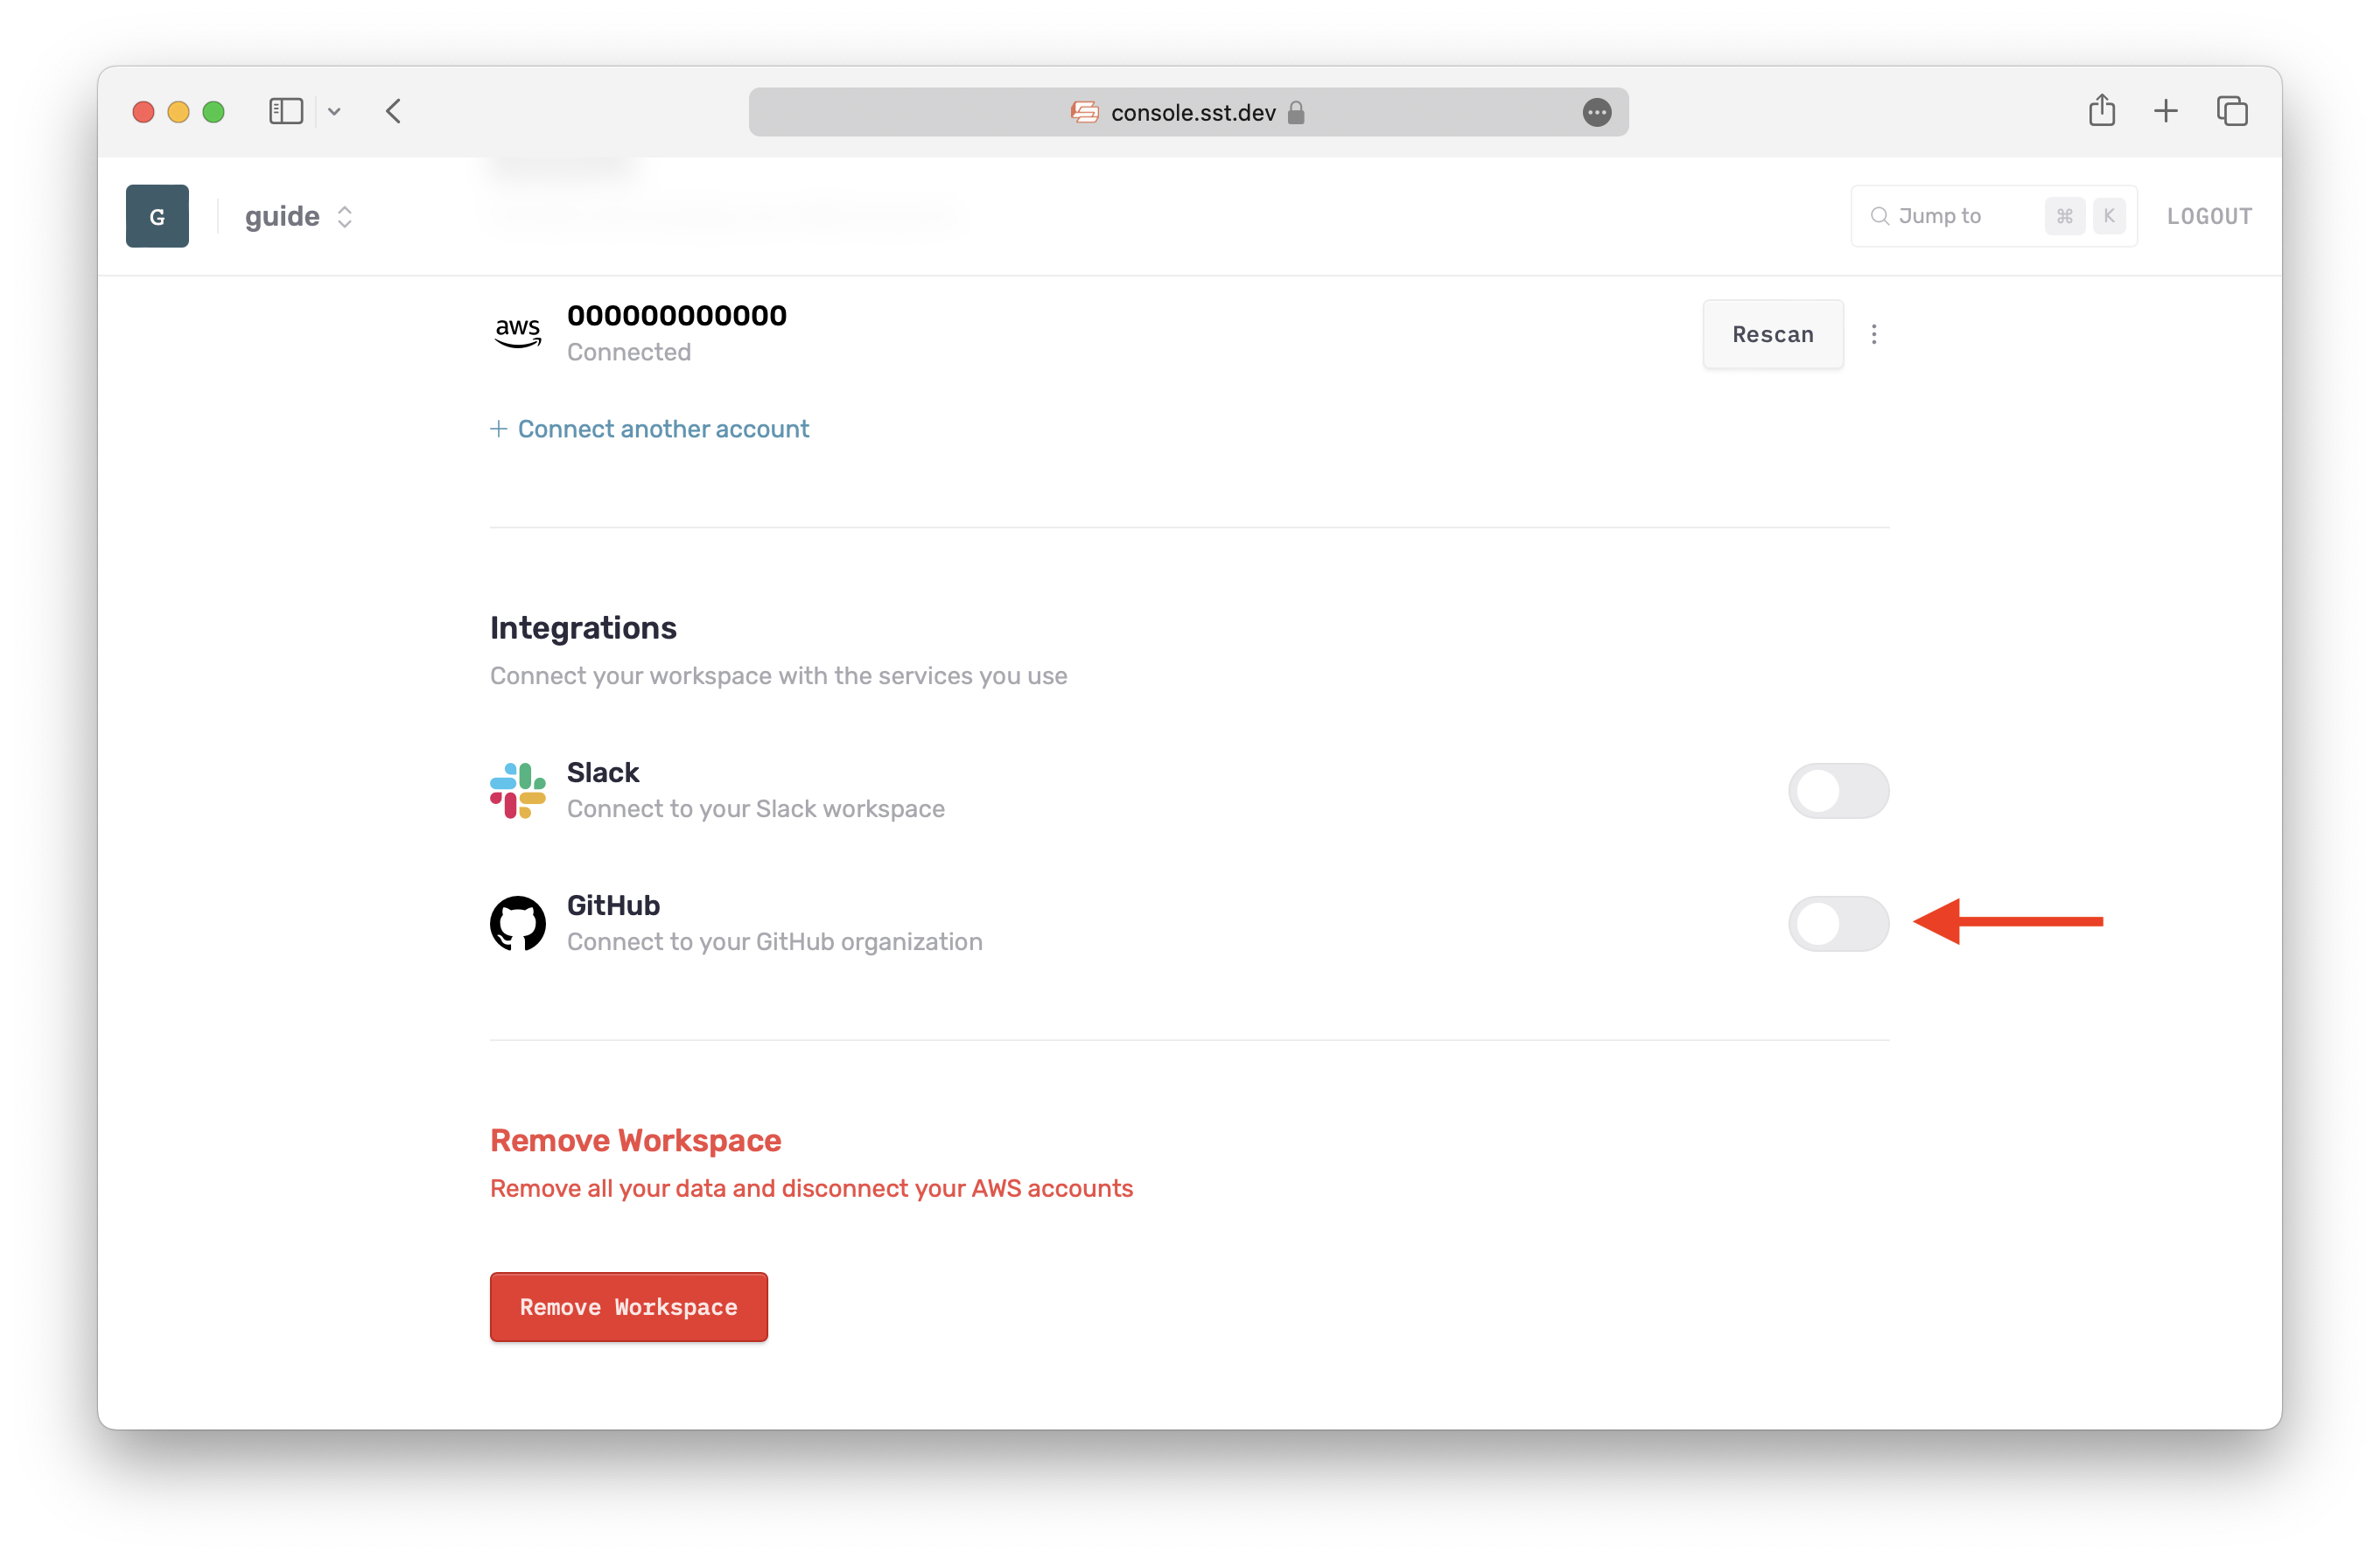
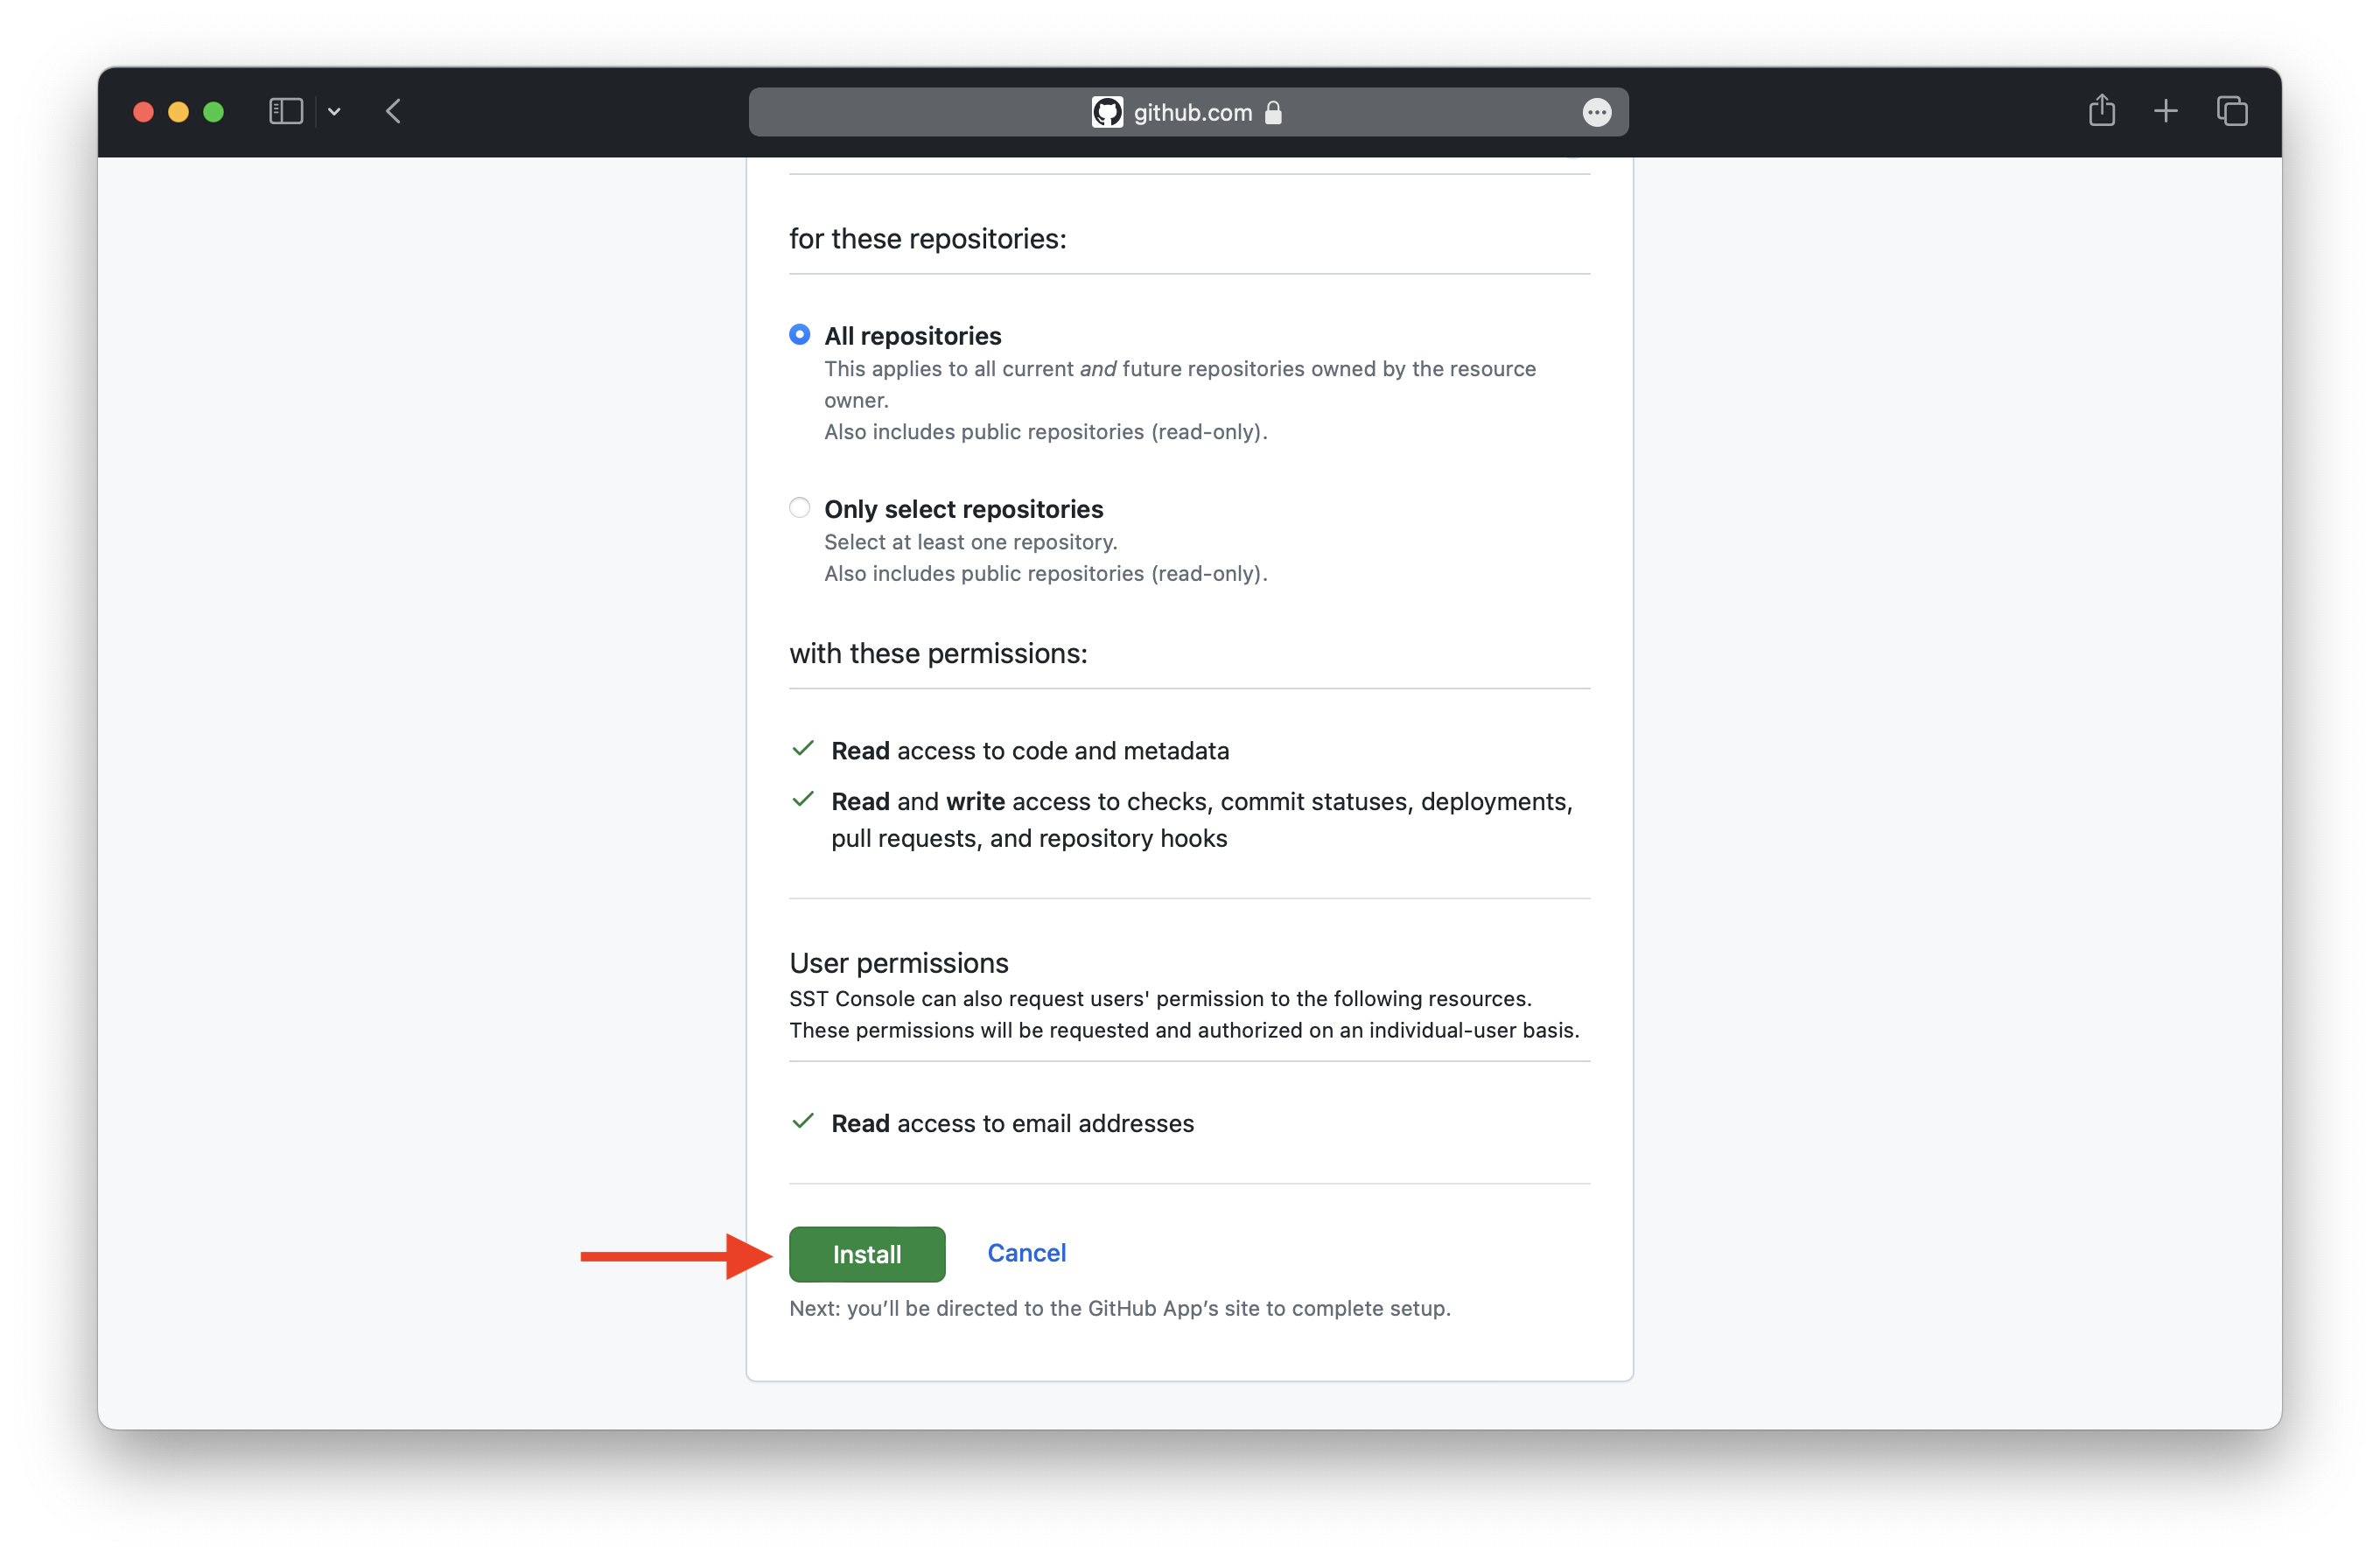
While it’s doing that, let’s link our GitHub. Click on Manage workspace, scroll down to the Integrations, and enable GitHub.
You’ll be asked to select where you want to install the SST Console integration. You can either pick your personal account or any organizations you are a part of. This is where your notes app repo has been created.
Once you select where you want to install it, scroll down and click Install.
Now your GitHub integration should be enabled. And hopefully the Console should be done scanning your AWS account. You should see your notes app with your personal stage.
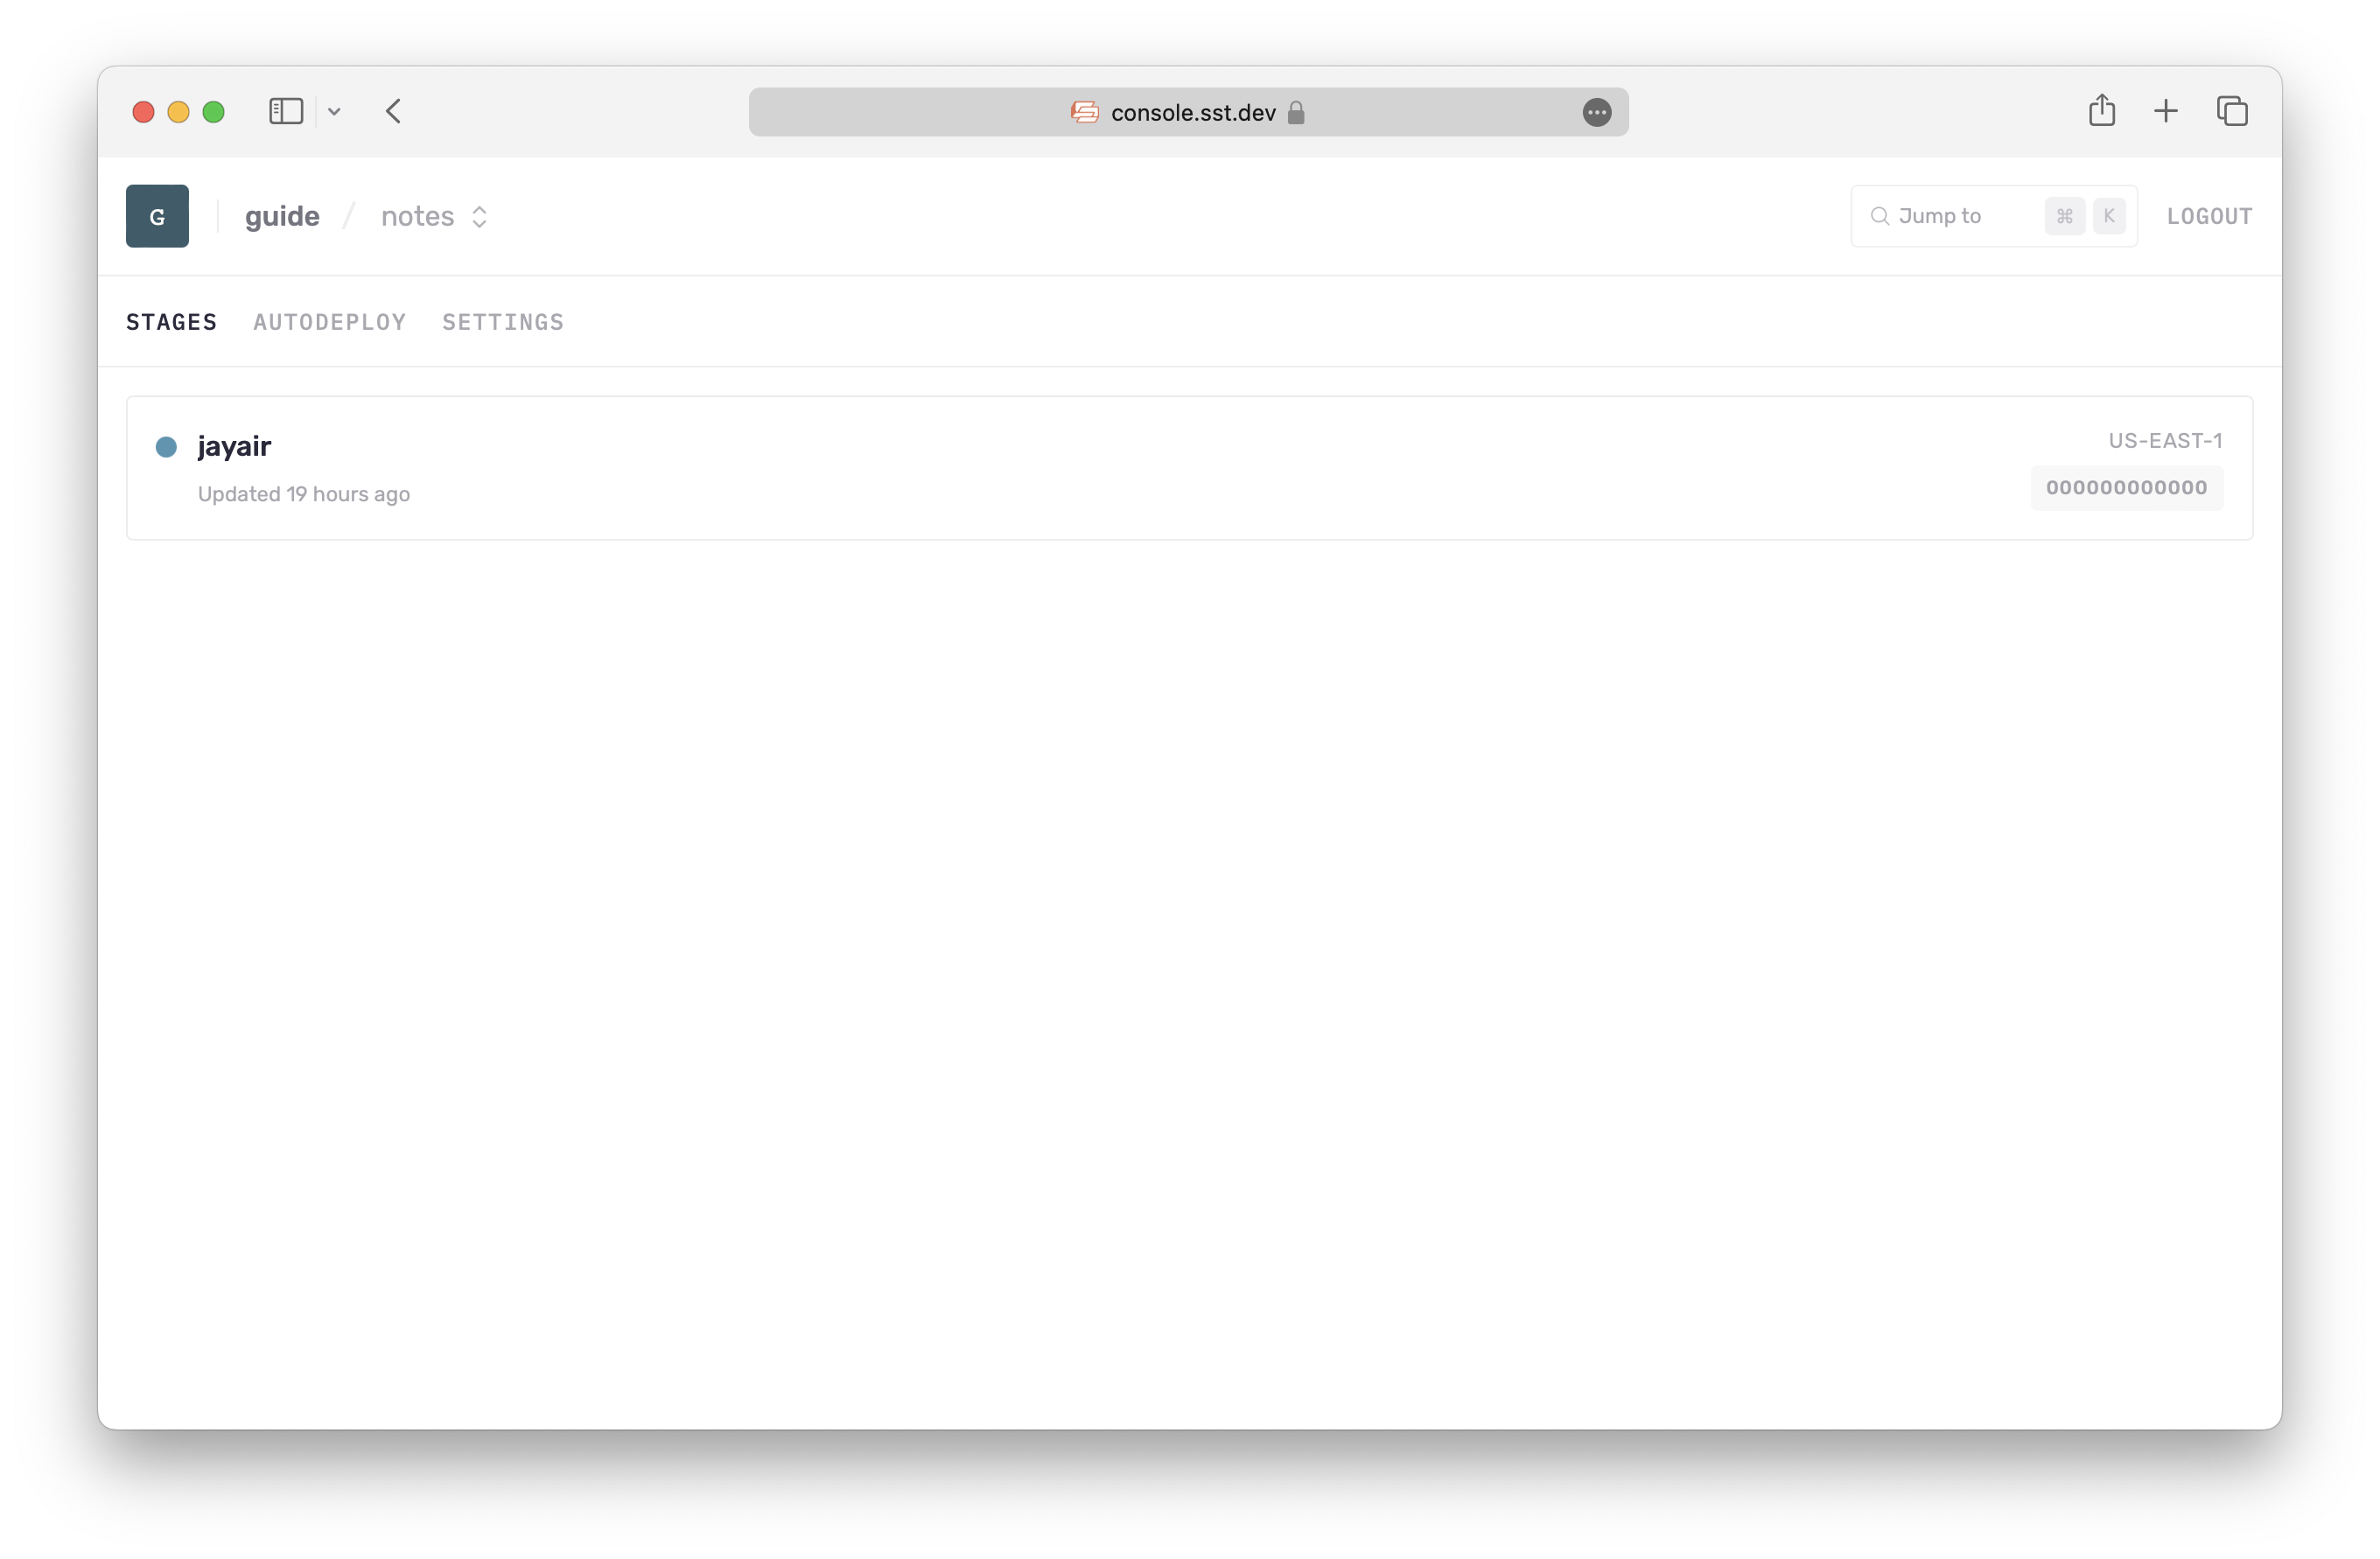
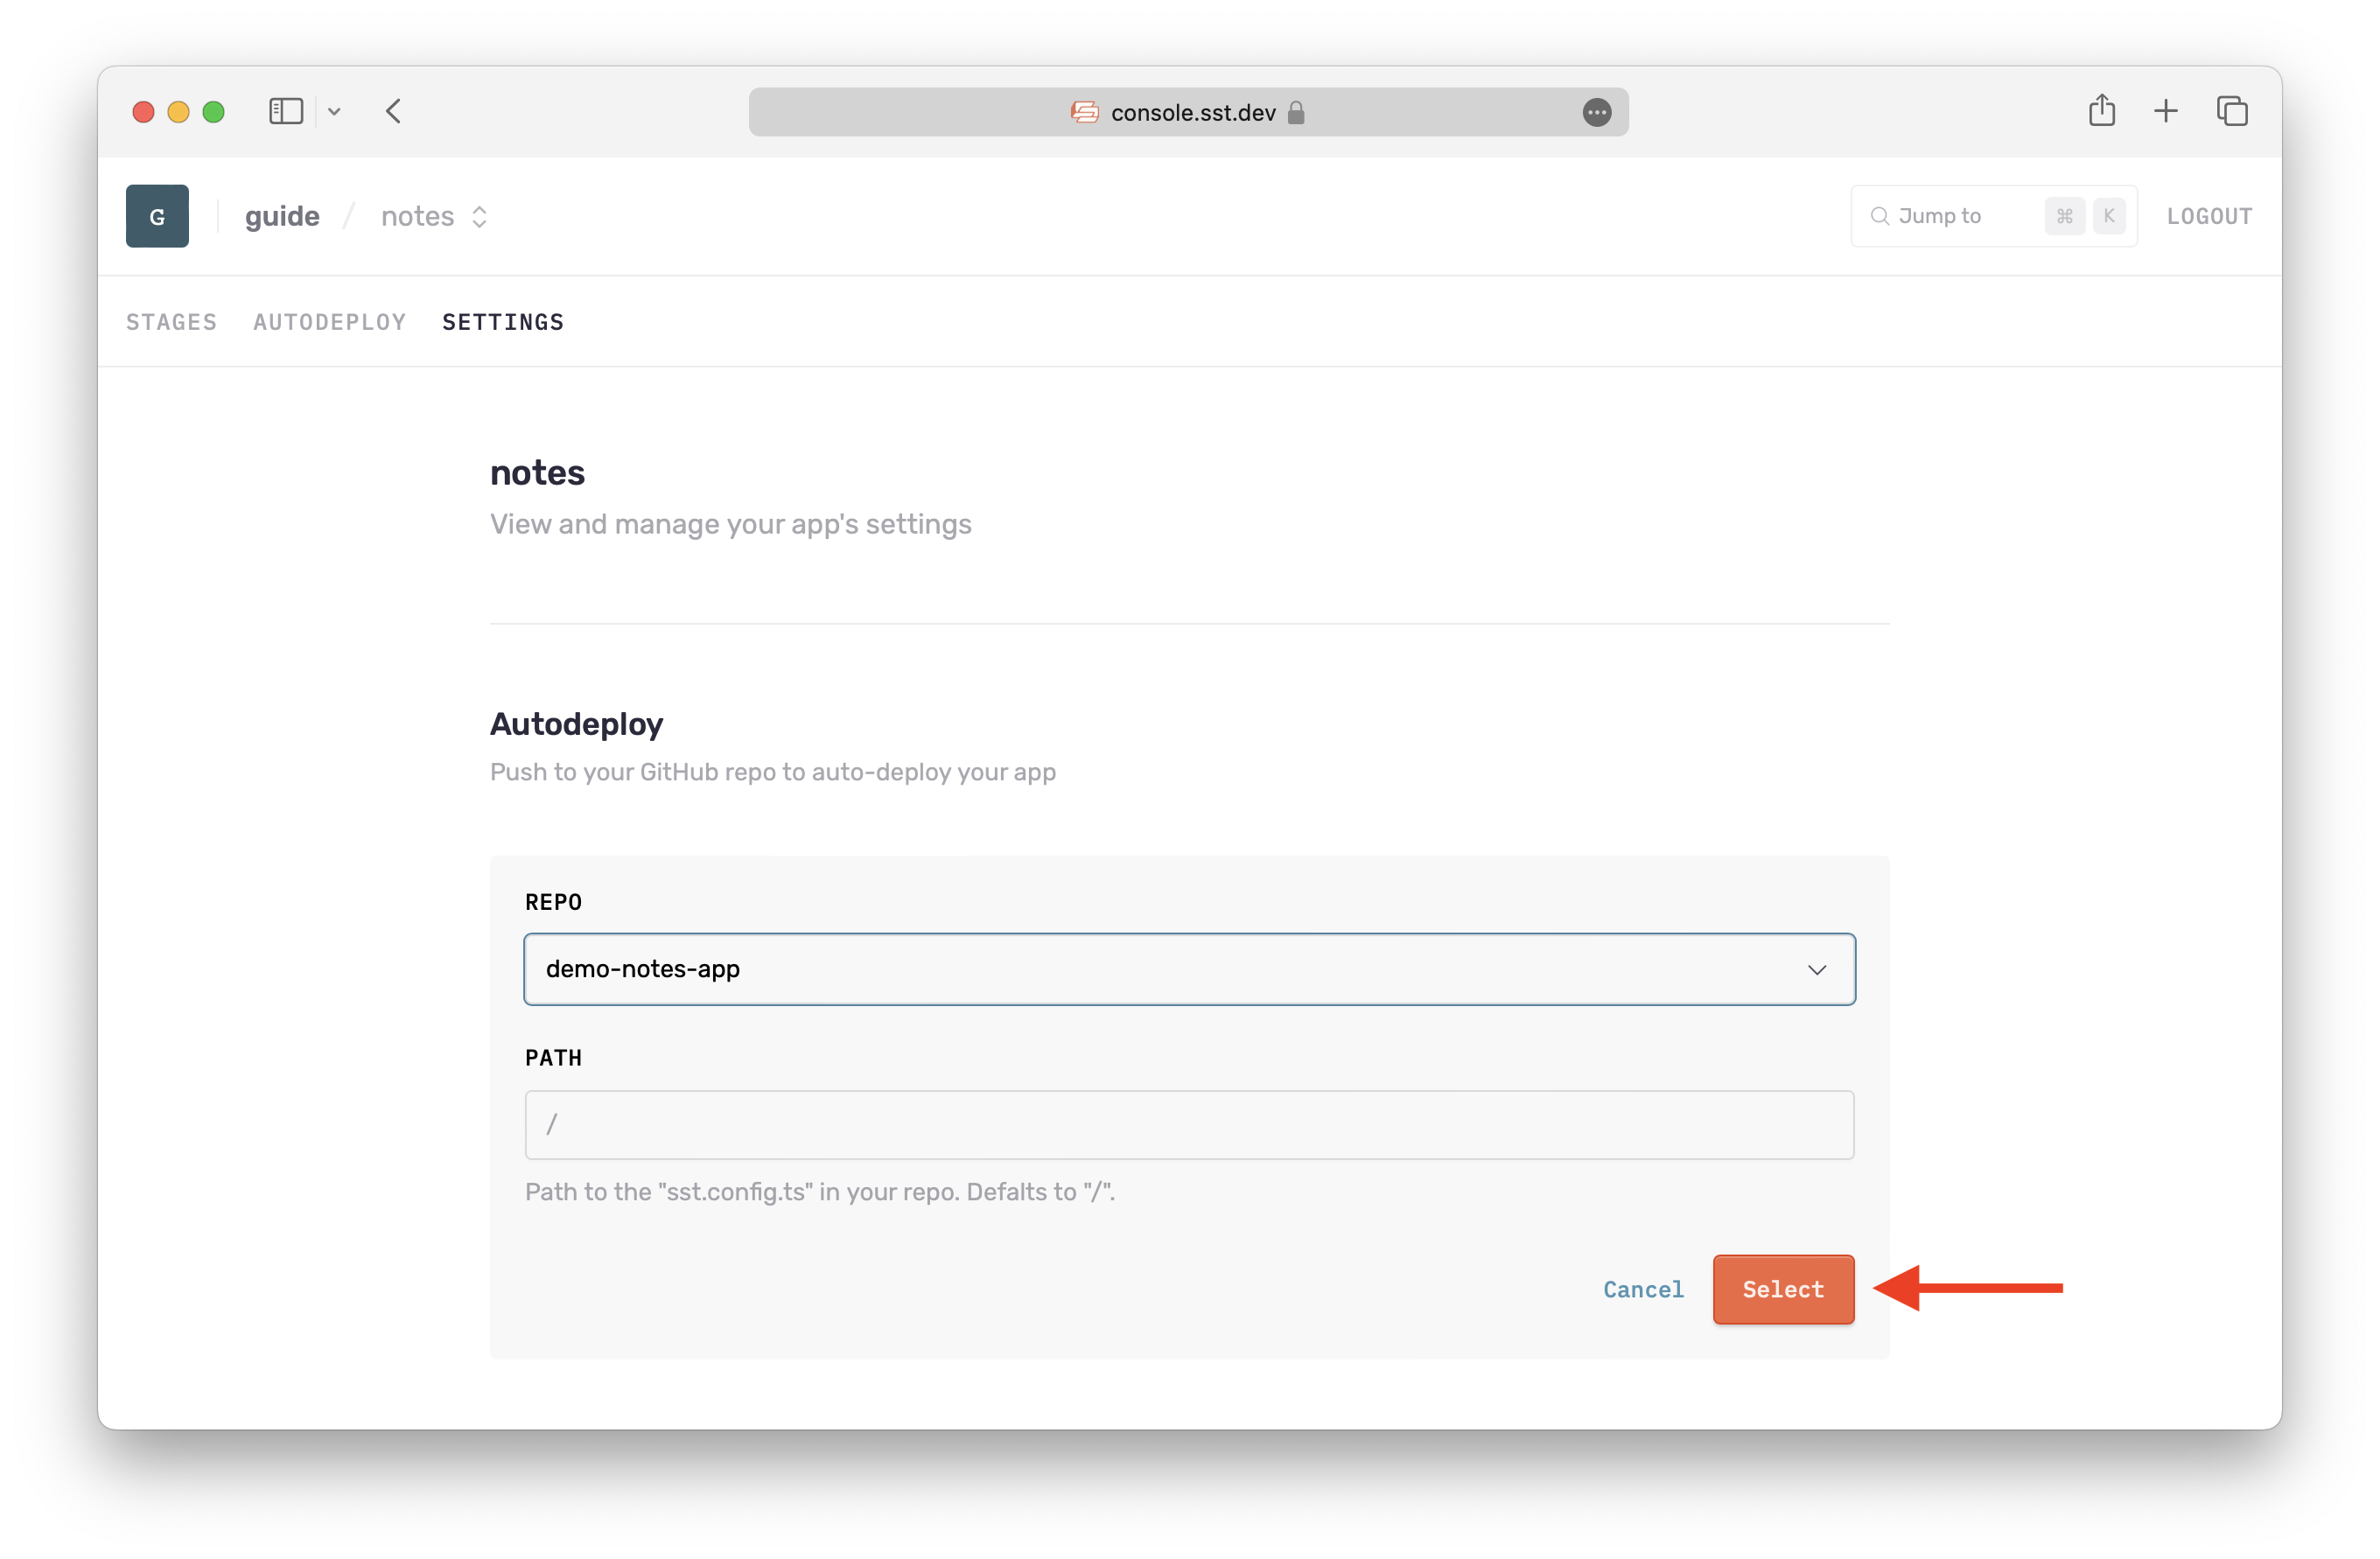
Here you can see the resources in your stage, the logs from your functions, and any issues that have been detected. For now, let’s head over to the Settings > Autodeploy > pick your repo > and click Select.
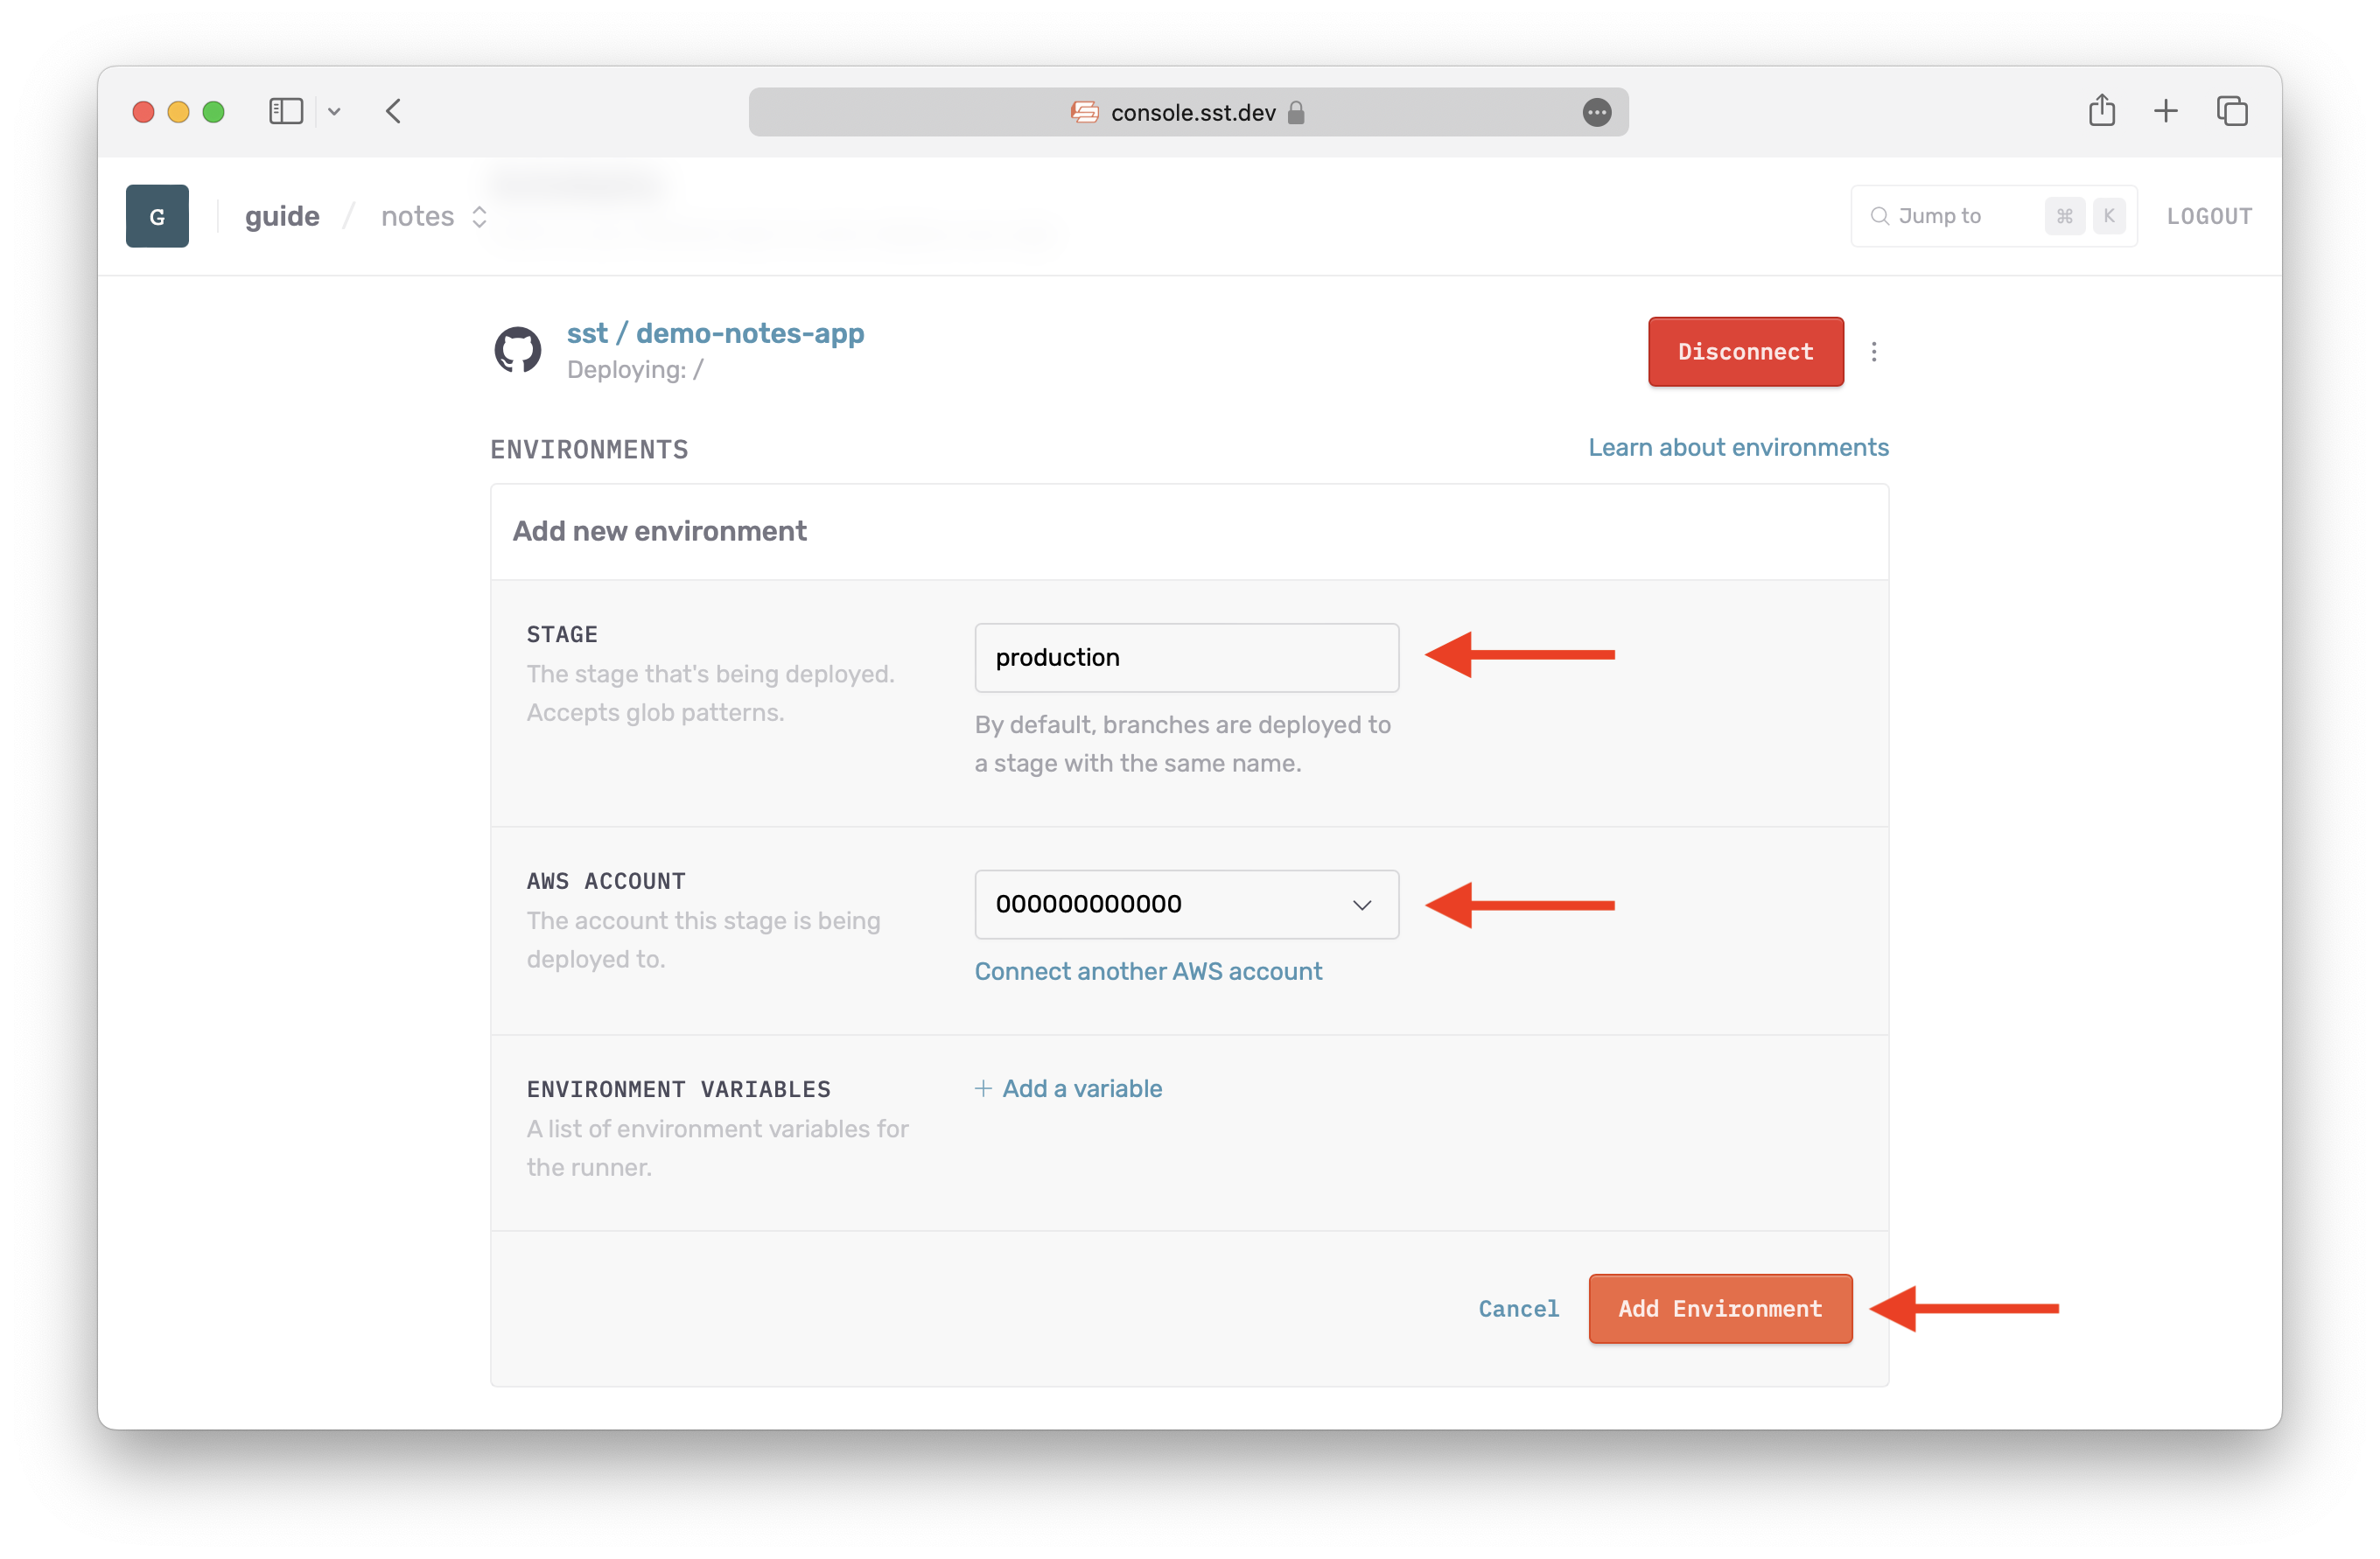
Let’s create a couple of environments. This tells the SST Console when to auto-deploy your app.
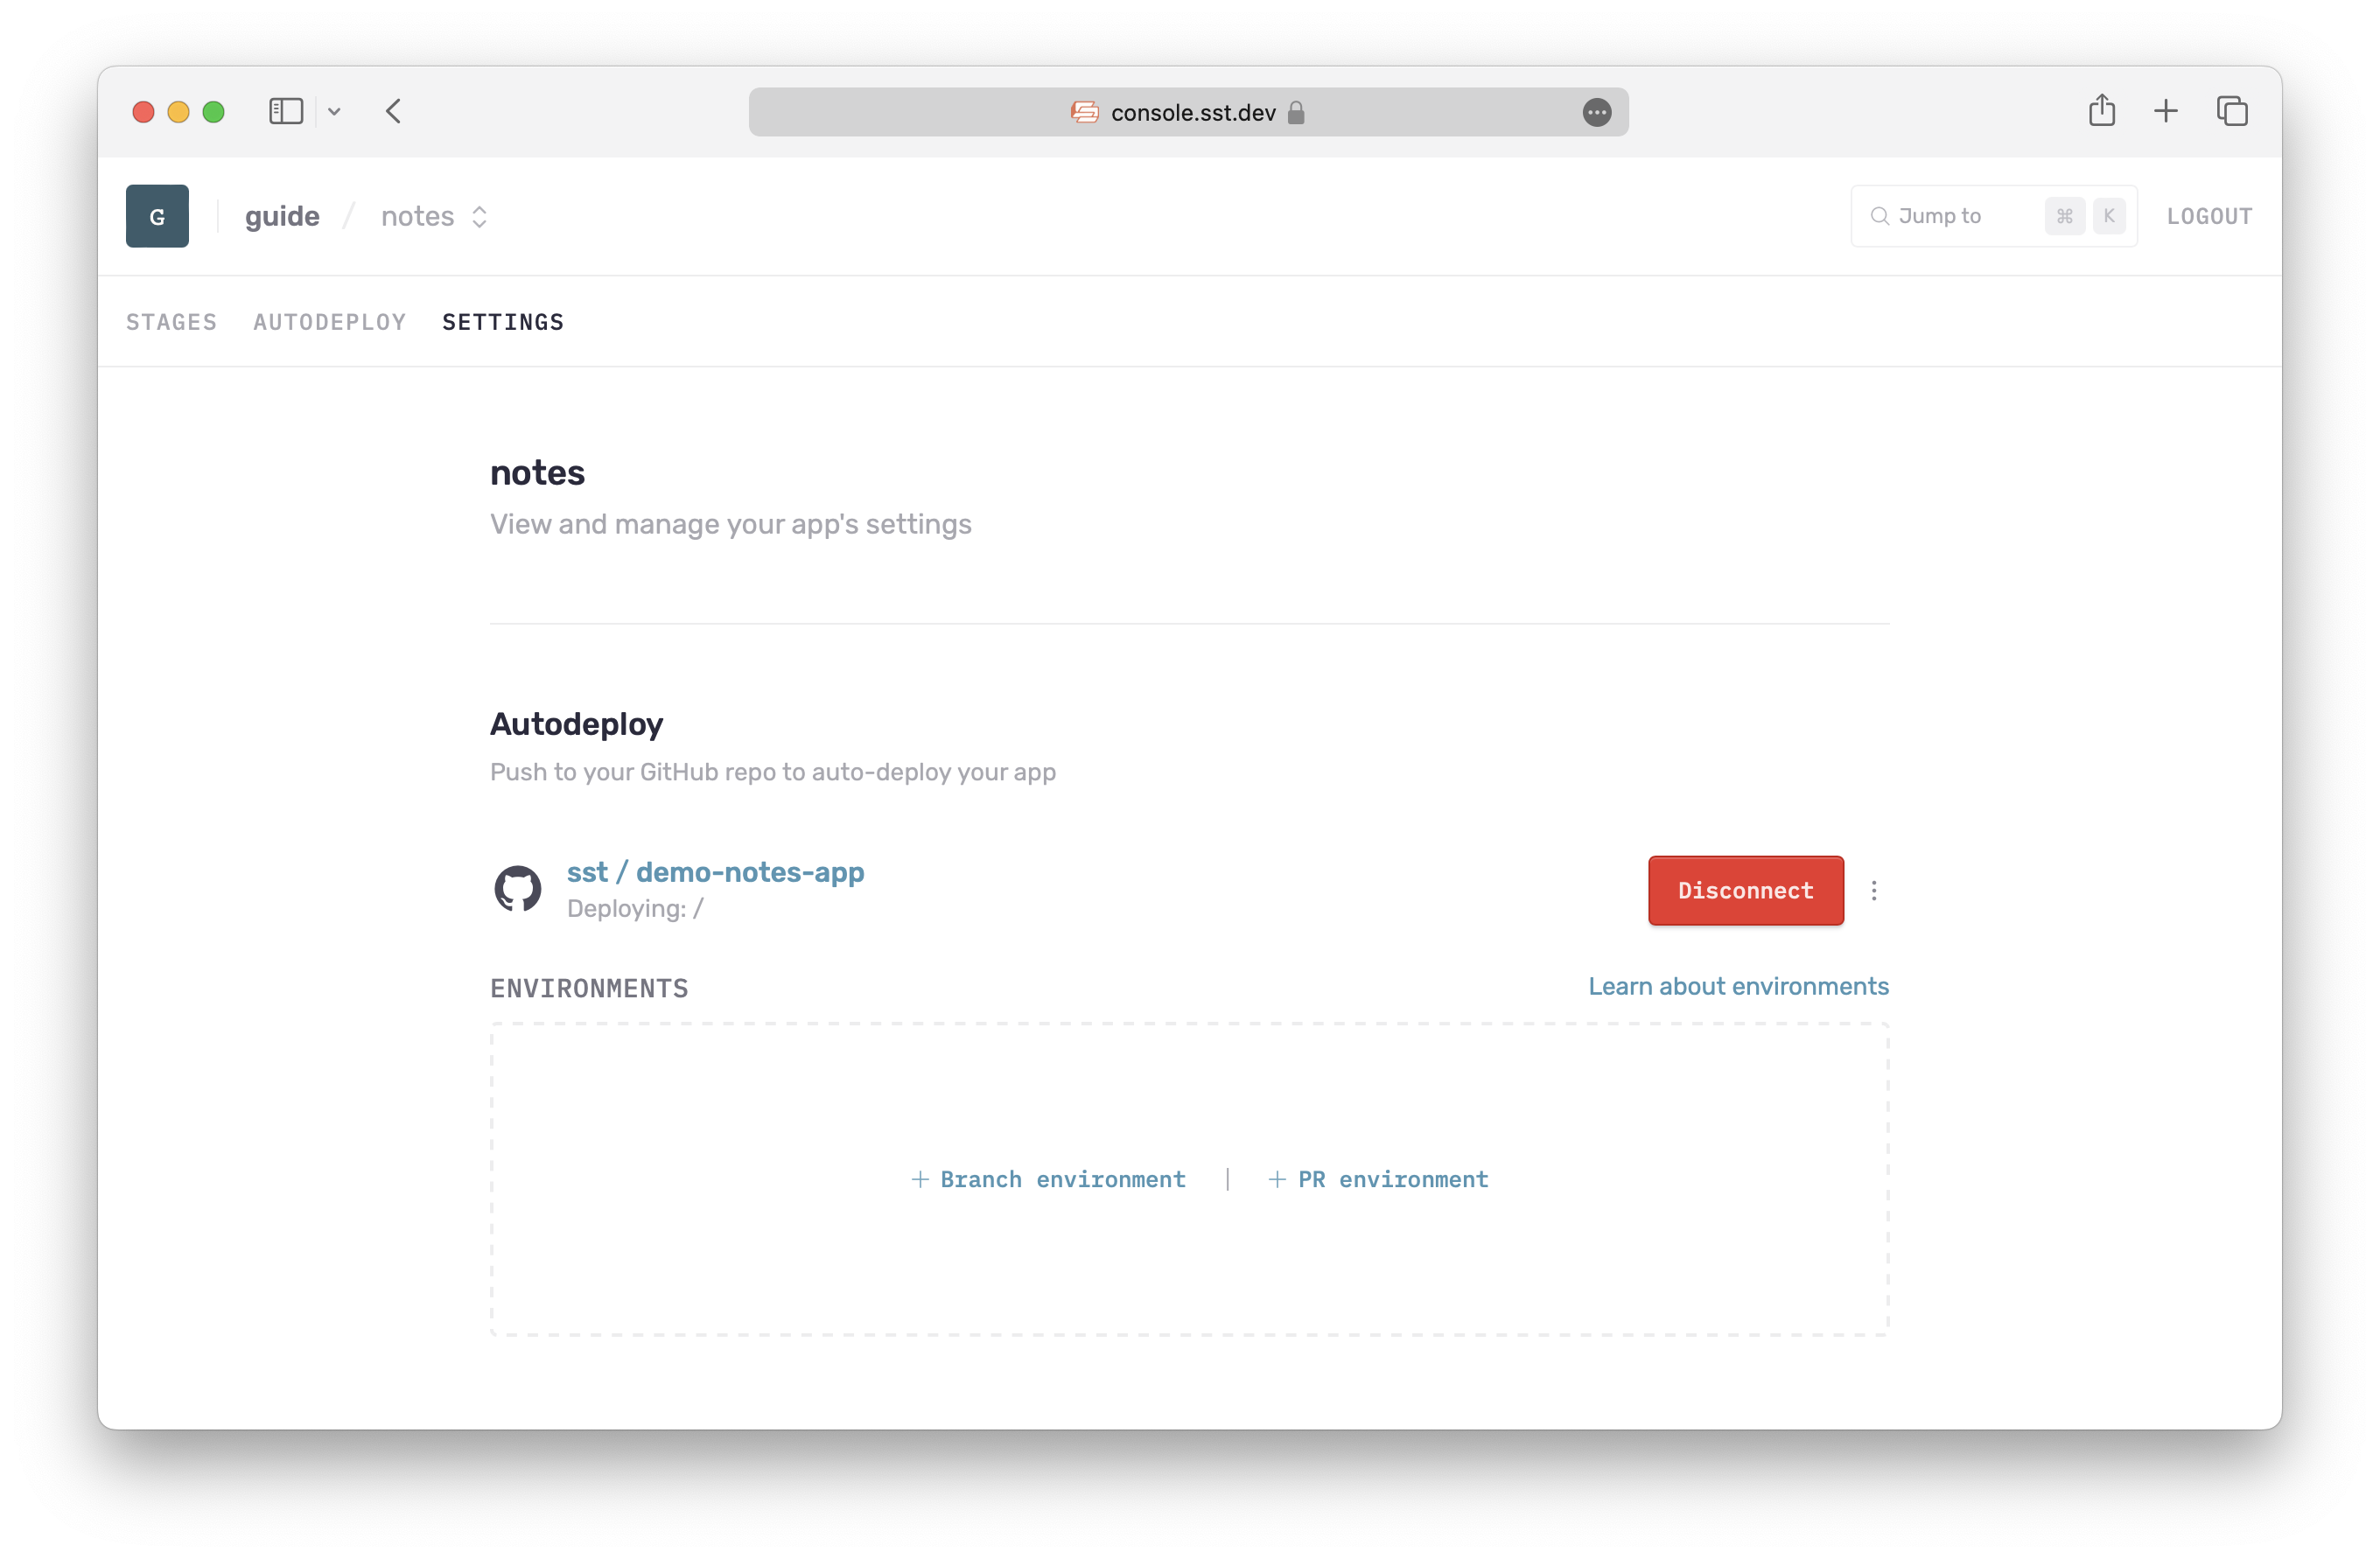
We are going to create two environments. Starting with a Branch environment. Use production as the name, select your AWS account, and click Add Environment.
Do the same for a PR environment.
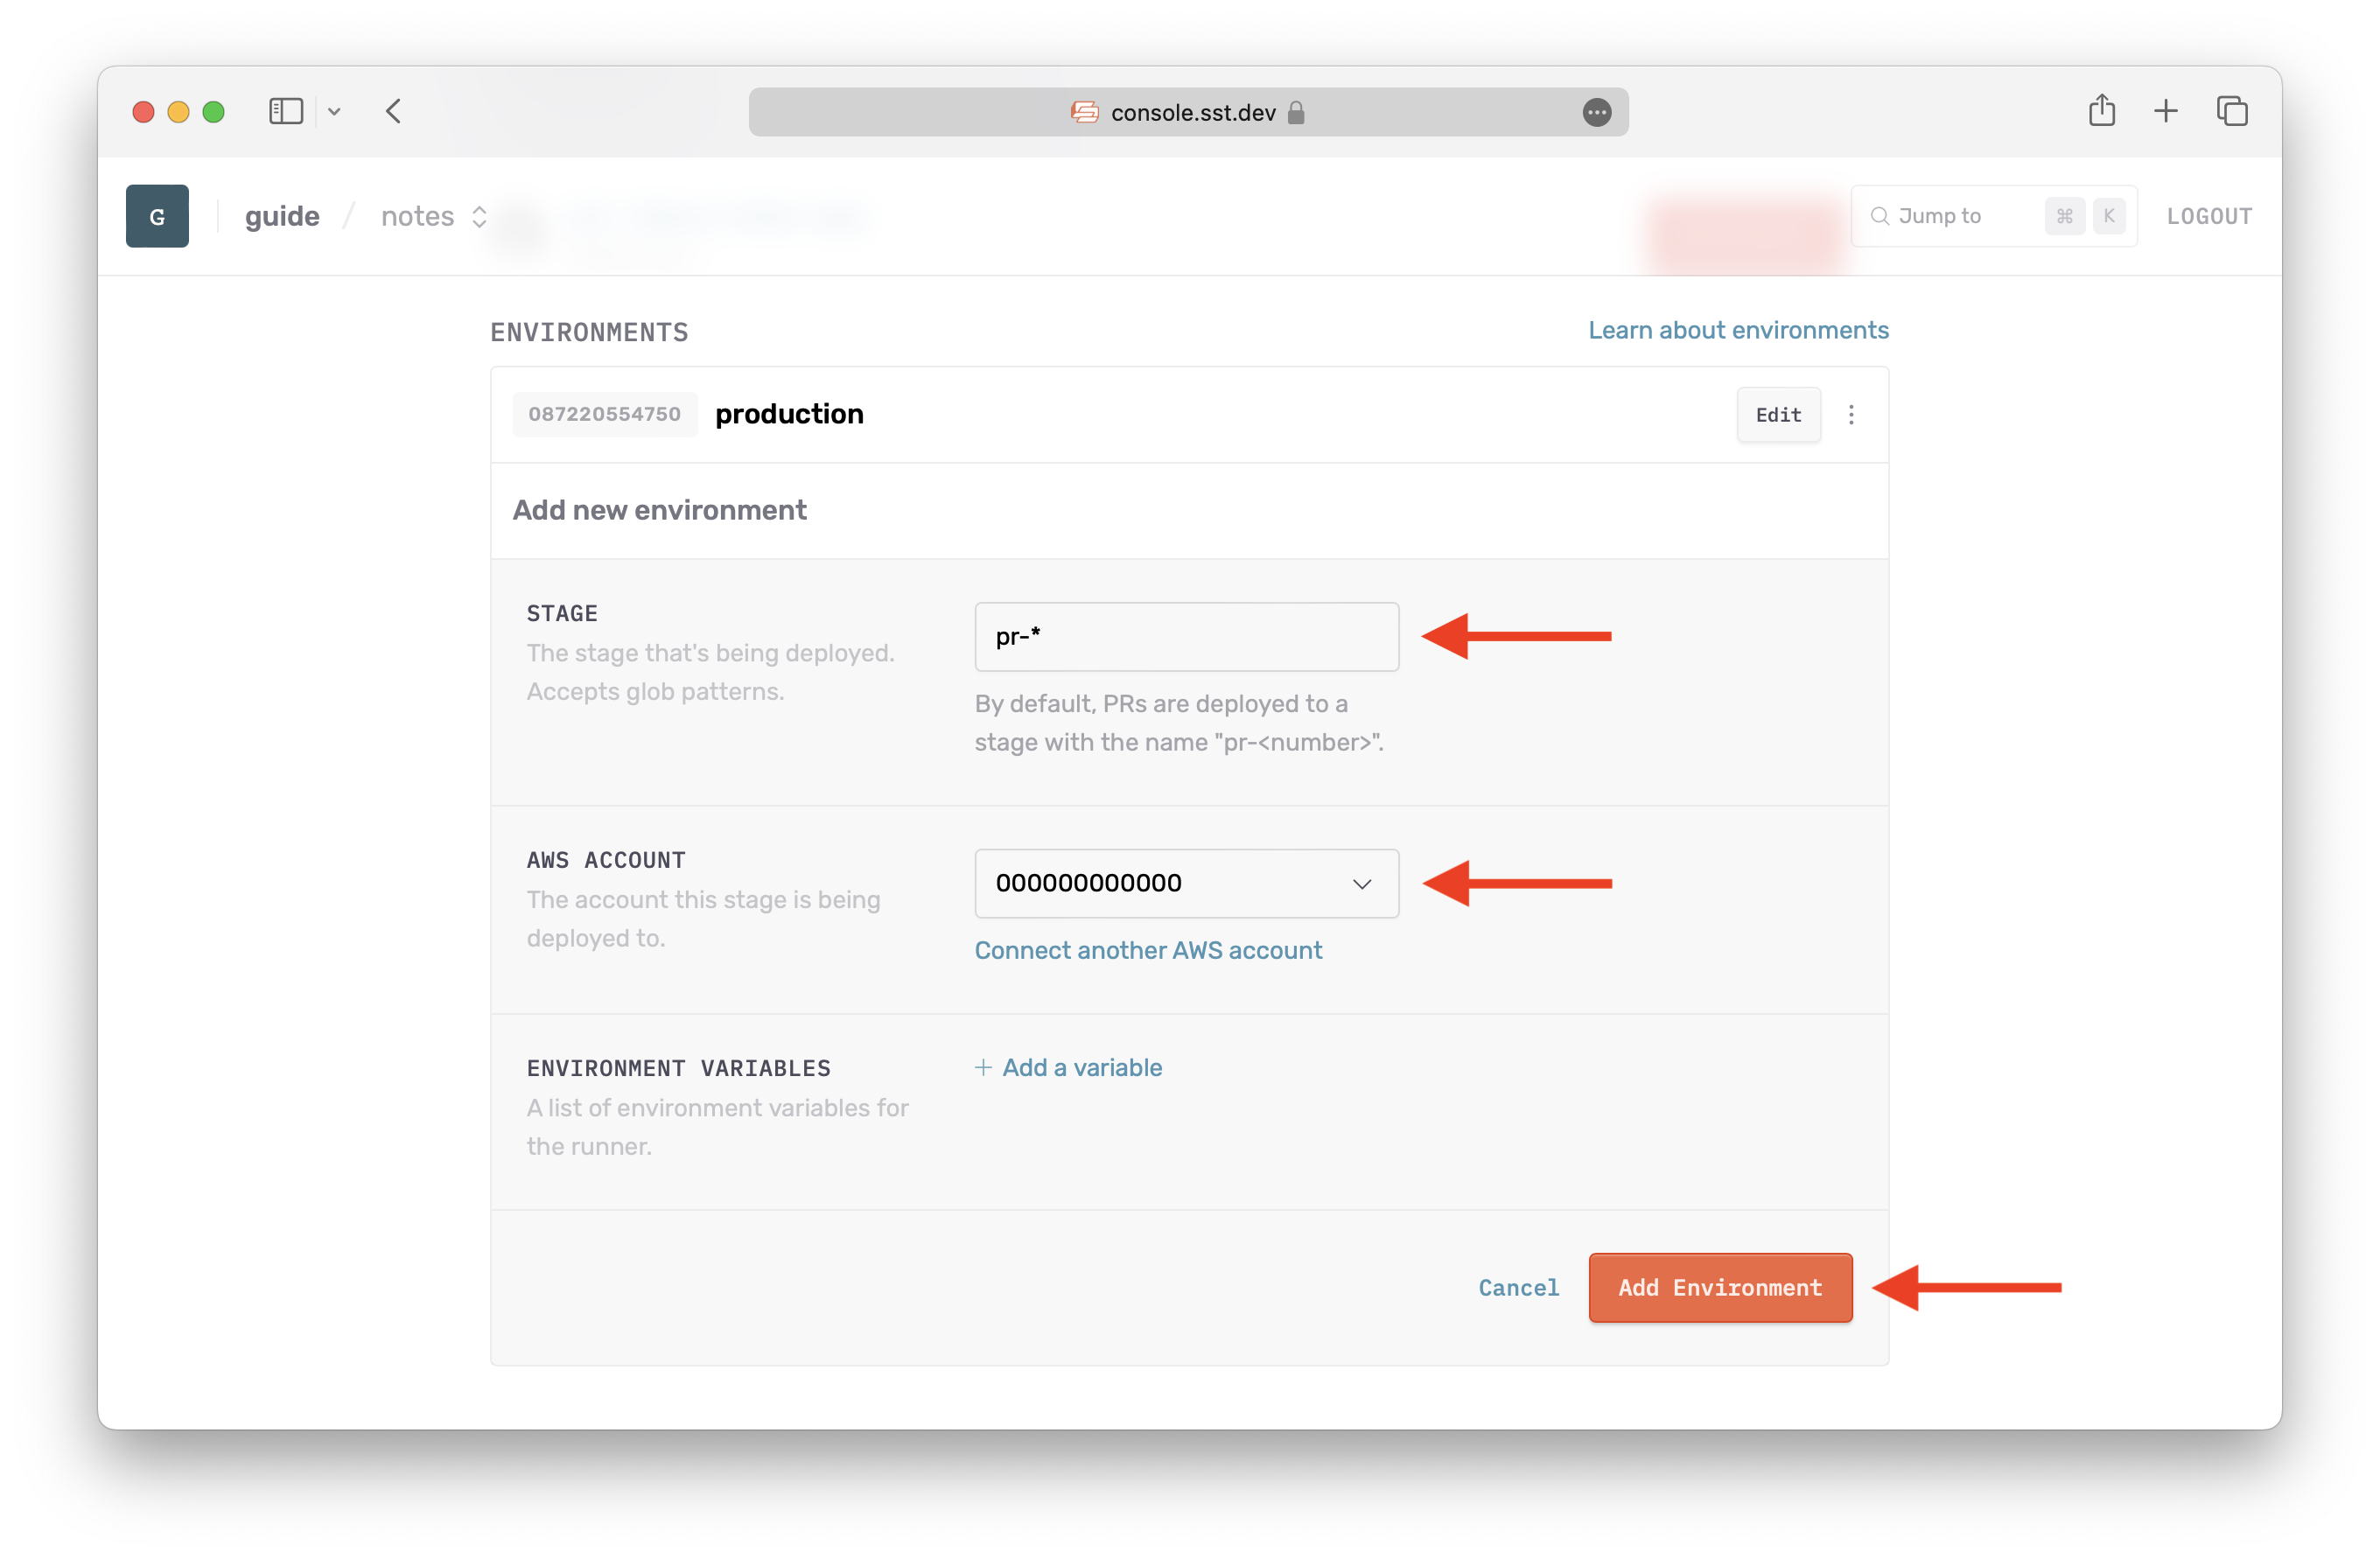
The two above environments tell the Console that any stage with the name production or starting with pr- should be auto-deployed to the given AWS account. By default, the stage names are derived from the name of the branch.
So if you git push to a branch called production, the SST Console will auto-deploy that to a stage called production.
Let’s do that next.
For help and discussion
Comments on this chapter