How to create an Expo app with serverless
In this example we will look at how to use Expo with a serverless API to create a simple click counter app. We’ll be using the SST.
Requirements
- Node.js 16 or later
- We’ll be using TypeScript
- An AWS account with the AWS CLI configured locally
Create an SST app
 Let’s start by creating an SST app.
$ npx create-sst@latest --template=base/example expo-app
$ cd expo-app
$ npm install
By default, our app will be deployed to the us-east-1 AWS region. This can be changed in the sst.config.ts in your project root.
import { SSTConfig } from "sst";

export default {
  config(_input) {
    return {
      name: "expo-app",
      region: "us-east-1",
    };
  },
} satisfies SSTConfig;
Project layout
An SST app is made up of a couple of parts.
-
stacks/— App InfrastructureThe code that describes the infrastructure of your serverless app is placed in the
stacks/directory of your project. SST uses AWS CDK, to create the infrastructure. -
packages/functions/— App CodeThe code that’s run when your API is invoked is placed in the
packages/functions/directory of your project. -
packages/frontend/— Expo AppThe code for our frontend Expo app.
Create our infrastructure
Our app is made up of a simple API and a Expo app. The API will be talking to a database to store the number of clicks. We’ll start by creating the database.
Adding the table
We’ll be using Amazon DynamoDB; a reliable and highly-performant NoSQL database that can be configured as a true serverless database. Meaning that it’ll scale up and down automatically. And you won’t get charged if you are not using it.
 Replace the
 stacks/ExampleStack.ts with the following.
import { StackContext, Table, Api } from "sst/constructs";

export function ExampleStack({ stack }: StackContext) {
  // Create the table
  const table = new Table(stack, "Counter", {
    fields: {
      counter: "string",
    },
    primaryIndex: { partitionKey: "counter" },
  });
}
This creates a serverless DynamoDB table using the SST Table construct. It has a primary key called counter. Our table is going to look something like this:
| counter | tally |
|---|---|
| clicks | 123 |
Creating our API
Now let’s add the API.
 Add this below the
 Table definition in stacks/ExampleStack.ts.
// Create the HTTP API
const api = new Api(stack, "Api", {
  defaults: {
    function: {
      // Bind the table name to our API
      bind: [table],
    },
  },
  routes: {
    "POST /": "packages/functions/src/lambda.main",
  },
});

// Show the URLs in the output
stack.addOutputs({
  ApiEndpoint: api.url,
});
We are using the SST Api construct to create our API. It simply has one endpoint (the root). When we make a POST request to this endpoint the Lambda function called main in packages/functions/src/lambda.ts will get invoked.
We’ll also bind our table to our API. It allows our API to access (read and write) the table we just created.
Reading from our table
Our API is powered by a Lambda function. In the function we’ll read from our DynamoDB table.
 Replace
 packages/functions/src/lambda.ts with the following.
import { DynamoDB } from "aws-sdk";
import { Table } from "sst/node/table";

const dynamoDb = new DynamoDB.DocumentClient();

export async function main() {
  const getParams = {
    // Get the table name from the environment variable
    TableName: Table.Counter.tableName,
    // Get the row where the counter is called "clicks"
    Key: {
      counter: "clicks",
    },
  };
  const results = await dynamoDb.get(getParams).promise();

  // If there is a row, then get the value of the
  // column called "tally"
  let count = results.Item ? results.Item.tally : 0;

  return {
    statusCode: 200,
    body: count,
  };
}
We make a get call to our DynamoDB table and get the value of a row where the counter column has the value clicks. Since we haven’t written to this column yet, we are going to just return 0.
 Let’s install the
 aws-sdk package in the packages/functions/ folder.
$ npm install aws-sdk
And let’s test what we have so far.
Starting your dev environment
 SST features a Live Lambda Development environment that allows you to work on your serverless apps live.
$ npm run dev
The first time you run this command it’ll take a couple of minutes to deploy your app and a debug stack to power the Live Lambda Development environment.
===============
 Deploying app
===============

Preparing your SST app
Transpiling source
Linting source
Deploying stacks
dev-expo-app-ExampleStack: deploying...

 ✅  dev-expo-app-ExampleStack


Stack dev-expo-app-ExampleStack
  Status: deployed
  Outputs:
    ApiEndpoint: https://sez1p3dsia.execute-api.ap-south-1.amazonaws.com
The ApiEndpoint is the API we just created.
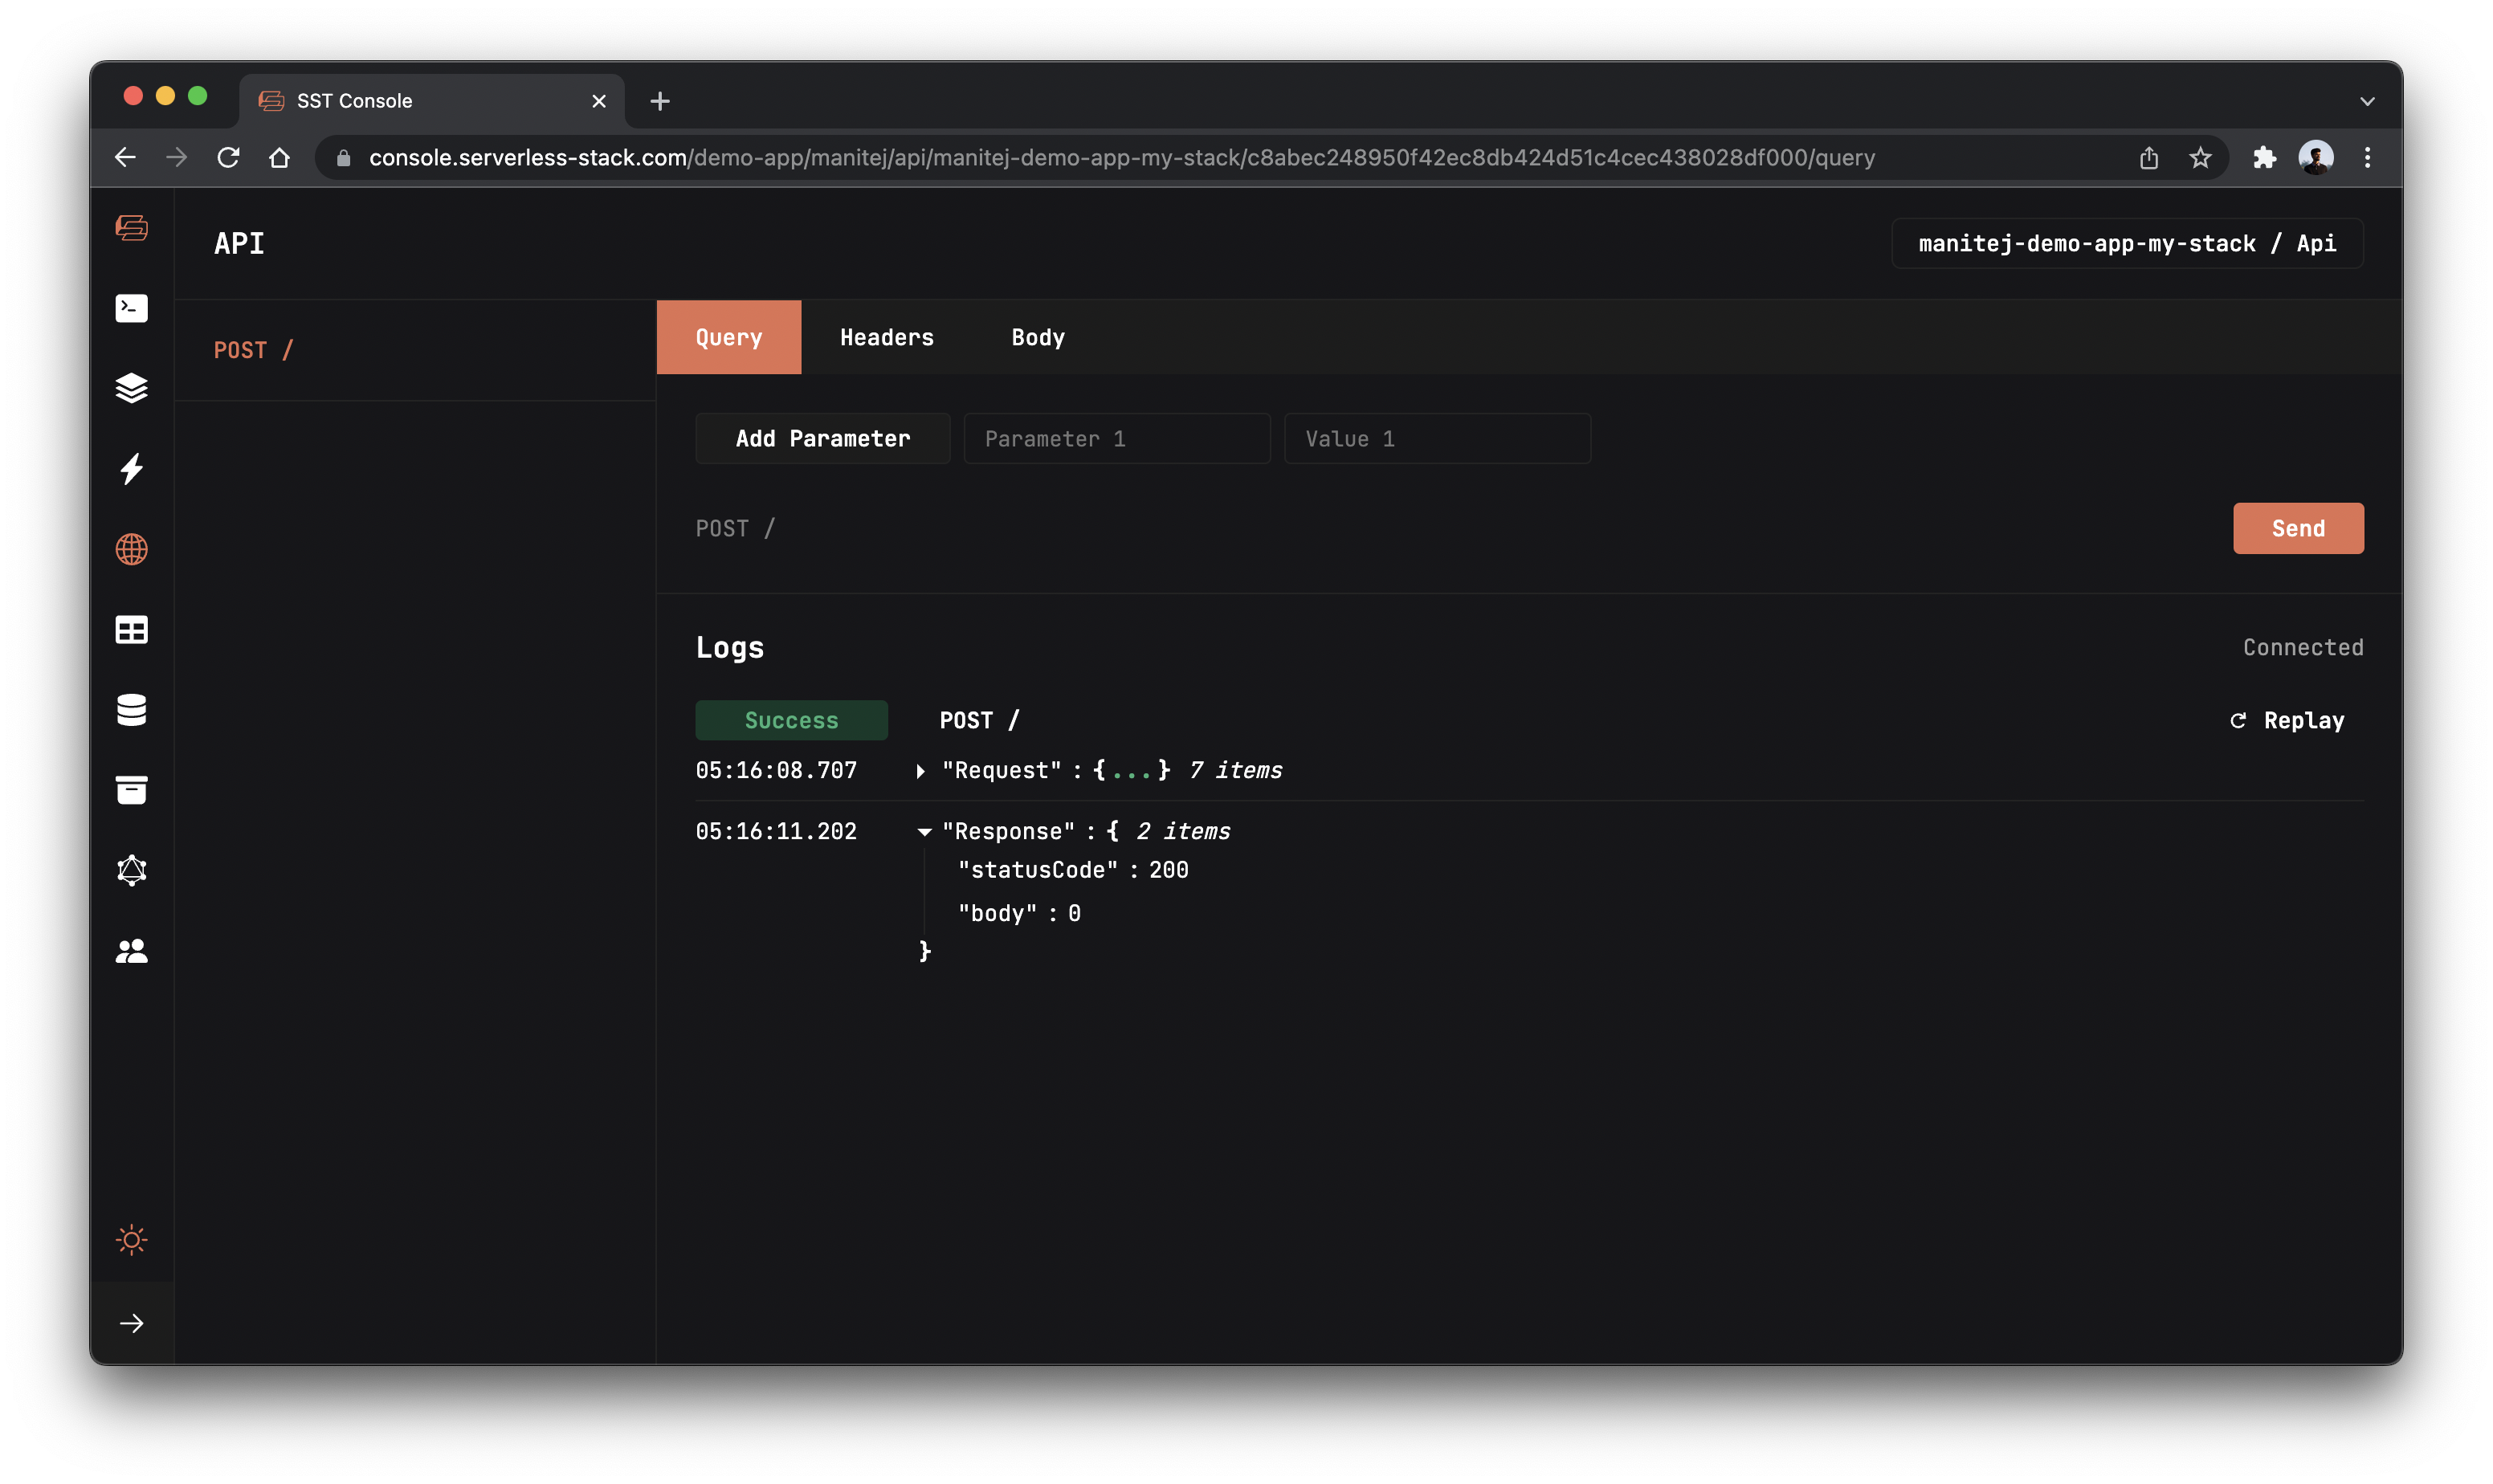
Let’s test our endpoint with the SST Console. The SST Console is a web based dashboard to manage your SST apps. Learn more about it in our docs.
Go to the API tab and click Send button to send a POST request.
Note, The API explorer lets you make HTTP requests to any of the routes in your Api construct. Set the headers, query params, request body, and view the function logs with the response.

You should see a 0 in the response body.
Setting up our Expo app
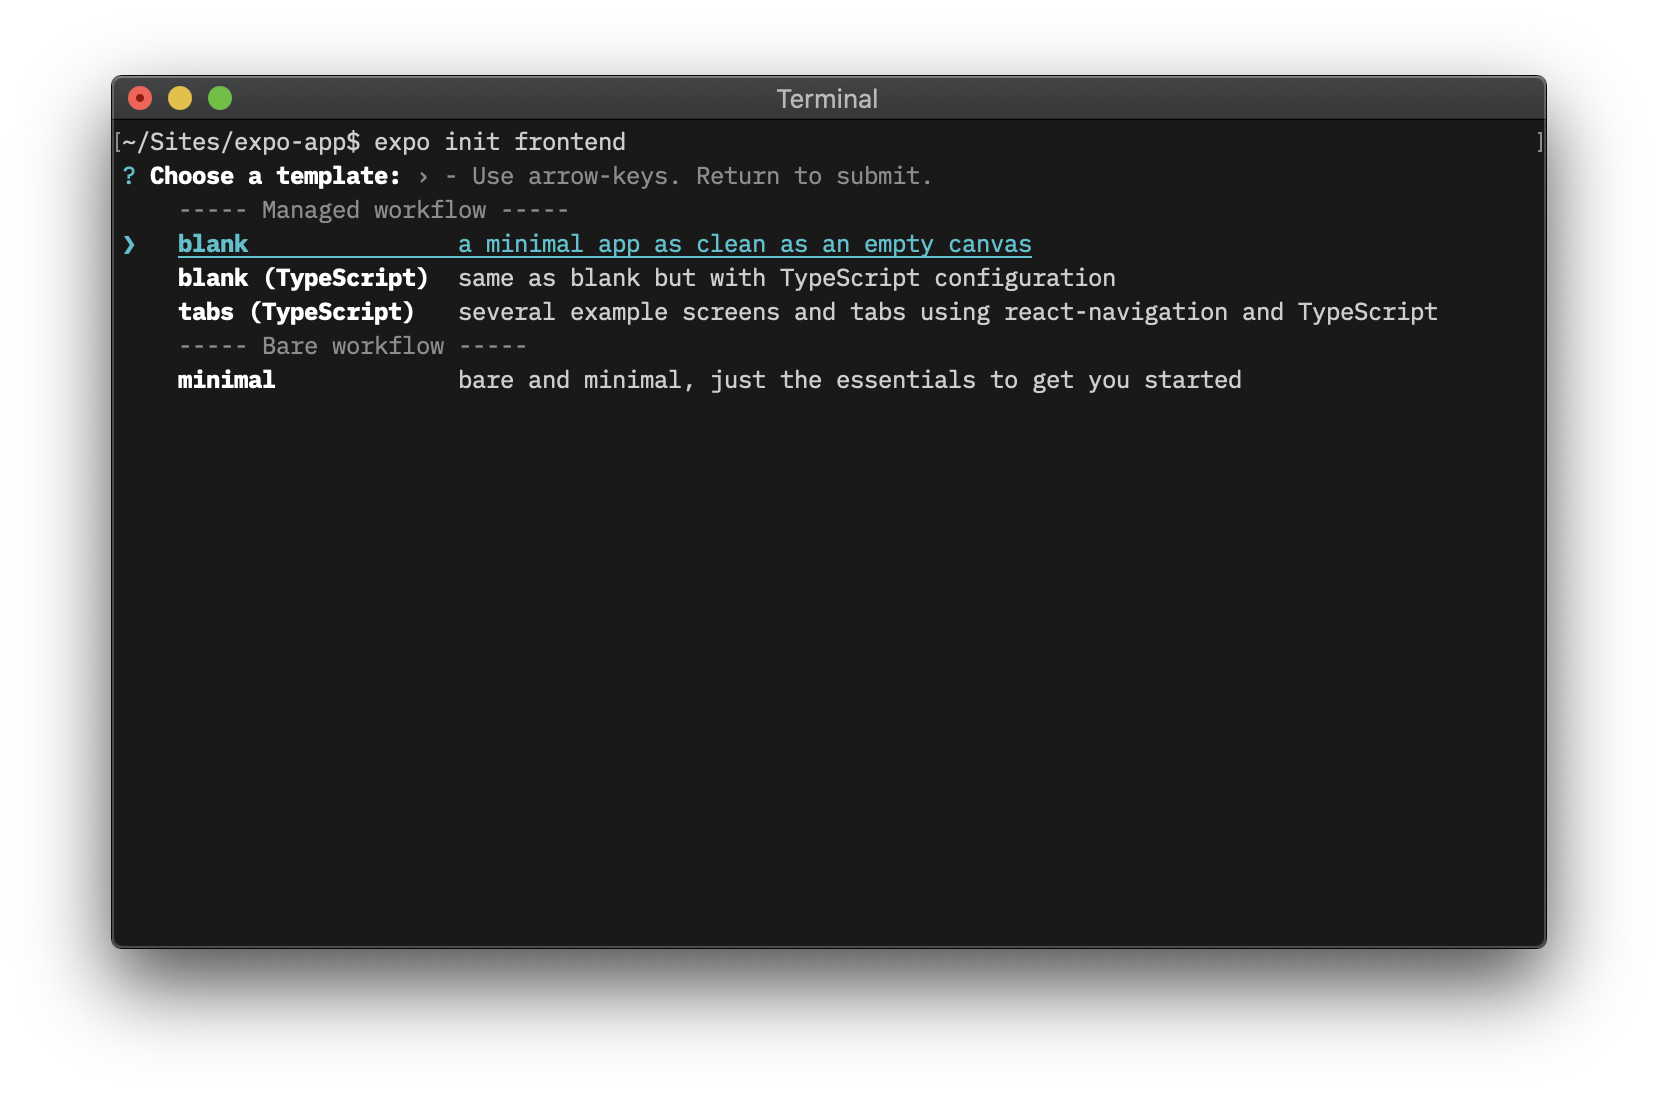
We are now ready to use the API we just created. Let’s use Expo CLI to setup our Expo app.
 Run the following in the project root and create a blank project.
$ npm install -g expo-cli
$ expo init packages/frontend
$ cd packages/frontend

This sets up our Expo app in the packages/frontend/ directory.
We also need to load the environment variables from our SST app. To do this, we’ll be using the babel-plugin-inline-dotenv package.
 Install the
 babel-plugin-inline-dotenv package by running the following in the packages/frontend/ directory.
$ npm install babel-plugin-inline-dotenv
We need to update our script to use this package in babel.config.js.
 Update your
 babel.config.js like below.
module.exports = function (api) {
  api.cache(true);
  return {
    presets: ["babel-preset-expo"],
    plugins: ["inline-dotenv"],
  };
};
 Create a
 .env file inside packages/frontend/ and create two variables to hold dev and prod API endpoints and replace DEV_API_URL with the deployed URL from the steps above.
DEV_API_URL=https://sez1p3dsia.execute-api.us-east-1.amazonaws.com
PROD_API_URL=<TO_BE_ADDED_LATER>
We’ll add the PROD_API_URL later in this example.
Let’s start our Expo development environment.
 In the
 packages/frontend/ directory run the following for the iOS emulator.
$ expo start --ios
 Or run this for the Android emulator.
$ expo start --android
This will open up an emulator and load your app.
Add the click button
We are now ready to add the UI for our app and connect it to our serverless API.
 Replace
 packages/frontend/App.js with.
/* eslint-disable no-undef */
import { StatusBar } from "expo-status-bar";
import React, { useState } from "react";
import { StyleSheet, Text, TouchableOpacity, View } from "react-native";

export default function App() {
  const [count, setCount] = useState(0);

  const API_URL = __DEV__ ? process.env.DEV_API_URL : process.env.PROD_API_URL;

  function onClick() {
    fetch(API_URL, {
      method: "POST",
    })
      .then((response) => response.text())
      .then(setCount);
  }

  return (
    <View style={styles.container}>
      <StatusBar style="auto" />
      <Text>You clicked me {count} times.</Text>
      <TouchableOpacity style={styles.btn} onPress={onClick}>
        <Text>Click me!</Text>
      </TouchableOpacity>
    </View>
  );
}
Here we are adding a simple button that when clicked, makes a request to our API. We are getting the API endpoint from the environment variable.
The response from our API is then stored in our app’s state. We use it to display the count of the number of times the button has been clicked.
Let’s add some styles.
 Add a
Add a StyleSheet in your App.js.
const styles = StyleSheet.create({
  container: {
    flex: 1,
    backgroundColor: "#fff",
    alignItems: "center",
    justifyContent: "center",
  },
  btn: {
    backgroundColor: "lightblue",
    padding: 10,
    margin: 10,
    borderRadius: 5,
  },
});
Now if you head over to your emulator, your Expo app should look something like this.

Of course if you click on the button multiple times, the count doesn’t change. That’s because we are not updating the count in our API. We’ll do that next.
Making changes
Let’s update our table with the clicks.
 Add this above the
 return statement in packages/functions/src/lambda.js.
const putParams = {
  TableName: Table.Counter.tableName,
  Key: {
    counter: "clicks",
  },
  // Update the "tally" column
  UpdateExpression: "SET tally = :count",
  ExpressionAttributeValues: {
    // Increase the count
    ":count": ++count,
  },
};
await dynamoDb.update(putParams).promise();
Here we are updating the clicks row’s tally column with the increased count.
And if you head over to your emulator and click the button again, you should see the count increase!

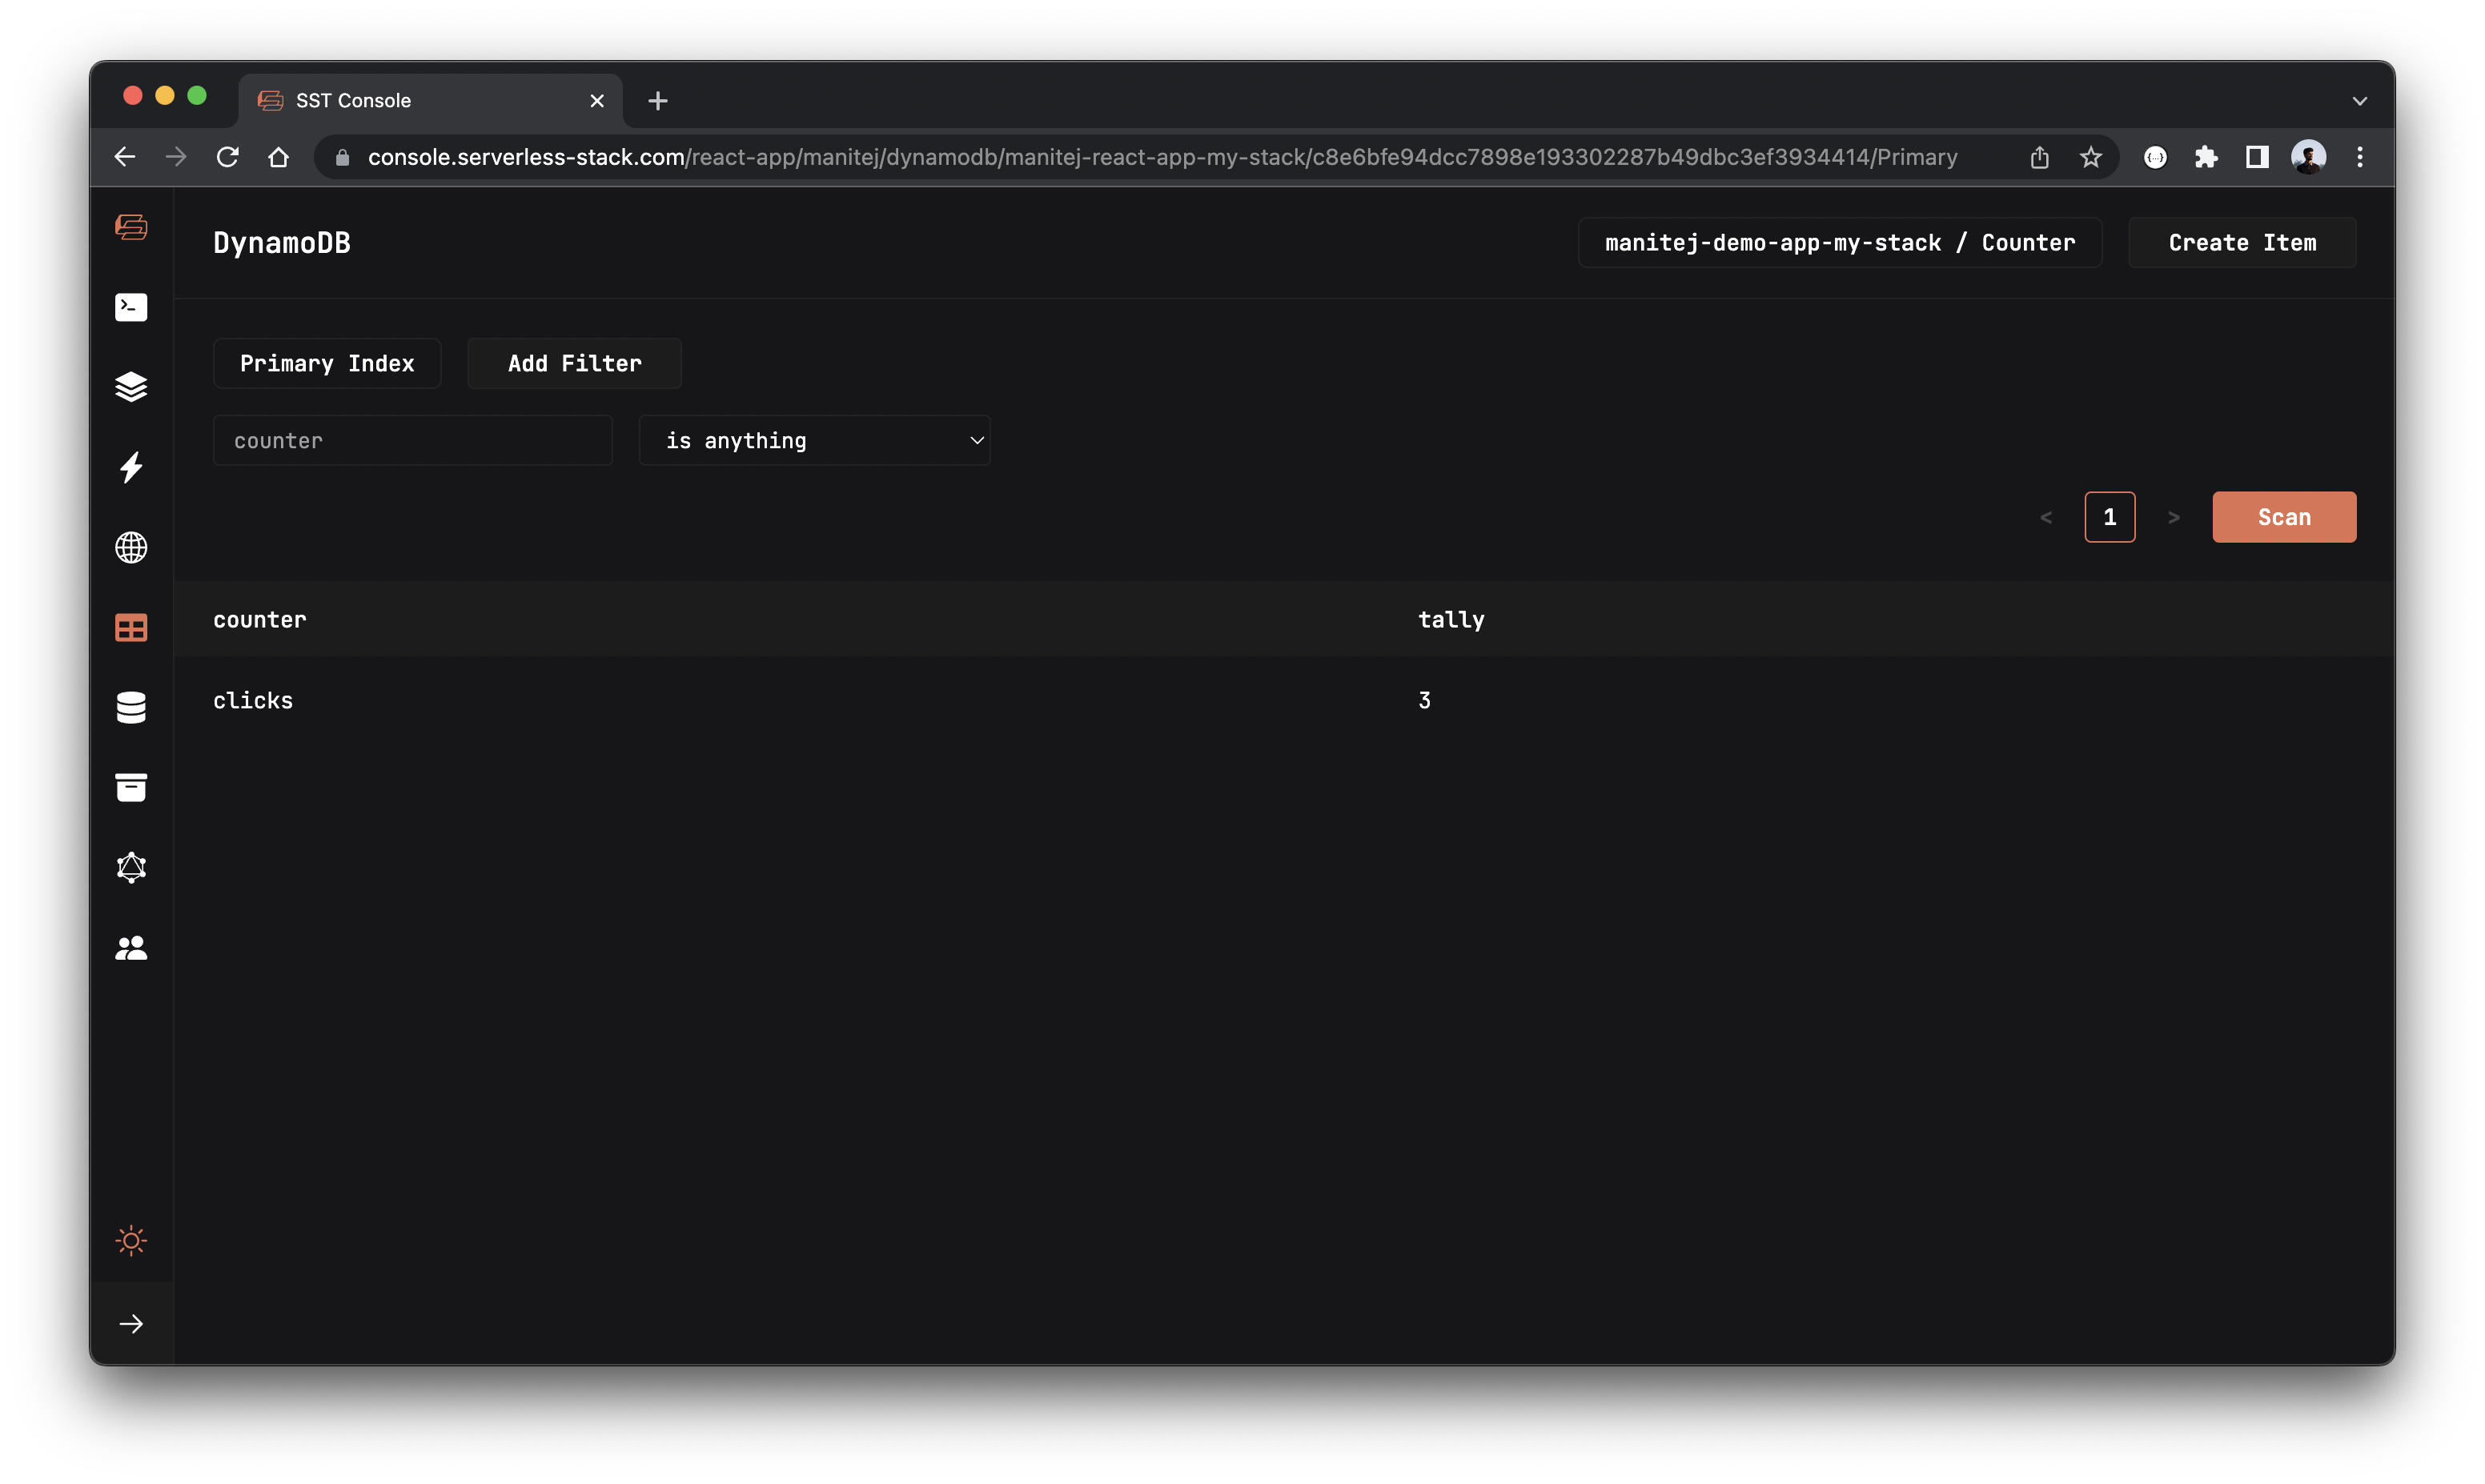
Also let’s go to the DynamoDB tab in the SST Console and check that the value has been updated in the table.
Note, The DynamoDB explorer allows you to query the DynamoDB tables in the Table constructs in your app. You can scan the table, query specific keys, create and edit items.

Deploying to prod
 To wrap things up we’ll deploy our app to prod.
$ npx sst deploy --stage prod
This allows us to separate our environments, so when we are working locally it doesn’t break the app for our users.
Once deployed, you should see something like this.
 ✅  prod-expo-app-ExampleStack


Stack prod-expo-app-ExampleStack
  Status: deployed
  Outputs:
    ApiEndpoint: https://k40qchmtvf.execute-api.ap-south-1.amazonaws.com
 Add the above endpoint to the
 .env file in frontend/.env as the production API endpoint
DEV_API_URL=https://hfv2gyuwdh.execute-api.us-east-1.amazonaws.com
PROD_API_URL=https://k40qchmtvf.execute-api.us-east-1.amazonaws.com
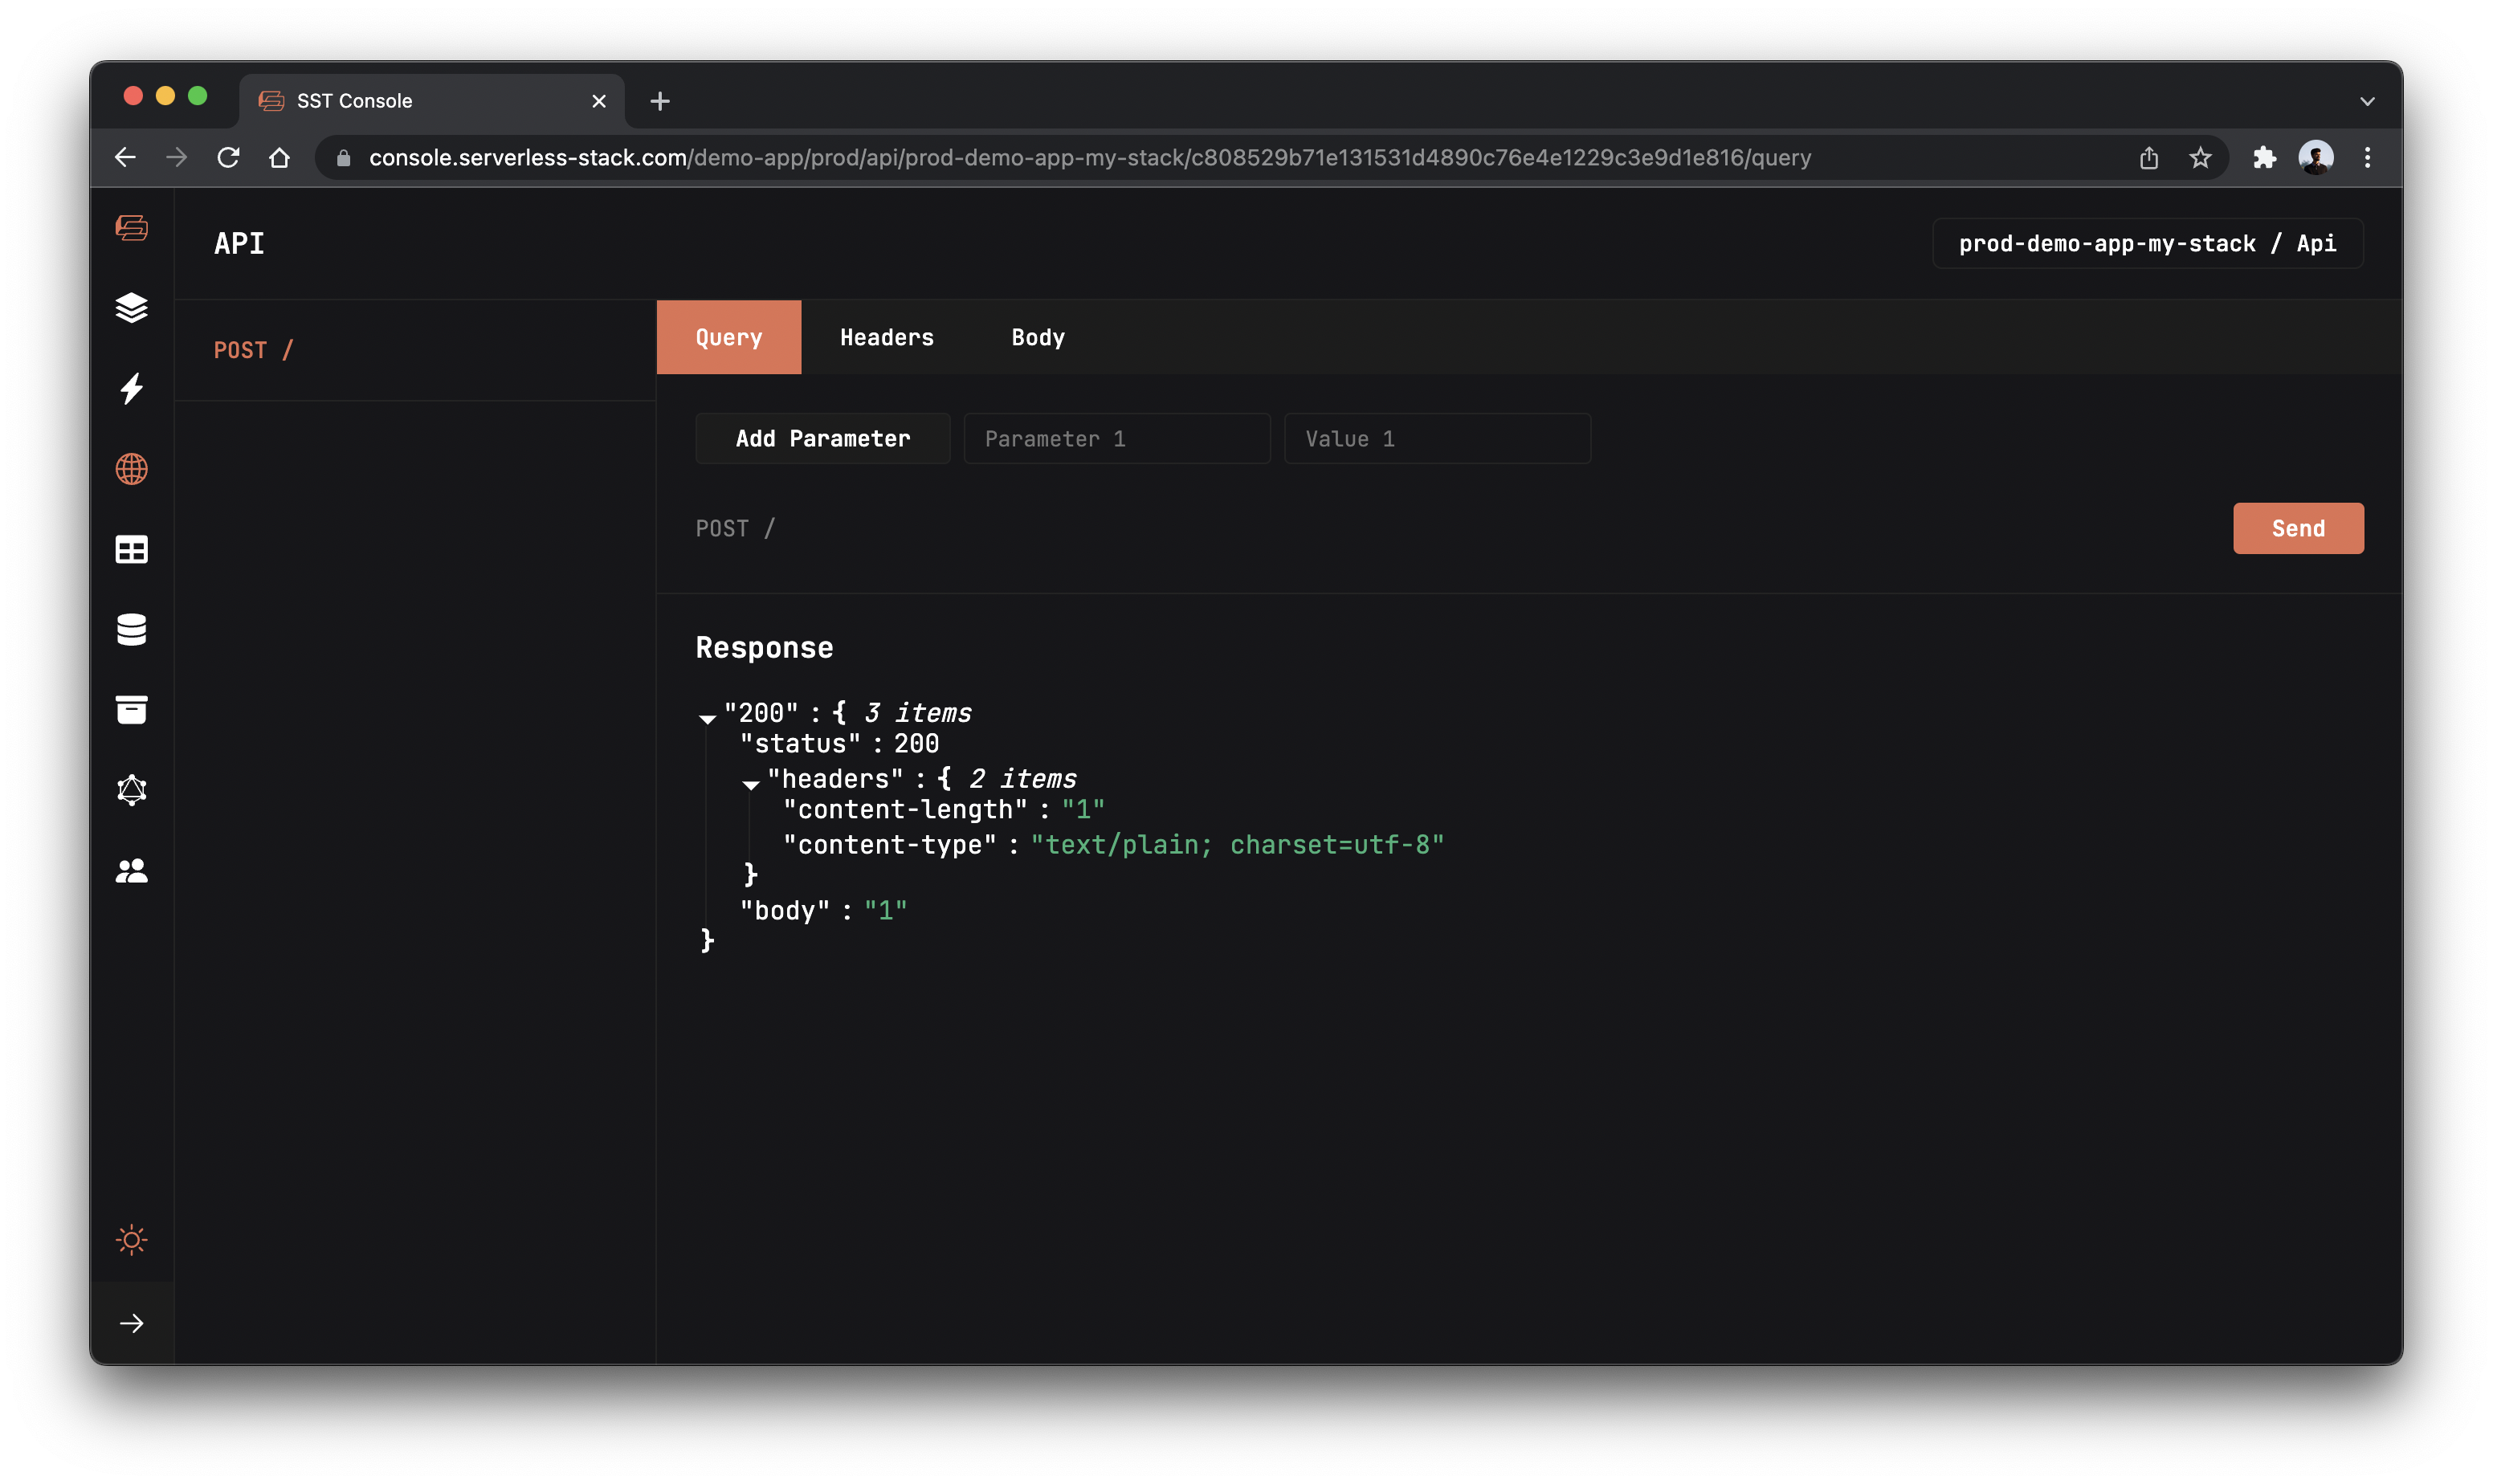
Run the below command to open the SST Console in prod stage to test the production endpoint.
npx sst console --stage prod
Go to the API tab and click Send button to send a POST request.

Now we are ready to ship our app!
Cleaning up
Finally, you can remove the resources created in this example using the following commands.
$ npx sst remove
$ npx sst remove --stage prod
Conclusion
And that’s it! We’ve got a completely serverless click counter Expo app. A local development environment, to test and make changes. And it’s deployed to production as well, so you can share it with your users. Check out the repo below for the code we used in this example. And leave a comment if you have any questions!
For help and discussion
Comments on this example